×

The Complete Charcoal Drawing Guide: Master Essential Techniques from Beginner to Professional Level

How To Do Charcoal Drawing

Charcoal drawing stands as one of art’s most expressive and versatile mediums, offering unparalleled depth, contrast, and emotional resonance. This comprehensive guide will transform your approach to charcoal drawing, whether you’re picking up charcoal for the first time or seeking to refine advanced techniques. For artists looking to develop their unique artistic style, charcoal provides an excellent foundation for exploring personal expression.

Charcoal: Types and Characteristics

Before mastering charcoal drawing techniques, understanding your materials is crucial. Each type of charcoal offers unique properties that dramatically affect your artistic outcome. Professional artists often recommend starting with high-quality materials to ensure the best learning experience.

1. Charcoal Types Comparison Table

Charcoal Type Hardness Erasability Best For Dust Production Permanence
Vine Charcoal Very Soft Excellent Initial sketches, atmospheric effects High Low
Compressed Charcoal Varies (2H-6B) Moderate Detailed work, rich darks Moderate High
Charcoal Pencils Varies (H-6B) Good Precision work, fine details Low High

2. Vine Charcoal: The Foundation Medium

Characteristics:

  • Made from grape vines or willow branches
  • Produces delicate, easily modifiable marks
  • Perfect for establishing initial compositions (learn more about overcoming creative blocks during practice)
  • Creates soft, atmospheric effects

Professional Applications:

  • Gesture drawing and figure studies
  • Establishing value patterns before detailed work
  • Creating misty, ethereal backgrounds
  • Teaching fundamental drawing principles 

Winsor & Newton offers excellent vine charcoal options for beginners and professionals alike.

3. Compressed Charcoal: The Powerhouse

Characteristics:

  • Ground charcoal bound with gum or wax
  • Delivers intense blacks and rich midtones
  • Available in multiple hardness grades
  • Excellent for building dramatic contrast

Professional Applications:

  • Portrait work requiring deep shadows
  • Still life compositions with strong lighting
  • Architectural drawing with bold contrasts
  • Fine art pieces requiring permanence

4. Charcoal Pencils: Precision Tools

Characteristics:

  • Compressed charcoal encased in wood
  • Offers maximum control and precision
  • Minimal mess and dust production
  • Excellent for detailed work

Professional Applications:

  • Intricate botanical illustrations
  • Technical drawing requires accuracy
  • Mixed media compositions
  • Detailed portrait features (eyes, lips, hair)

Essential Tools and Materials for Professional Results

1. Primary Drawing Tools

Charcoal Selection:

  • Vine charcoal sticks (various sizes)
  • Compressed charcoal (2H to 6B range)
  • Charcoal pencils (H, HB, 2B, 4B, 6B)
  • Charcoal blocks for large area coverage

For comprehensive tool recommendations, Strathmore provides an excellent buying guide.

2. Erasers and Correction Tools

Kneaded Erasers:

  • Moldable for custom shapes
  • Lifts charcoal without damaging paper
  • Essential for creating highlights

Vinyl/Plastic Erasers:

  • For complete charcoal removal
  • Sharp edges for precise corrections
  • Harder texture for stubborn marks

Blending Tools:

Blending Stumps (Tortillons):

  • Tight paper spirals for smooth blending
  • Various sizes for different applications
  • Can be sharpened with sandpaper

Soft Cloth and Tissues:

  • For large area blending
  • Creating atmospheric effects
  • Quick tonal adjustments

Natural Sponges:

  • Unique texture creation
  • Organic blending effects
  • Excellent for cloud formations

3. Blending Tools

Blending Stumps (Tortillons):

  • Tight paper spirals for smooth blending
  • Various sizes for different applications
  • Can be sharpened with sandpaper

Soft Cloth and Tissues:

  • For large area blending
  • Creating atmospheric effects
  • Quick tonal adjustments

Natural Sponges:

  • Unique texture creation
  • Organic blending effects
  • Excellent for cloud formations

4. Paper Selection for Charcoal Drawing

Textured Papers:

  • Cold-press watercolour paper
  • Charcoal-specific papers (Strathmore, Canson)
  • Excellent tooth for charcoal adhesion

Smooth Papers:

  • Hot-press watercolour paper
  • Bristol board (vellum finish)
  • Perfect for detailed, precise work

Toned Papers:

  • Grey, cream, or colored papers
  • Allows working from middle values
  • Professional portrait standard

Learn more about paper selection from Jackson’s Art Supplies.

5. Preservation and Finishing

Fixatives:

  • Workable fixative for layer building
  • Final fixative for permanent protection
  • Proper ventilation essential

Storage Solutions:

  • Portfolio cases for artwork protection
  • Glassine sheets between drawings
  • Flat storage to prevent warping

Fundamental Charcoal Drawing Techniques

1. Value Control: The Foundation of Great Drawing

Understanding the Value Scale: Create a 10-step value scale from pure white to deep black. This exercise develops your ability to see and reproduce accurate tonal relationships. Proko offers excellent tutorials on value control fundamentals.

Exercise 1: Basic Value Scale

  1. Draw 10 connected rectangles
  2. Leave the first white
  3. Gradually darken each subsequent rectangle
  4. Make the final rectangle pure black
  5. Practice until transitions are smooth and even
2. Mark-Making Techniques

Linear Application

  • Hatching
    Creating value and depth using closely spaced parallel lines in a single direction.
  • Cross-hatching
    Building tonal variation by layering intersecting sets of hatched lines at different angles.
  • Contour lines
    Lines that follow the natural curves and form of the subject suggest volume and structure.
  • Gestural marks
    Quick, expressive strokes that capture movement, rhythm, or emotional intensity.

Tonal Application

  • Side application
    Rubbing the side of charcoal to create soft, wide areas of tone — ideal for large shapes or backgrounds.
  • Blending
    Smoothing out charcoal using fingers, stumps, or cloth for soft gradients and subtle shifts in tone.
  • Scumbling
    Loose, broken, and irregular application of charcoal to create textured, dynamic surfaces.
  • Lifting
    Erasing or dabbing out charcoal to create highlights or correct areas, often used for contrast and light effects.

3. Basic Shading Patterns

Directional Shading: Always consider light source direction. Shadows should follow the form they’re describing, wrapping around three-dimensional shapes naturally.

Core Shadow vs. Cast Shadow:

  • Core shadow: Darkest area on the object itself
  • Cast shadow: Shadow thrown onto adjacent surfaces
  • Understanding this distinction creates a convincing volume

New Masters Academy provides excellent instruction on shadow fundamentals.

4. Blending Mastery

Smooth Blending Technique:

  1. Apply charcoal in overlapping strokes
  2. Use a blending stump perpendicular to strokes
  3. Work from dark to light areas
  4. Clean the stump regularly on scrap paper

Selective Blending: Not everything requires smooth blending. Strategic areas of sharp contrast create visual interest and focal points.

Step-by-Step Charcoal Drawing Process

Phase 1: Composition and Planning (10-15 minutes)

Thumbnail Sketches: Create 3-4 small compositional studies focusing on:

  • Value distribution
  • Focal point placement
  • Edge variety
  • Overall balance

Reference Analysis: Study your subject for:

  • Primary light source direction
  • Major value patterns (light, middle, dark)
  • Interesting textural elements
  • Compositional opportunities

Learn more about composition principles from Drawing Lessons 101.

Phase 2: Initial Block-In (20-30 minutes)

Using Vine Charcoal:

  1. Establish basic proportions with light construction lines
  2. Map major shapes without concern for detail
  3. Identify the darkest darks and lightest lights
  4. Block in major value patterns broadly

Key Principle: Work from general to specific, large shapes to small details.

Phase 3: Value Development (45-60 minutes)

Compressed Charcoal Application:

  1. Establish the full value range early
  2. Work on relationships between adjacent values
  3. Develop form through careful value transitions
  4. Maintain overall unity while adding variety

Critical Assessment: Step back frequently to evaluate:

  • Overall value distribution
  • Form convincingness
  • Compositional strength
  • Areas needing adjustment

Phase 4: Detail Refinement (30-45 minutes)

Charcoal Pencil Work:

  1. Refine critical details (eyes in portraits, focal elements)
  2. Add surface textures where appropriate
  3. Sharpen important edges for contrast
  4. Soften background elements for depth

Phase 5: Final Adjustments (15-20 minutes)

Last-Minute Improvements:

  1. Strengthen the darkest darks if needed
  2. Clean up the lightest lights with an eraser
  3. Add final accent details sparingly
  4. Check overall unity and make final adjustments

Creating Different Textures in Charcoal

1. Skin Texture Techniques

Smooth Skin (Portrait Work):

  1. Apply charcoal smoothly with a blending stump
  2. Build up gradually in thin layers
  3. Use a kneaded eraser for subtle highlights
  4. Avoid over-blending, which creates flatness

Aged Skin:

  1. Establish a basic skin tone with smooth blending
  2. Add wrinkles with sharp charcoal pencil lines
  3. Blend selectively, leaving some lines sharp
  4. Use directional shading following the skin’s natural planes

Portrait Society of America offers excellent resources for portrait-specific techniques.

2. Hair Rendering

Dark Hair:

  1. Map overall hair shape and major sections
  2. Apply base tone, leaving highlight areas
  3. Add individual hair strands following the growth direction
  4. Vary stroke weight and pressure for realism

Light Hair:

  1. Work on toned paper for better value control
  2. Use predominantly subtractive techniques
  3. Add darker strands selectively
  4. Maintain overall light value while showing form

3. Natural Elements

Tree Foliage:

  • Use stippling motion for dense leaf clusters
  • Vary the pressure for light and shadow areas
  • Leave gaps for sky holes
  • Add individual leaves only in the foreground

Water Surfaces:

  • Horizontal blending for calm water
  • Vertical reflection patterns
  • Sharp horizontal lines for the water surface
  • Broken reflections for moving water

Rock and Stone:

  • Build a form with directional shading
  • Add texture with varied pressure application
  • Use sharp edges for crystalline surfaces
  • Blend for weathered, rounded stones

Artists Network provides specialized techniques for natural subjects.

4. Architectural Elements

Brick Surfaces:

  1. Establish overall wall tone
  2. Add individual brick patterns with an eraser
  3. Vary brick tones for realism
  4. Include mortar lines with consistent spacing

Wood Grain:

  1. Apply the base tone following the wood direction
  2. Add grain lines with a charcoal pencil
  3. Vary line weight and spacing
  4. Include knots and irregular patterns

Top 5 Charcoal Drawing Tips for Professional Results

1. Master Your Grip and Pressure Control

  • Overhand Grip for Broad Strokes: Hold charcoal like a brush, with fingers controlling fine adjustments and arm movement, creating broad, confident strokes. This grip prevents cramping during long sessions and produces more natural, flowing lines.
  • Underhand Grip for Precision: Use traditional pencil grip only for fine details and precision work. This maintains better control over small areas while preventing hand fatigue.
  • Pressure Variation Exercise: Practice creating gradual transitions from light to heavy pressure in single strokes. This fundamental skill enables smooth value gradations essential for professional work.

2. Establish Your Darkest Dark Early

Professional Principle: Identify and establish your darkest value within the first 20 minutes of drawing. This provides a reference point for all subsequent value decisions, preventing weak, grey drawings.

Implementation:

  • Locate the deepest shadow in your subject
  • Apply compressed charcoal at full intensity
  • Use this as your value “anchor” throughout the process
  • Build all other values in relationship to this darkest point

3. Work in Layers, Not Details

Layer Building Strategy:

  1. First layer: Overall value patterns with vine charcoal
  2. Second layer: Refined forms with compressed charcoal
  3. Third layer: Surface textures and details with charcoal pencils
  4. Final layer: Highlights and final accents

Avoid Common Mistakes: Never start with detailed areas while leaving other sections blank. This approach leads to disjointed, inconsistent drawings lacking overall unity.

4. Use Paper Texture Strategically

Texture Selection:

  • Heavy texture: For expressive, gestural work
  • Medium texture: For general drawing applications
  • Light texture: For detailed, precise work

Texture Enhancement: Work with the paper’s natural texture rather than against it. Let the paper’s surface contribute to your drawing’s character and appeal.

Artists & Illustrators provides excellent guidance on paper selection and texture use.

5. Plan Your Highlights from the Beginning

Preservation Strategy: Identify highlight areas before beginning and preserve them throughout the drawing process. It’s far more effective to work around lights than to try removing charcoal later.

Highlight Categories:

  • Primary highlights: Brightest points showing direct light
  • Secondary highlights: Reflected light areas
  • Accent highlights: Small bright spots adding sparkle and life

Implementation: Use masking tape or careful charcoal placement to maintain clean highlight shapes throughout your drawing process.

Advanced Charcoal Drawing Methods

1. Subtractive Drawing Approach

This professional technique involves covering the paper with charcoal and “drawing” by removing material to create lights and forms.

Process:

  1. Cover the entire paper with an even charcoal tone
  2. Use various erasers to “pull out” light forms
  3. Add darker accents where needed
  4. Refine with additional charcoal application

Applications:

  • Dramatic portraits with strong lighting
  • Atmospheric landscapes
  • Abstract compositions
  • High-contrast still life

2. Additive vs. Subtractive Combination

In charcoal drawing, artists often combine additive (building up) and subtractive (removing) techniques to create rich tonal range, depth, and dimensionality.

Professional Workflow:

  • Establish composition with vine charcoal: Begin by sketching the general outlines and layout using vine charcoal, which is soft, erasable, and perfect for loose initial marks. This helps plan the overall proportions and structure of the drawing.
  • Block in major value patterns using the subtractive method: Cover the paper with a mid-tone charcoal layer, then use kneaded or vinyl erasers to “pull out” lighter areas. This subtractive approach allows the artist to quickly carve out light sources, highlights, and volume by revealing the white of the paper.
  • Refine forms with additive techniques: Once the lightest values are established, darken areas with compressed charcoal or charcoal pencils to build up shadows, depth, and contours. Layering charcoal gradually gives the forms a more realistic and three-dimensional feel.
  • Final details with charcoal pencils: Use harder charcoal pencils for the crispest lines and textures—perfect for refining edges, adding contrast, and placing the darkest darks. This step brings precision and polish to the drawing, completing the tonal hierarchy.

3. Advanced Texture Creation

Fabric Textures:

  • Silk: Smooth blending with sharp highlight lines
  • Wool: Scumbled application following weave direction
  • Denim: Cross-hatching with consistent spacing

Organic Textures:

  • Tree bark: Vertical gestural marks with varied pressure
  • Water: Horizontal blending with reflected highlights
  • Clouds: Soft circular blending motions

Hard Surface Textures:

  • Metal: Sharp contrast between highlights and reflections
  • Glass: Clean edges with precise highlight placement
  • Stone: Irregular stippling and varied tonal application

Composition and Planning in Charcoal Drawing

1. Value-Based Composition

The Four-Value System: Simplify complex subjects into four basic values:

  1. White/Light Grey: Brightest highlights and light areas
  2. Medium Grey: General form modelling
  3. Dark Grey: Form shadows and deeper tones
  4. Black: Deepest shadows and accents

Value Pattern Planning: Before beginning detailed work, create small thumbnail compositions testing different value arrangements. Strong value patterns are more important than perfect drawing accuracy.

Learn more about composition fundamentals from The Virtual Instructor.

2. Focal Point Development

Contrast Hierarchy: Place your strongest contrasts (darkest darks against lightest lights) at your intended focal point. This naturally draws viewer attention and creates a visual hierarchy.

Edge Variation:

  • Sharp edges: At focal points and important transitions
  • Soft edges: In background areas and less important elements
  • Lost edges: Where forms merge into shadow or background

3. Background Strategy

Atmospheric Perspective: Use charcoal’s natural gradation capabilities to show depth:

  • Darker values push elements forward
  • Lighter values suggest distance
  • Softer edges imply atmospheric haze
  • Reduced detail suggests background placement

Troubleshooting Common Charcoal Issues

1. Overworked, Muddy Drawings

Symptoms:

  • Loss of clean whites
  • Smeared, dirty appearance
  • Lack of value contrast
  • Overblended surfaces lacking character

Solutions:

  1. Start fresh with cleaner materials
  2. Preserve highlights more carefully
  3. Limit blending to essential areas only
  4. Use sharper tools for the final details

2. Weak, Grey Drawings

Symptoms:

  • Insufficient contrast range
  • Timid mark-making
  • Overuse of midtone values
  • Lack of bold statements

Solutions:

  1. Establish the darkest dark immediately
  2. Push contrast beyond the comfort zone
  3. Use compressed charcoal more boldly
  4. Simplify value patterns for a stronger impact

3. Proportional Issues

Symptoms:

  • Distorted features or objects
  • Incorrect size relationships
  • Poor overall composition

Solutions:

  1. Use construction lines for initial layout
  2. Measure relationships constantly
  3. Step back frequently for an overall assessment
  4. Use plumb lines for vertical alignment

4. Surface Damage from Over-Erasing

Symptoms:

  • Roughened paper surface
  • Inability to apply clean charcoal
  • Shiny, compressed paper areas

Prevention:

  1. Plan highlights before applying charcoal
  2. Use gentler erasers (kneaded preferred)
  3. Apply lighter pressure during corrections
  4. Accept some marks rather than over-correcting

Advantages of Charcoal Drawing

1. Exceptional Tonal Range

Charcoal offers the widest value spectrum of any drawing medium. From the deepest, velvety blacks to the subtlest light greys, this range enables:

  • Dramatic lighting effects are impossible with other media
  • Rich atmospheric depth in landscape work
  • Powerful emotional impact through contrast
  • Professional-quality results matching fine art standards

2. Versatility Across Subject Matter

  • Portrait Excellence: Charcoal’s ability to capture skin tones, hair textures, and clothing details makes it the preferred medium for professional portrait artists.
  • Landscape Mastery: From misty morning scenes to dramatic storm clouds, charcoal excels at capturing nature’s varied moods and atmospheric conditions.
  • Still Life Sophistication: The medium’s textural capabilities bring objects to life, rendering everything from smooth glass to rough fabric with convincing realism.

3. Speed and Efficiency

  • Quick Coverage: Large areas can be covered rapidly, making charcoal ideal for:
  1. Gesture drawing sessions
  2. Plein air landscape work
  3. Teaching demonstrations
  • Immediate Results: Unlike wet media requiring drying time, charcoal allows continuous workflow and immediate corrections.

4. Professional Acceptance

  • Gallery Recognition: Charcoal drawings are accepted in prestigious exhibitions and collections, offering serious artists a path to professional recognition.
  • Commercial Applications: From book illustrations to architectural renderings, charcoal’s professional appearance opens commercial opportunities.

5. Educational Value

Fundamental Skill Development: Working with charcoal develops:

  • Value sensitivity for all other media
  • Compositional awareness through simplified colour
  • Drawing confidence through a forgiving nature
  • Professional working methods and discipline

Disadvantages of Charcoal Drawing

1. Physical Challenges

Dust and Mess: Charcoal produces significant dust that can:

  • Trigger respiratory issues for sensitive individuals
  • Contaminate the workspace, requiring extensive cleanup
  • Damage to electronic equipment can occur if not properly contained
  • Stain clothing and surfaces permanently

Health Considerations:

  • Always work in well-ventilated areas
  • Consider wearing dust masks during extended sessions
  • Use air purifiers in studio spaces
  • Wash your hands thoroughly after each session

2. Preservation Difficulties

Smudging Vulnerability: Unlike ink or graphite, charcoal remains vulnerable to smudging even after completion, requiring:

  • Immediate fixative application for protection
  • Careful handling and storage procedures
  • Professional framing with proper spacing
  • Climate-controlled environments for archival preservation

Fixative Limitations:

  • Changes the drawing appearance slightly
  • Cannot completely prevent all smudging
  • Requires proper ventilation during application
  • Adds expense and complexity to the process

3. Technical Limitations

Colour Restriction: Working exclusively in grayscale limits:

  • Subject matter choices where colour is essential
  • Commercial applications requiring full colour
  • Certain atmospheric effects are dependent on colour temperature
  • Market appeal in colour-preferring audiences

Paper Requirements: Charcoal demands specific paper qualities:

  • Textured surfaces are necessary for proper adhesion
  • Higher quality papers increase material costs
  • Limited paper colour options compared to other media
  • Size restrictions due to paper availability

4. Skill Development Challenges

Steep Learning Curve: Mastering charcoal requires developing:

  • Pressure control for varied line weights
  • Blending sensitivity to avoid overworking
  • Value judgment skills are more critical than in colour media
  • Composition planning is due to the difficulty of major changes

Correction Limitations: While charcoal allows corrections, extensive changes can:

  • Damage the paper surface through excessive erasing
  • Create muddy, overworked appearances
  • Lose the freshness and spontaneity that makes charcoal appealing
  • Require a complete restart in severe cases

Learning Resources for Continued Growth

1. Online Learning Platforms

Skill-Specific Tutorials:

Professional Development:

2. Building Your Artistic Community

Gallery Opportunities:

Inspiration and Growth:

Conclusion: Your Charcoal Drawing Journey

Mastering charcoal drawing requires patience, practice, and progressive skill development. This comprehensive guide provides the foundation, but your artistic voice will emerge through consistent practice and experimentation.

Key Takeaways:

  • Master fundamental techniques before advancing to complex subjects
  • Practice regularly with focused intent rather than random sketching
  • Study professional work to understand advanced applications
  • Document your progress to track improvement over time
  • Experiment boldly while maintaining technical discipline

Your Next Steps:

  1. Gather quality materials based on this guide’s recommendations
  2. Practice basic exercises until they become second nature
  3. Choose simple subjects for initial projects
  4. Build complexity gradually as skills develop
  5. Seek feedback from experienced artists and instructors

Remember, every professional artist began as a beginner. Consistent learning and practice of these techniques will help you improve with this medium. Charcoal drawing offers unlimited potential for artistic expression—embrace its challenges and discover your unique creative voice.

Begin your charcoal drawing journey today and build the skills that have helped many artists grow personally and professionally.

FAQs

To store charcoal artwork, spray it with a workable fixative to prevent smudging. Place glassine sheets between pieces and keep them flat in a portfolio or archival box. For long-term display, frame it with UV-protective glass and acid-free backing. Store it in a cool, dry place to avoid humidity damage.

Use a workable fixative (e.g., Krylon Workable Fixatif) for charcoal drawings to allow further adjustments. Opt for a final fixative like Lascaux or Grumbacher for a permanent seal. Spray thin, even layers from 12–15 inches away in a well-ventilated area for best results.

Paper texture influences how charcoal adheres: 

  • Rough/Cold-Press: Best for bold applications and expressive strokes.
  • Smooth/Hot-Press: Ideal for fine details and blending.
  • Newsprint: Suitable for practice but non-archival. Test small sections before significant projects to ensure the desired effect.

Yes. Charcoal blends well with: 

  • Graphite: For rich shadows and fine details. 
  • Ink: Adds striking contrast. 
  • Pastels: Introduces colour. 
  • Watercolours/Acrylics: Use charcoal for outlines after the paint dries. Always test combinations on scrap paper for best results.

Effective blending techniques include: 

  • Blending stumps/tortillons for precision. 
  • Soft cloth/tissue for smooth gradients. 
  • Brushes for painterly effects. 
  • Fingers for organic texture (avoid oils).
  • Kneaded erasers to lift highlights. Blend following the form’s direction for realistic depth.

Find expert tutorials and tips for drawing with charcoal at The Art Shop Skipton and Mark Clark Fine Art. These resources provide in-depth guides, techniques, and best practices to enhance your charcoal drawing skills, which are suitable for beginners and advanced artists.

Harmonising Art and Ambiance: Balancing Paintings with Your Room Colour Scheme

room colour scheme

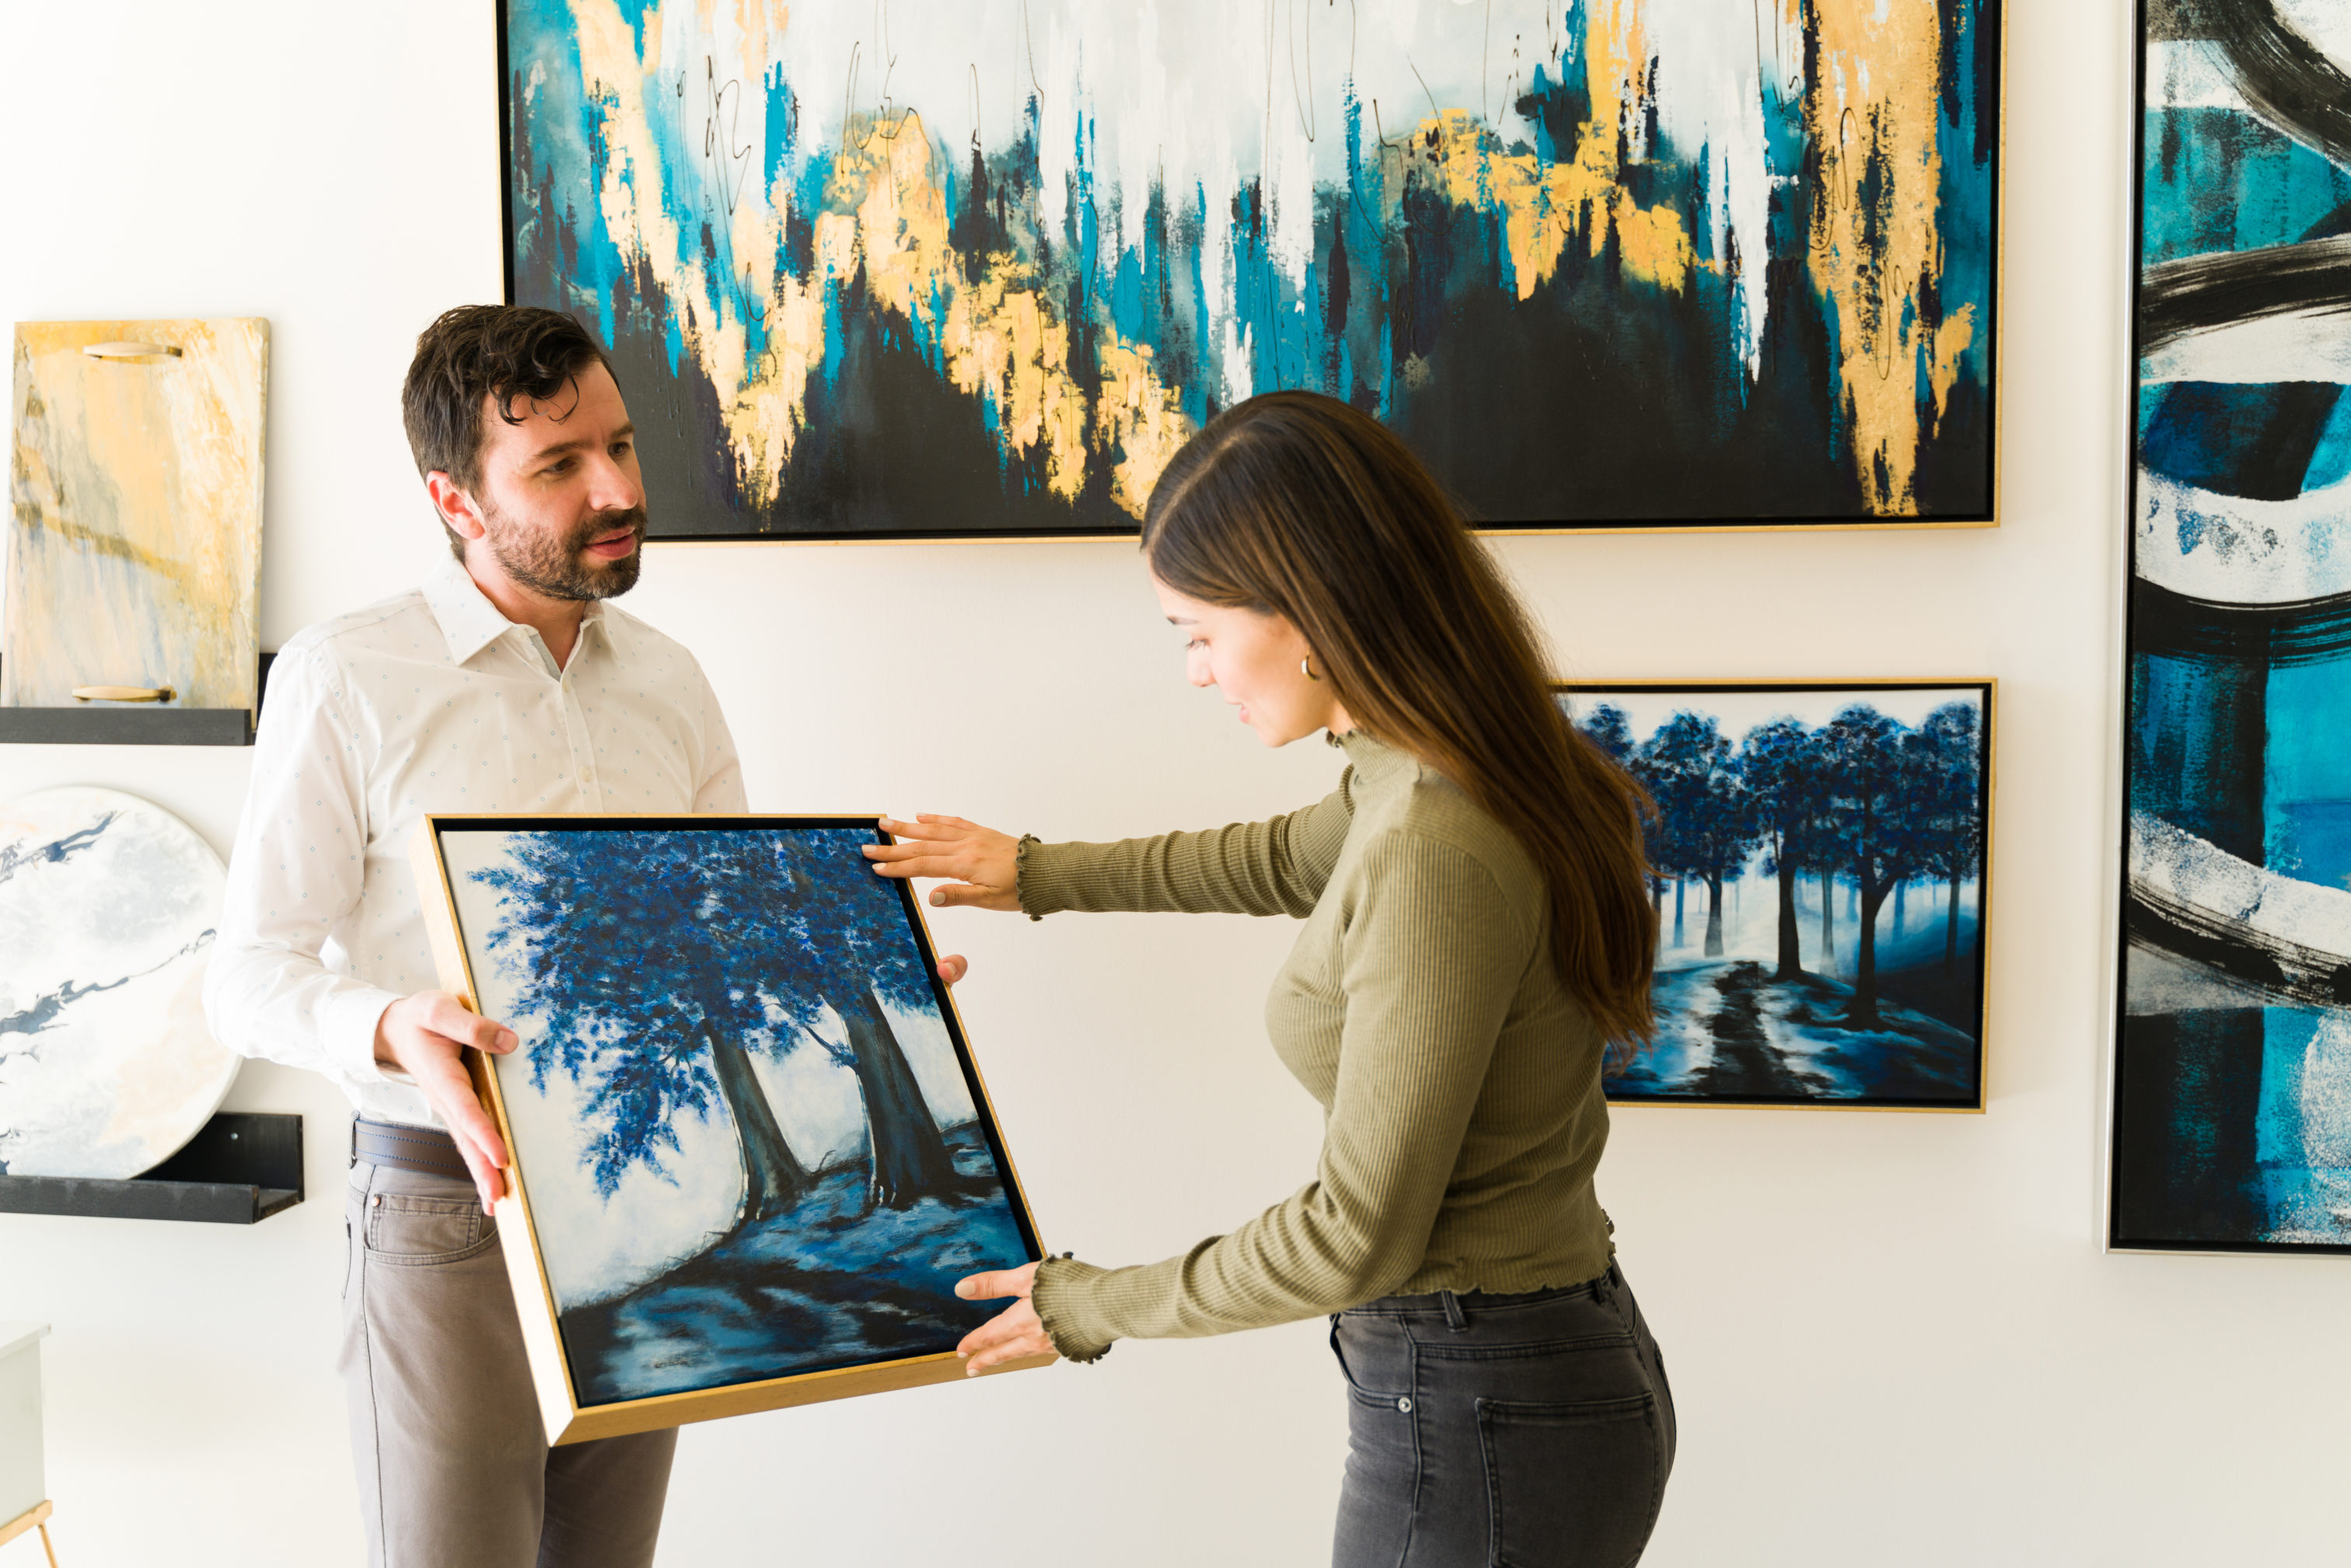
The art of interior design goes beyond simple aesthetics; it’s about creating an atmosphere that resonates with your personality and complements your living space. An essential element in achieving this balance is choosing paintings that harmonise with your room colour scheme. In this comprehensive guide, we’ll explore the delicate art of marrying artwork and ambience, ensuring your home reflects your unique style while maintaining a cohesive room colour scheme.

How Colour Affects Interior Design

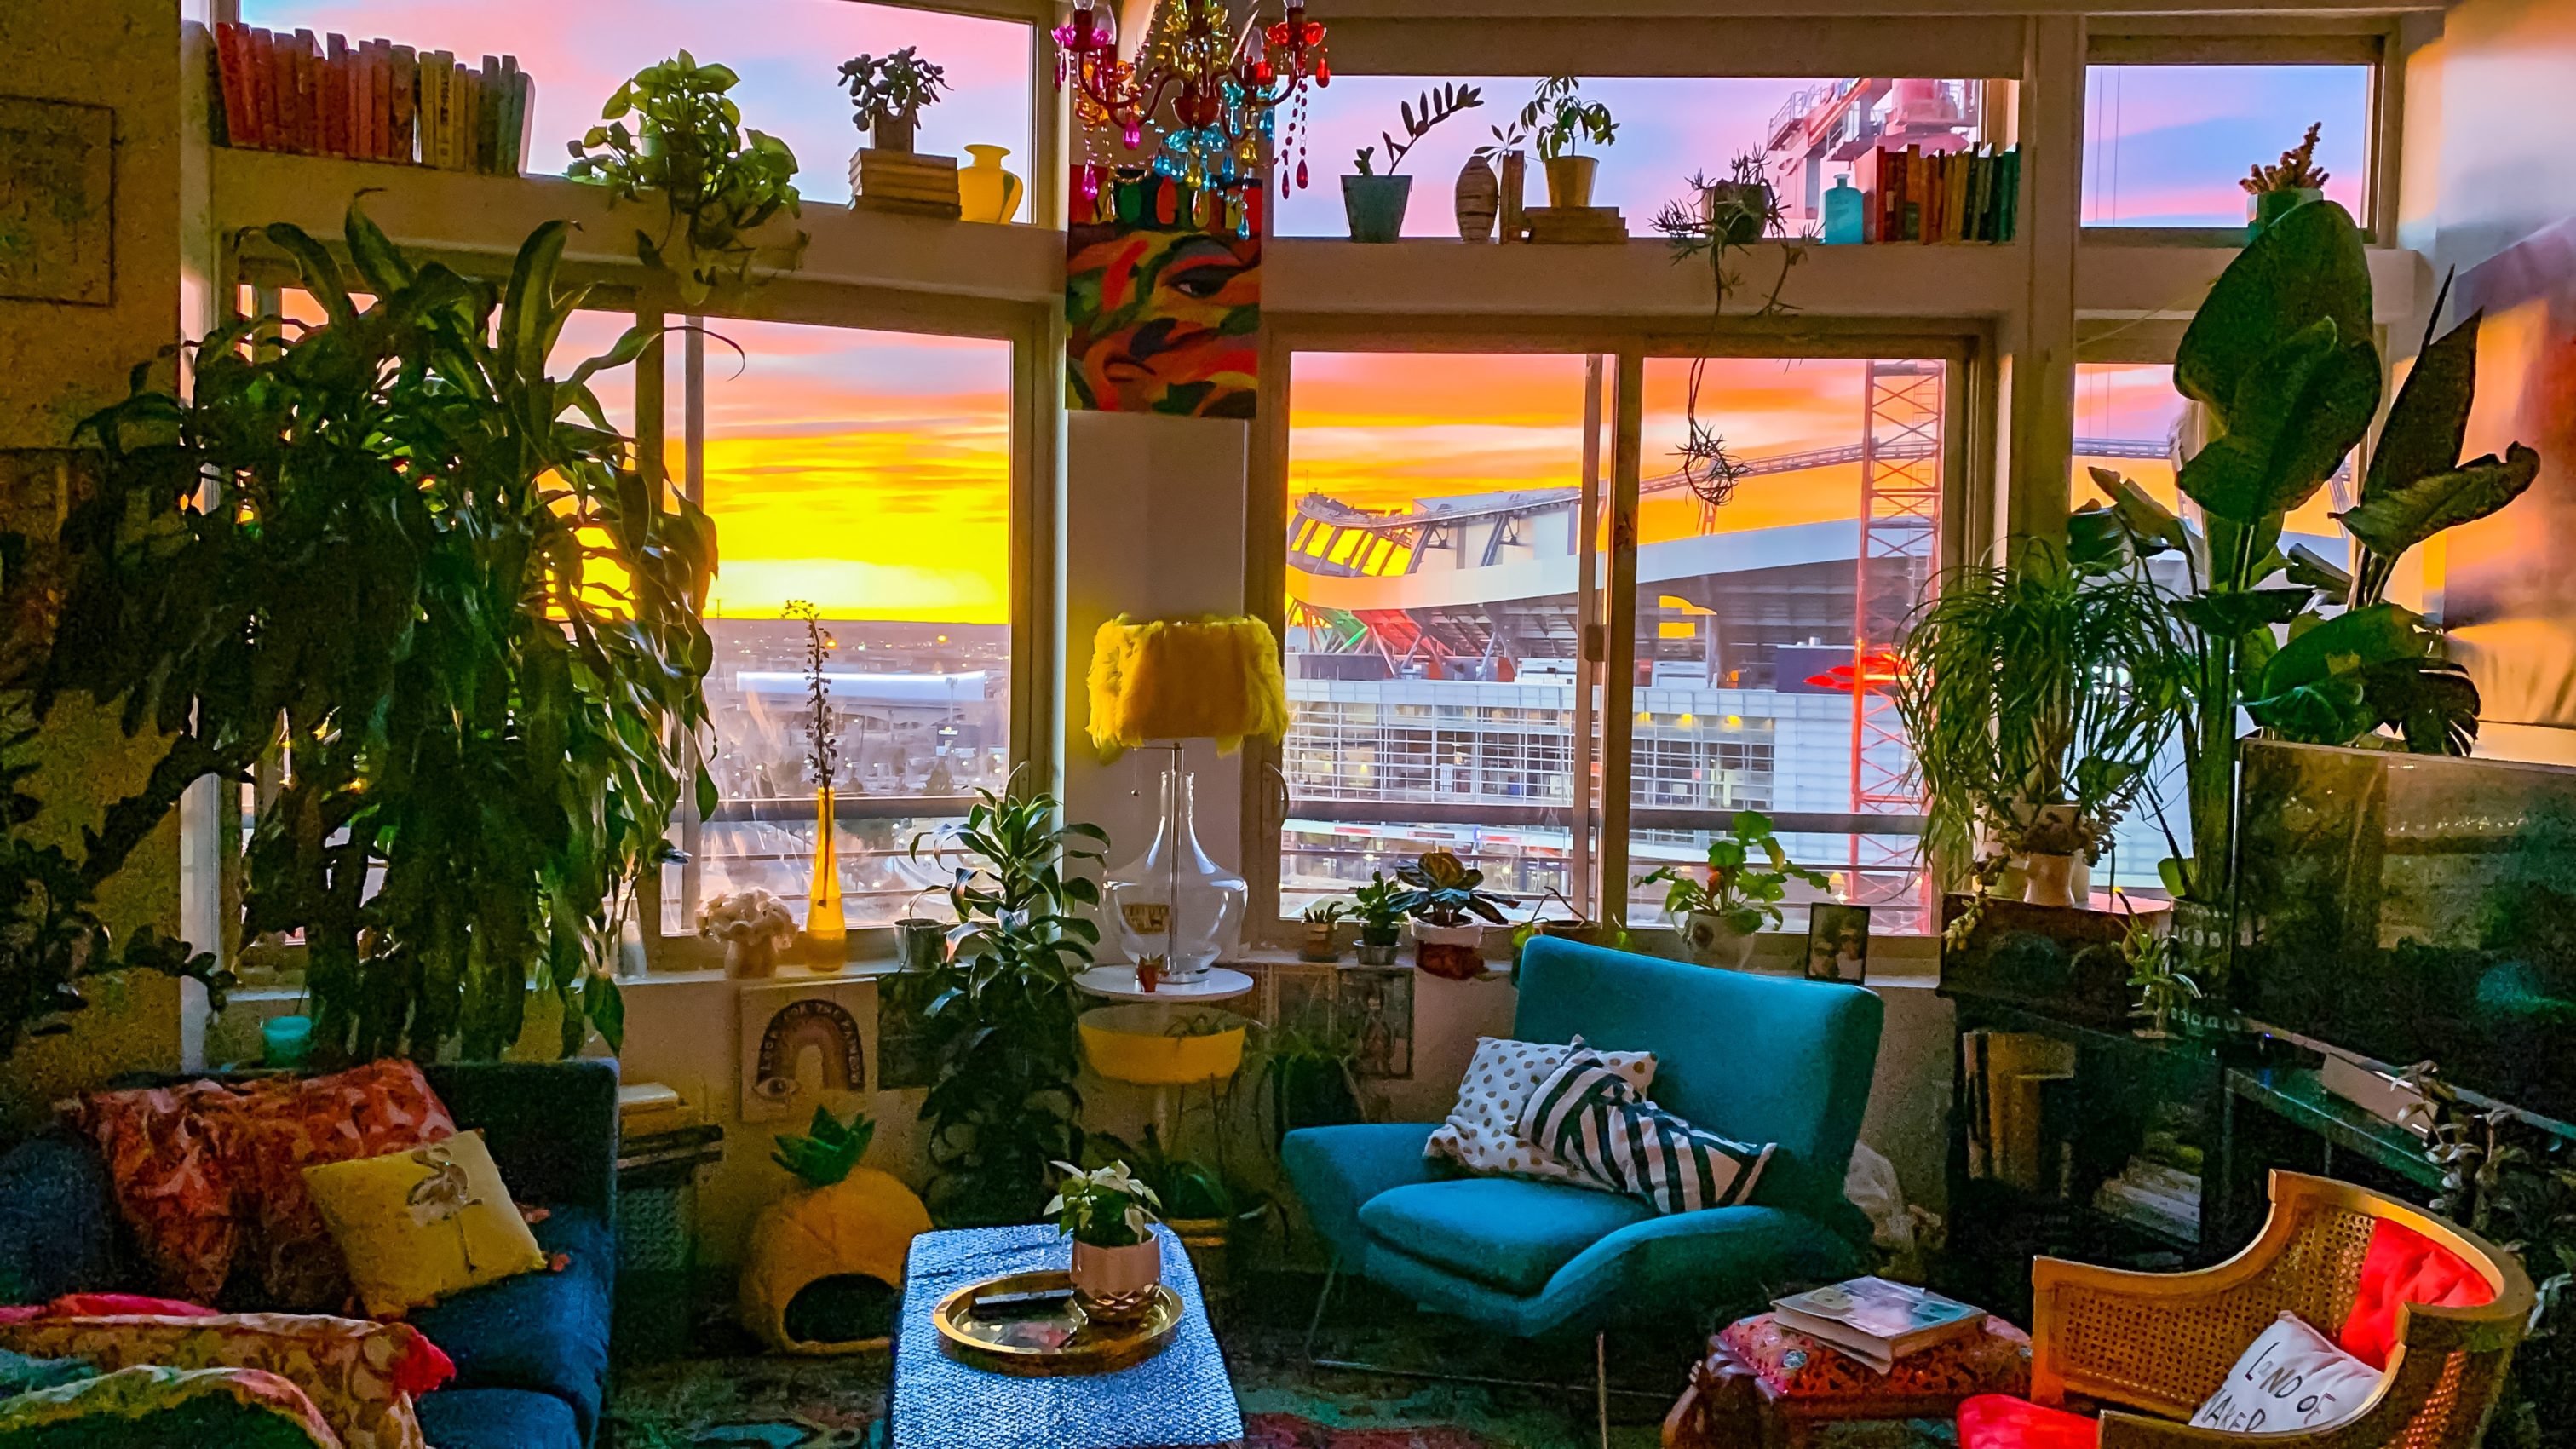
Before we dive into the world of paintings, it’s essential to understand the significance of colour in interior design. Colours evoke emotions, set moods, and define spaces. When choosing paintings, considering the room colour scheme is crucial, as the colour palette can either enhance or disrupt the visual harmony of your room.

The Psychology of Colour in Your Room Colour Scheme

Understanding how different colours affect mood and perception is fundamental to creating an effective room colour scheme. Warm colours like reds and oranges can energise a space, while cool blues and greens promote tranquillity. Your chosen room colour scheme should reflect the intended purpose and atmosphere of each room.

Tips for Matching Paintings with Room Colours

1. Start with a Neutral Canvas

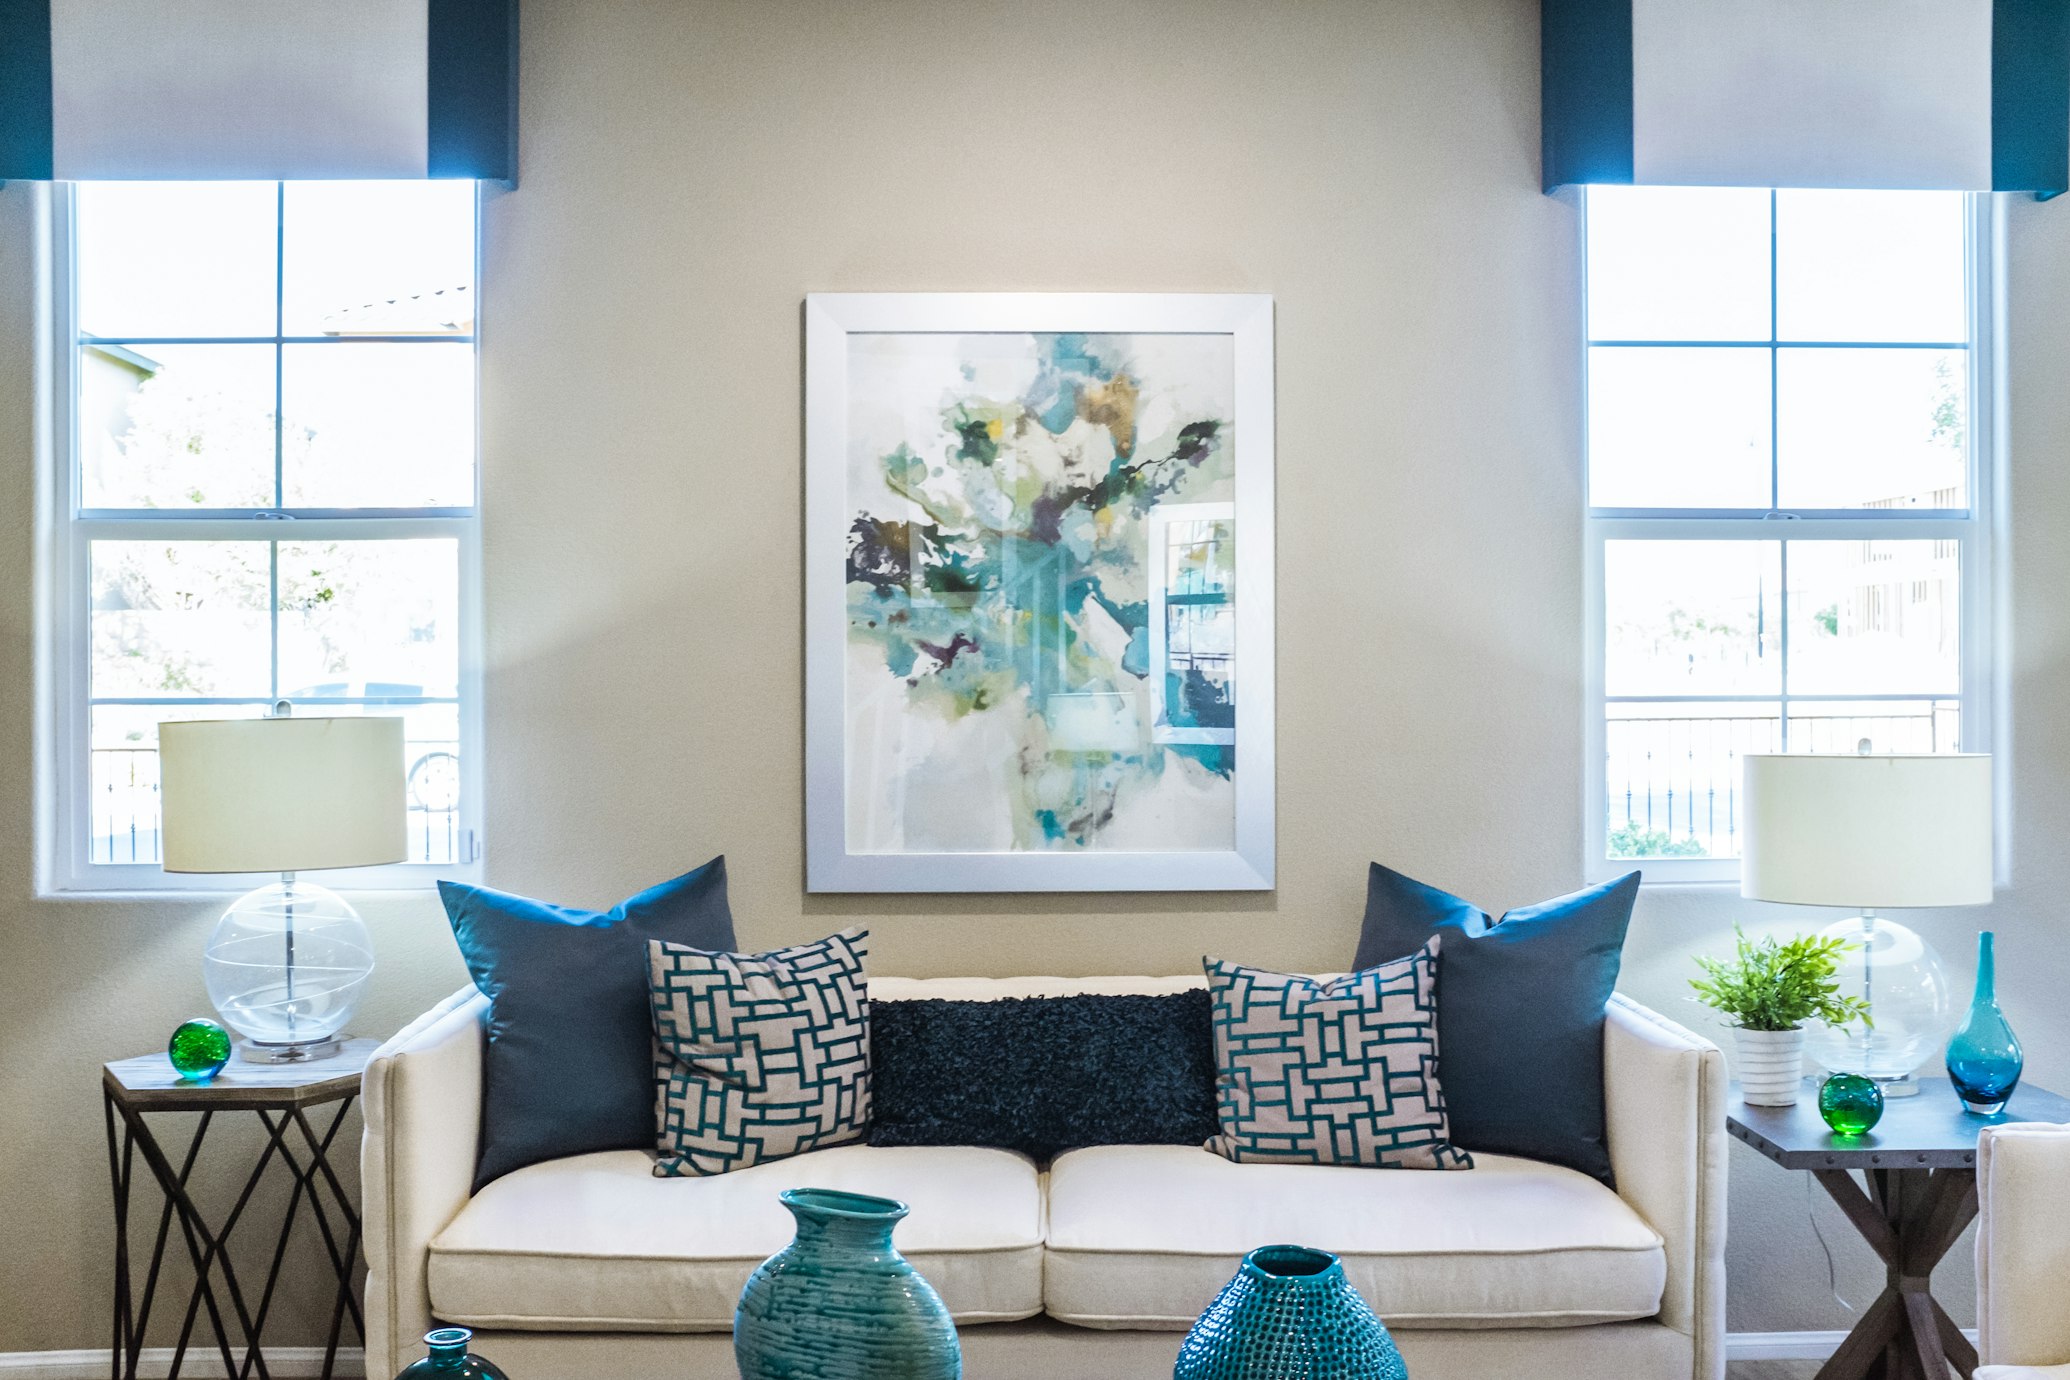
Begin with a neutral base for your room colour scheme, incorporating shades of white, beige, or grey for walls and large furniture pieces. This neutral canvas provides a versatile backdrop for your artwork and allows your room colour scheme to evolve organically.

2. Identify Your Dominant Colour

In every room, one dominant colour is often found in furniture or decor elements. Identify this colour; it will guide your room colour scheme and painting selection. This dominant hue should be the foundation of your room colour scheme strategy.

3. Complementary Colours for Dynamic Room Colour Schemes

Explore the colour wheel to discover complementary shades. These colours opposite each other on the wheel create a visually striking contrast. A painting featuring complementary colours can be a focal point in a room colour scheme dominated by a single hue, adding depth and interest to your overall ambience.

4. Analogous Colours for Harmonious Room Colour Schemes: Living Room

Analogous colours are adjacent on the colour wheel, creating a sense of harmony. Choosing paintings that incorporate analogous colours to your room colour scheme’s dominant hue can provide a soothing and cohesive look, particularly effective in room colour schemes for living rooms.

5. Monochromatic Tones for Sophisticated Room Colour Schemes

For a sophisticated and unified appearance, opt for paintings that use varying shades of your room colour scheme’s dominant colour. This monochromatic approach adds depth without overwhelming the senses and creates an elegant room colour scheme that feels intentional and refined.

6. Bold Contrasts to Energise Your Room Colour Scheme

If your room colour scheme features a neutral palette, consider bold and vibrant paintings to inject energy and personality. A vivid artwork can be a conversation starter and a statement piece that elevates your entire room colour scheme.

7. Test with Samples Before Finalising Your Room Colour Scheme

Before committing to a painting, obtain colour samples or swatches to ensure they harmonise with your room colour scheme. Natural and artificial lighting can affect how colours appear, potentially altering the perception of your carefully planned room colour scheme.

8. Consider the Artwork’s Emotional Impact on Your Room Colour Scheme

Beyond colour, consider the artwork’s emotional impact. Does it convey the desired mood for the room colour scheme? A serene landscape may be ideal for a bedroom colour scheme, while abstract art can infuse vitality into a living area’s colour scheme.

Visual Balance and Placement

Creating a balanced composition involves more than colour; it’s also about the size, placement, and style of your paintings within your room colour scheme:

1. Scale Matters in Your Room Colour Scheme

Match the scale of your paintings to the room’s proportions and your room colour scheme. A large painting can dominate a small space, while small pieces may get lost in a big room, disrupting the visual flow of your room colour scheme.

2. Placement Precision for Optimal Room Colour Scheme Impact

When hanging paintings, consider eye level. The artwork’s centre should typically be at eye level, around 57-60 inches from the floor. However, artistic experimentation with placement can sometimes create visually appealing effects that enhance your room colour scheme.

3. Mixing Styles Within Your Room Colour Scheme

Eclecticism in artwork can create a dynamic and engaging atmosphere. Combining contemporary art with traditional decor can create a visually stimulating blend while maintaining your room colour scheme’s coherence.

4. Framing Unification

Choose frames that complement your room’s decor and colour scheme. Frames can tie the artwork to the surroundings or serve as a statement piece that enhances your overall room colour scheme.

5. Grouping Art for Gallery Wall Impact

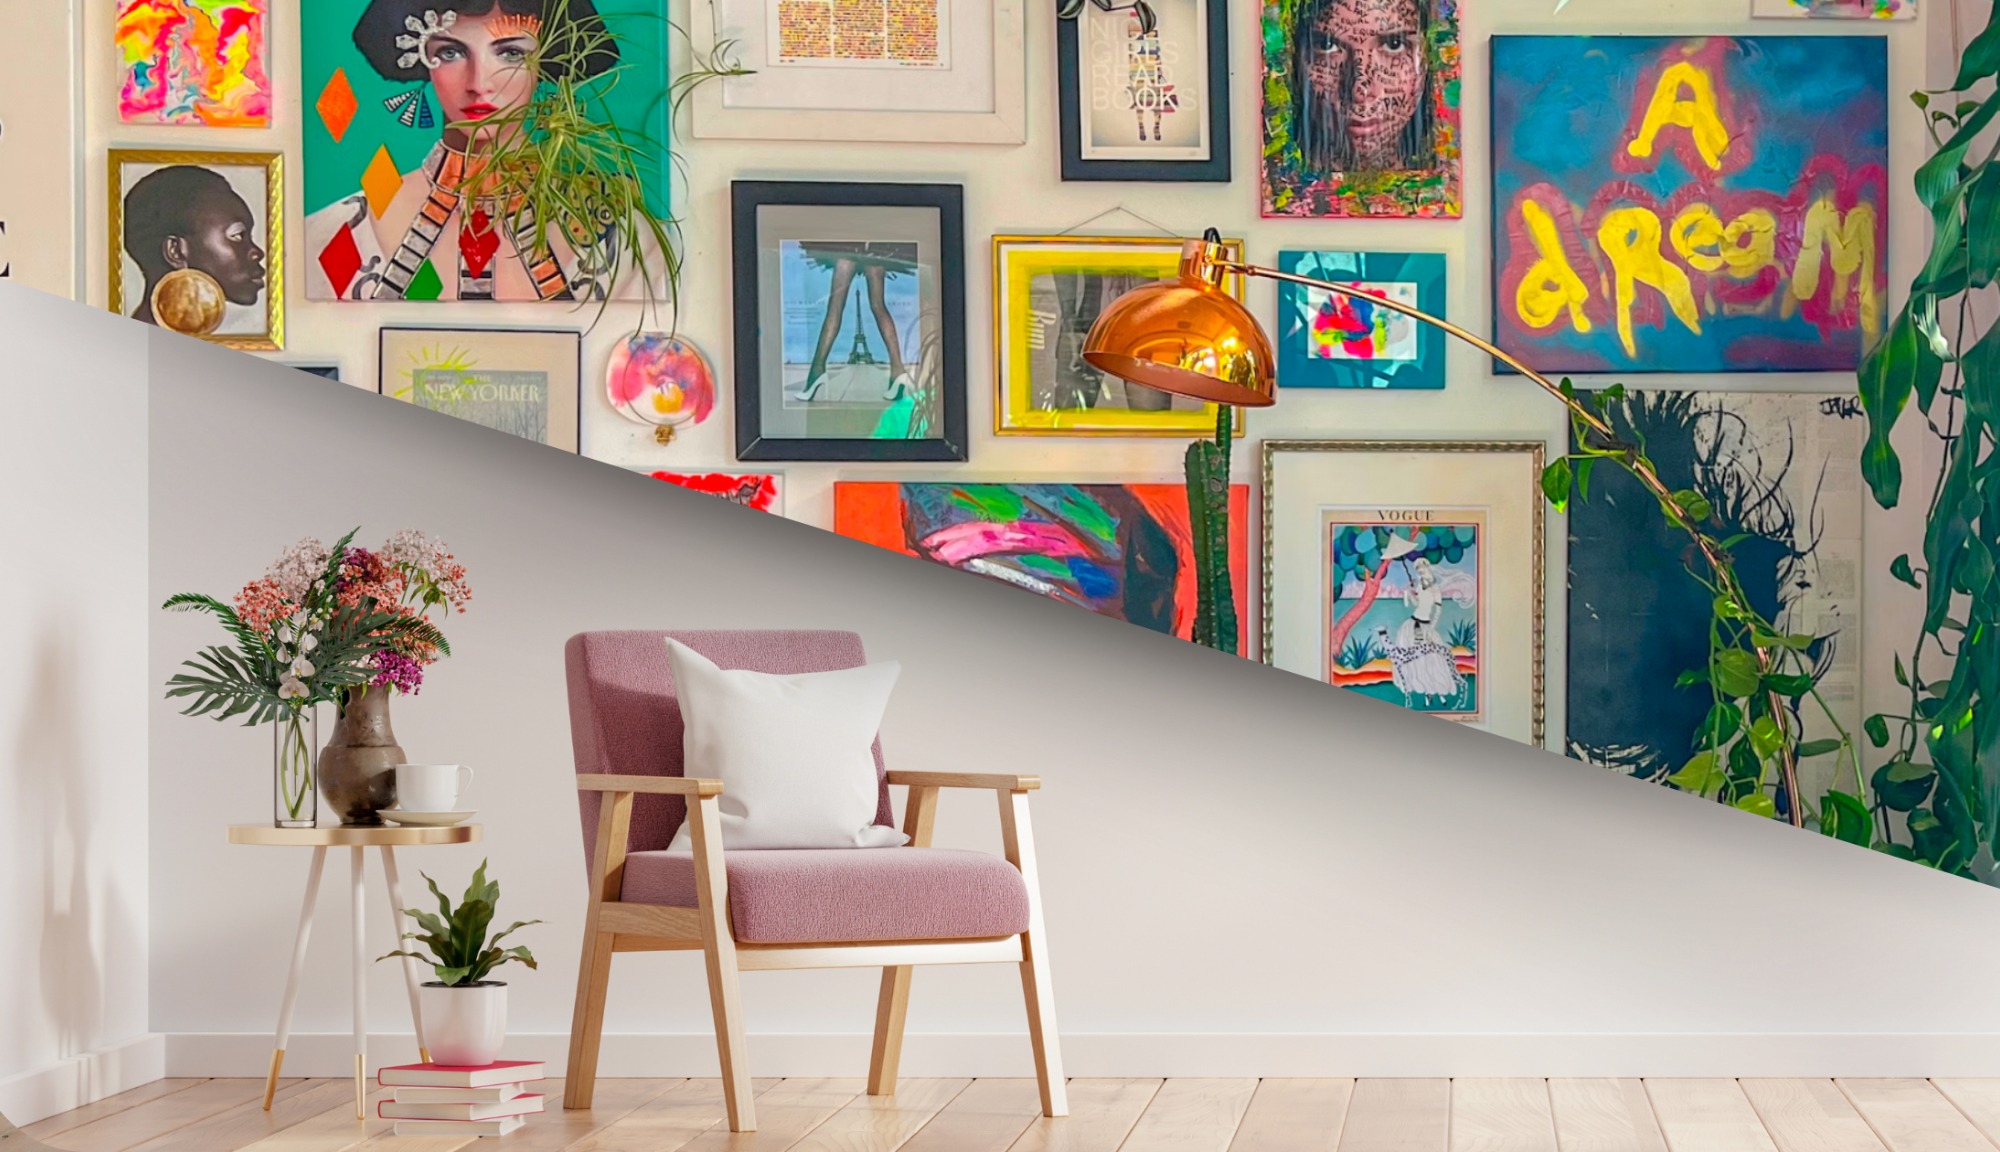
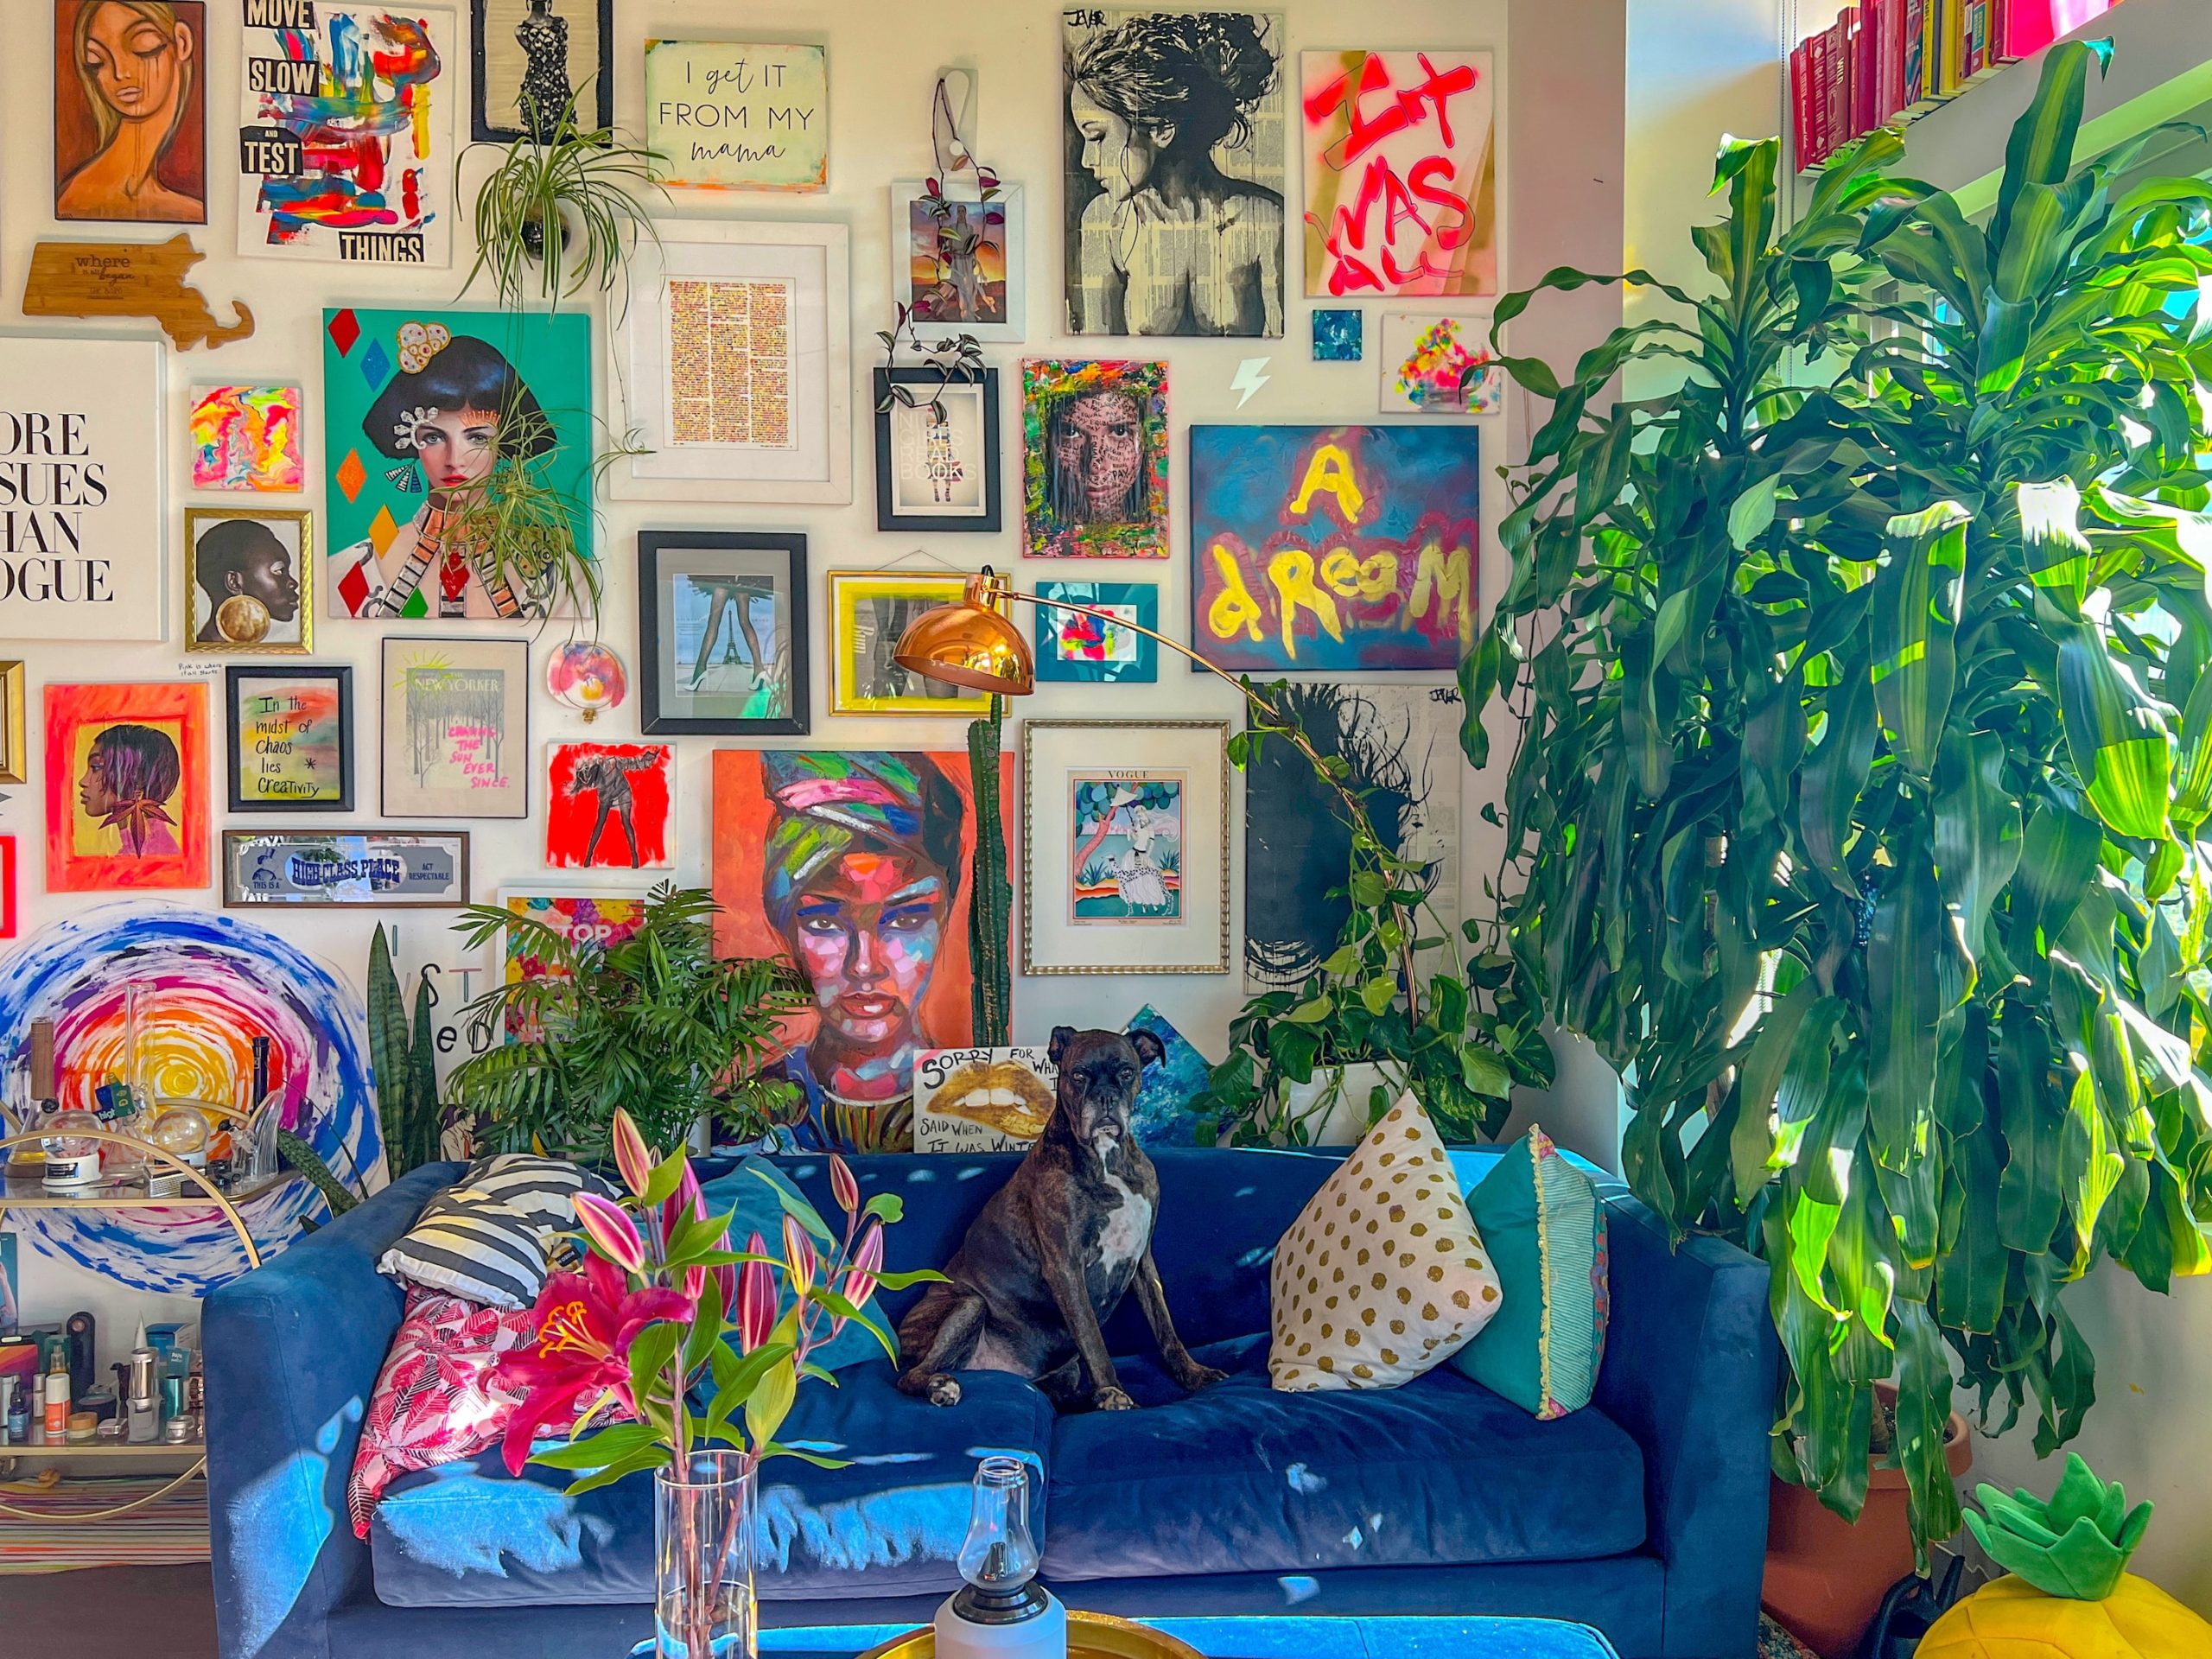
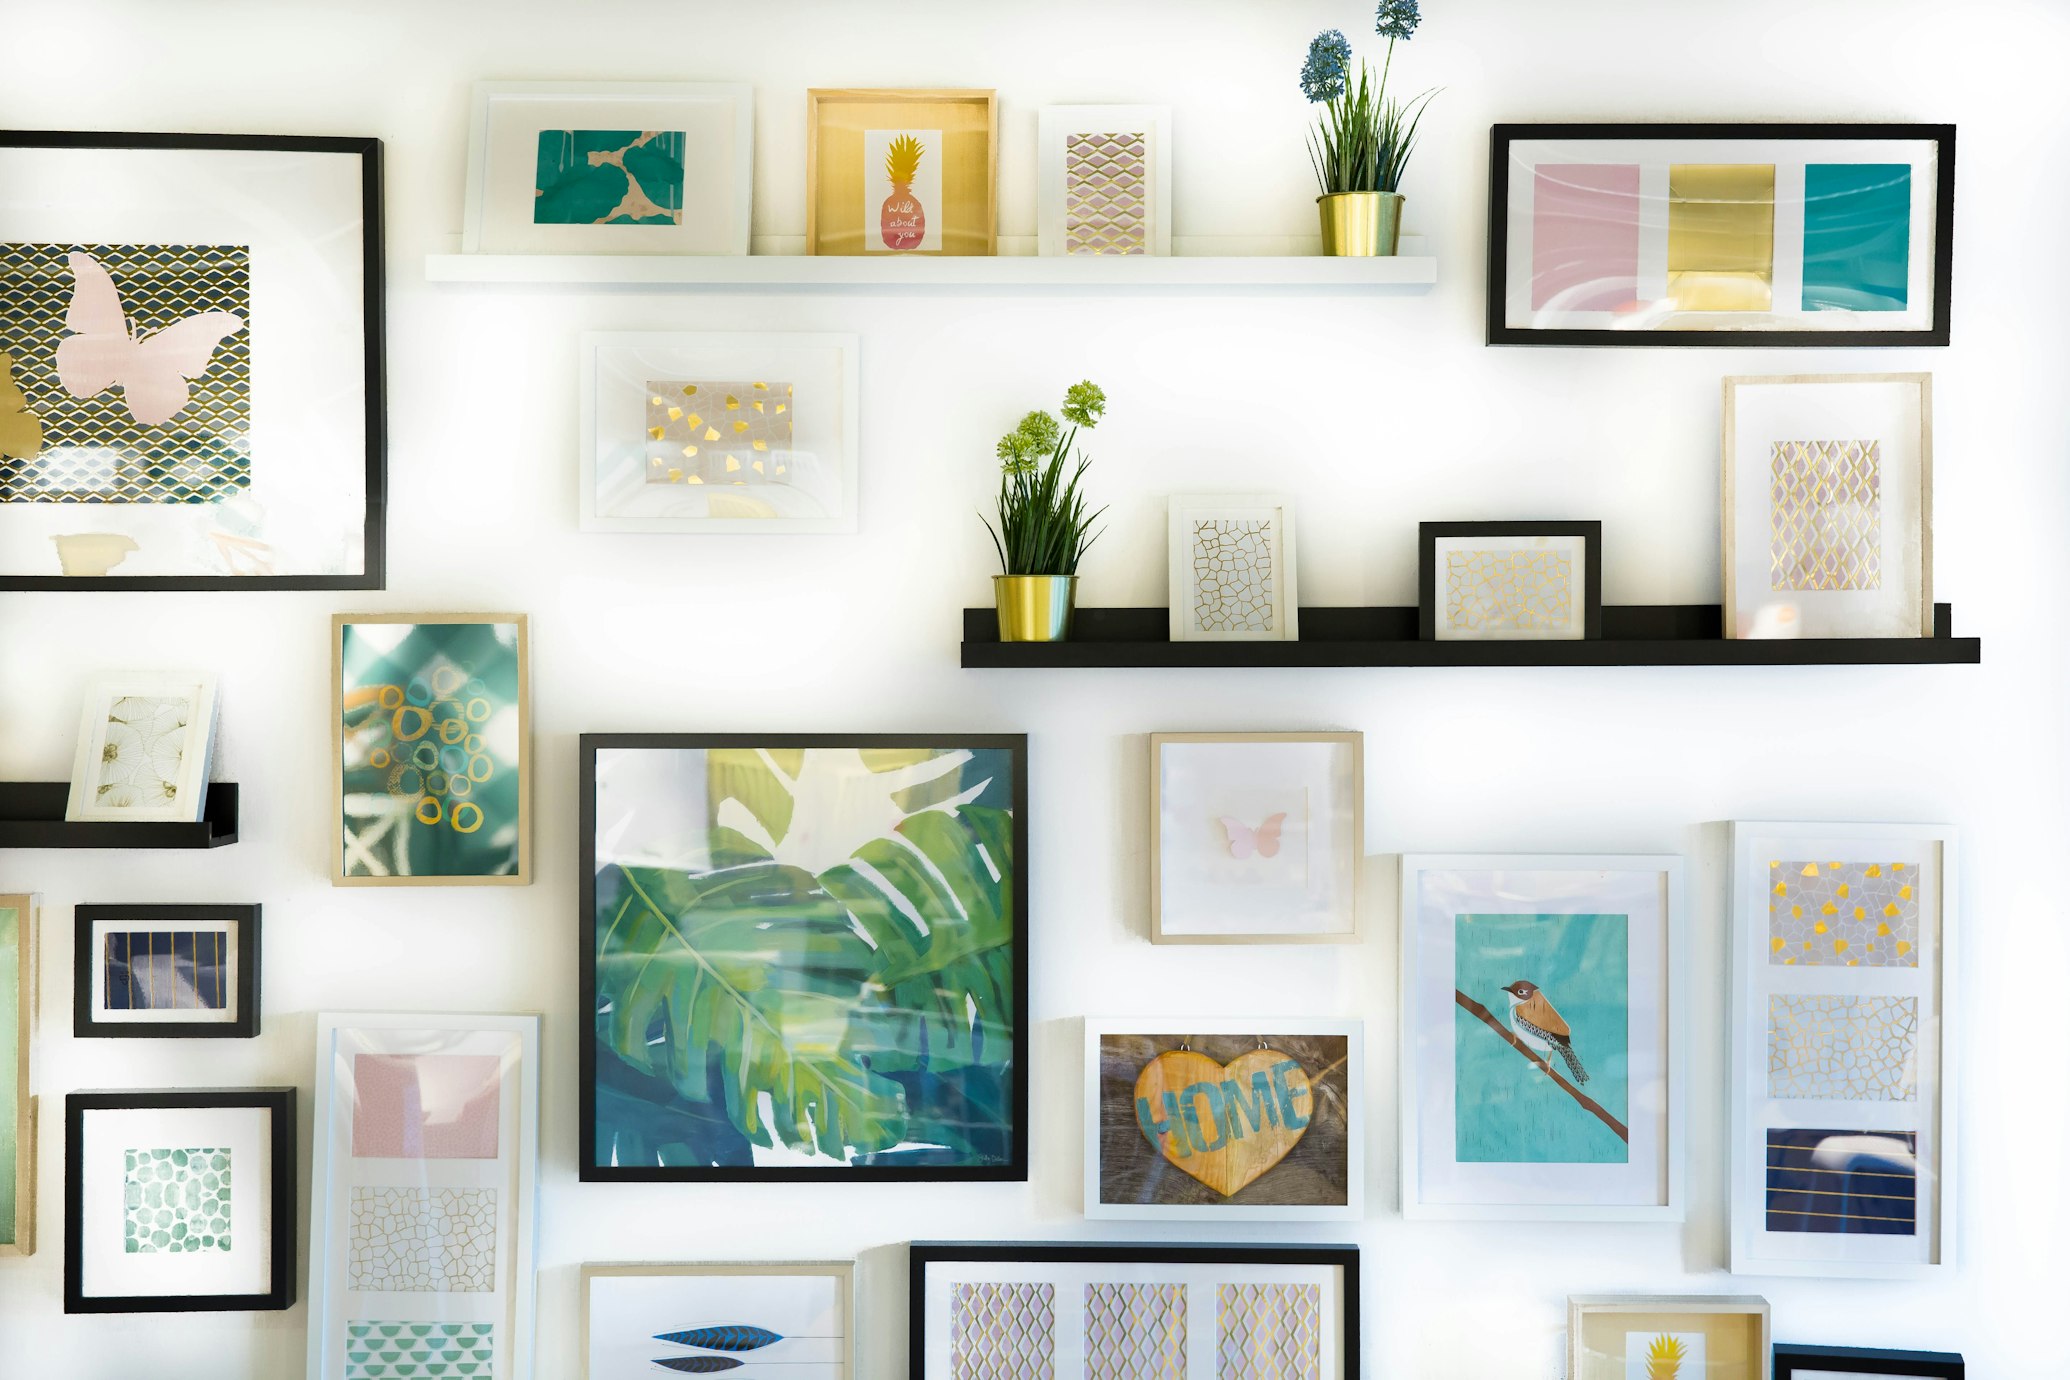
Group paintings of various sizes and styles to create a gallery wall. This arrangement can be an artful showcase and a focal point within your room colour scheme, creating visual interest while maintaining colour harmony.

Expressing Your Personality Through Art

Ultimately, the choice of paintings should reflect your style and preferences while working within your room colour scheme. Your home is an extension of yourself; your chosen art should resonate with you emotionally while complementing your carefully curated room colour scheme.

Personal Style Integration

When harmonising paintings with your room colour scheme, remember there are no rigid rules; it’s an art form that evolves as you explore and experiment. The key is finding the balance between personal expression and maintaining a cohesive room colour scheme throughout your home.

Conclusion

Creating a harmonious room colour scheme that incorporates beautiful artwork requires thoughtful planning and creative vision. By understanding colour theory, considering scale and placement, and balancing personal expression with design principles, you can create a living space where every element works together seamlessly.

Remember that your room colour scheme is a reflection of your personality and lifestyle. Whether you prefer bold, vibrant colours or subtle, neutral tones, the key is ensuring that your chosen paintings enhance and complement your overall room colour scheme. With patience and experimentation, you’ll create a home that truly tells your unique story through the perfect marriage of art and ambience.

Frequently Asked Questions (FAQs)

The best room colour scheme starts with identifying your preferences and the room’s purpose. Consider the natural lighting, existing furniture, and the mood you want to create. A well-planned room colour scheme should reflect your personality while creating a harmonious environment.

A successful room colour scheme typically includes 3-5 colours: a dominant colour (60%), a secondary colour (30%), and accent colours (10%). This balanced approach ensures your room colour scheme feels cohesive without being overwhelming.

Yes, mixing different art styles can work beautifully within a room colour scheme. The key is maintaining colour harmony while allowing varied artistic expressions to coexist within your chosen room colour scheme.

Your paintings should complement rather than clash with your room colour scheme. They can either harmonise with existing colours or provide intentional contrast as accent pieces within your overall room colour scheme.

Artwork doesn’t need to match your room colour scheme exactly. It should complement and enhance your room colour scheme, either through harmonious colours or strategic contrasts that add visual interest.

Art Inspired by Nature: Unveiling the Beauty of Eco-Art and Biophilic Design

art inspired by nature

Art inspired by nature has become a powerful movement in contemporary creative culture, bridging the gap between human expression and the natural environment. Through eco-art and biophilic design, artists and designers embrace organic elements, sustainable practices, and natural forms. These approaches reflect a growing desire to reconnect with nature while fostering environmental awareness, emotional wellness, and aesthetic harmony in modern living spaces.

Eco-Art: A Symphony of Sustainability and Environmental Consciousness

Eco-art is a genre where artists integrate ecological responsibility into their artistic creations. This art, inspired by nature, often uses eco-friendly materials and draws inspiration from environmental concerns, promoting a deeper connection between the audience and the natural world. The movement represents a fundamental shift in how we approach creative expression, making art inspired by nature a cornerstone of sustainable artistic practice.

art inspired by nature

Pioneering Artists in the Eco-Art Movement

Two notable figures in this field are Andy Goldsworthy and Nils-Udo. Goldsworthy, a British artist known for his sculpture, photography, and environmental work, is renowned for creating site-specific land art using natural materials such as rocks, ice, leaves, and branches. His art is directly connected to the location where it is made, emphasising the use of elements from the environment. His artworks are temporary, meant to evolve and fade away, mirroring the fleeting beauty and the cyclical nature of life.

Nils-Udo, a German artist, has been a pioneer in environmental art. Udo’s art goes beyond just looking good; it carries a strong message about caring for the environment and living in harmony with nature. His works often include living elements, emphasising the delicate balance of ecosystems and encouraging us to rethink how we interact with the natural world. Udo has been involved in environmental art since the 1960s, creating impactful structures on a large scale using various materials.

These artists exemplify the essence of eco-art, blending artistic expression with a commitment to sustainability and environmental awareness. Their creations defy conventional art and cultivate a greater understanding of the fragile equilibrium within our planet.

Nature Inspired by Artists: Contemporary Voices in Environmental Art

The world of art inspired by nature continues to evolve through the vision of contemporary artists who transform our understanding of the relationship between creativity and the environment. These modern practitioners push the boundaries of traditional eco-art, creating immersive experiences that challenge viewers to reconsider their connection to the natural world through innovative art inspired by nature.

1. Digital Nature Artists and Virtual Ecosystems

Contemporary artists are increasingly incorporating digital technology to create virtual representations of natural environments. Through augmented reality installations and interactive digital sculptures, these artists create art inspired by nature experiences that can exist in urban environments where access to natural spaces is limited. These digital ecosystems respond to human interaction, creating a dialogue between technology, humanity, and nature through cutting-edge art inspired by nature.

2. Community-Based Environmental Art Projects

Modern eco-artists emphasise community engagement and collaborative creation. These projects involve local communities in the artistic process, from gathering materials to participating in the installation itself. Such collaborative efforts not only create meaningful art inspired by nature but also build environmental awareness and stewardship within communities. The participatory nature of these projects ensures that art inspired by nature becomes a catalyst for ongoing environmental action.

3. Restoration Art: Healing Through Creativity

A growing movement within eco-art focuses on the restoration and healing of damaged ecosystems. Artists work directly with environmental scientists and conservationists to create art inspired by nature that actively contributes to ecological restoration. These projects might involve creating sculptural elements that provide habitat for wildlife or installations that help filter water or improve soil quality, demonstrating how art inspired by nature can serve both aesthetic and environmental functions.

Eco-Art Installations: Where Art Meets Environmental Activism

Eco-art installations serve as a dynamic intersection between art and environmental activism, addressing the pressing issue of climate change. This genre has emerged in response to growing ecological concerns. It transcends traditional aesthetics, using various media like sculpture, installations, photography, and performance art to express environmental consciousness and foster a deeper connection between humans and nature.

Eco-artists engage communities through large-scale creations, inviting active participation in conversations about climate change. These interactive artworks enable individuals to get a different perspective on environmental issues. A notable example is Olafur Eliasson’s “Ice Watch,” where large ice blocks from Greenland were displayed in city centres, symbolising the melting ice caps and rising sea levels.

Eco-art installations are more than just awareness tools; they have the potential to drive tangible change. Some artists collaborate with environmental organisations, policymakers, and communities to implement sustainable practices and advocate for policy changes. For instance, Maya Lin, known for the Vietnam Veterans Memorial, now focuses on environmental issues, promoting conservation efforts and sustainable design.

In summary, eco-art installations are powerful voices in environmental activism, blending artistic expression with a deep commitment to ecological preservation and community engagement.

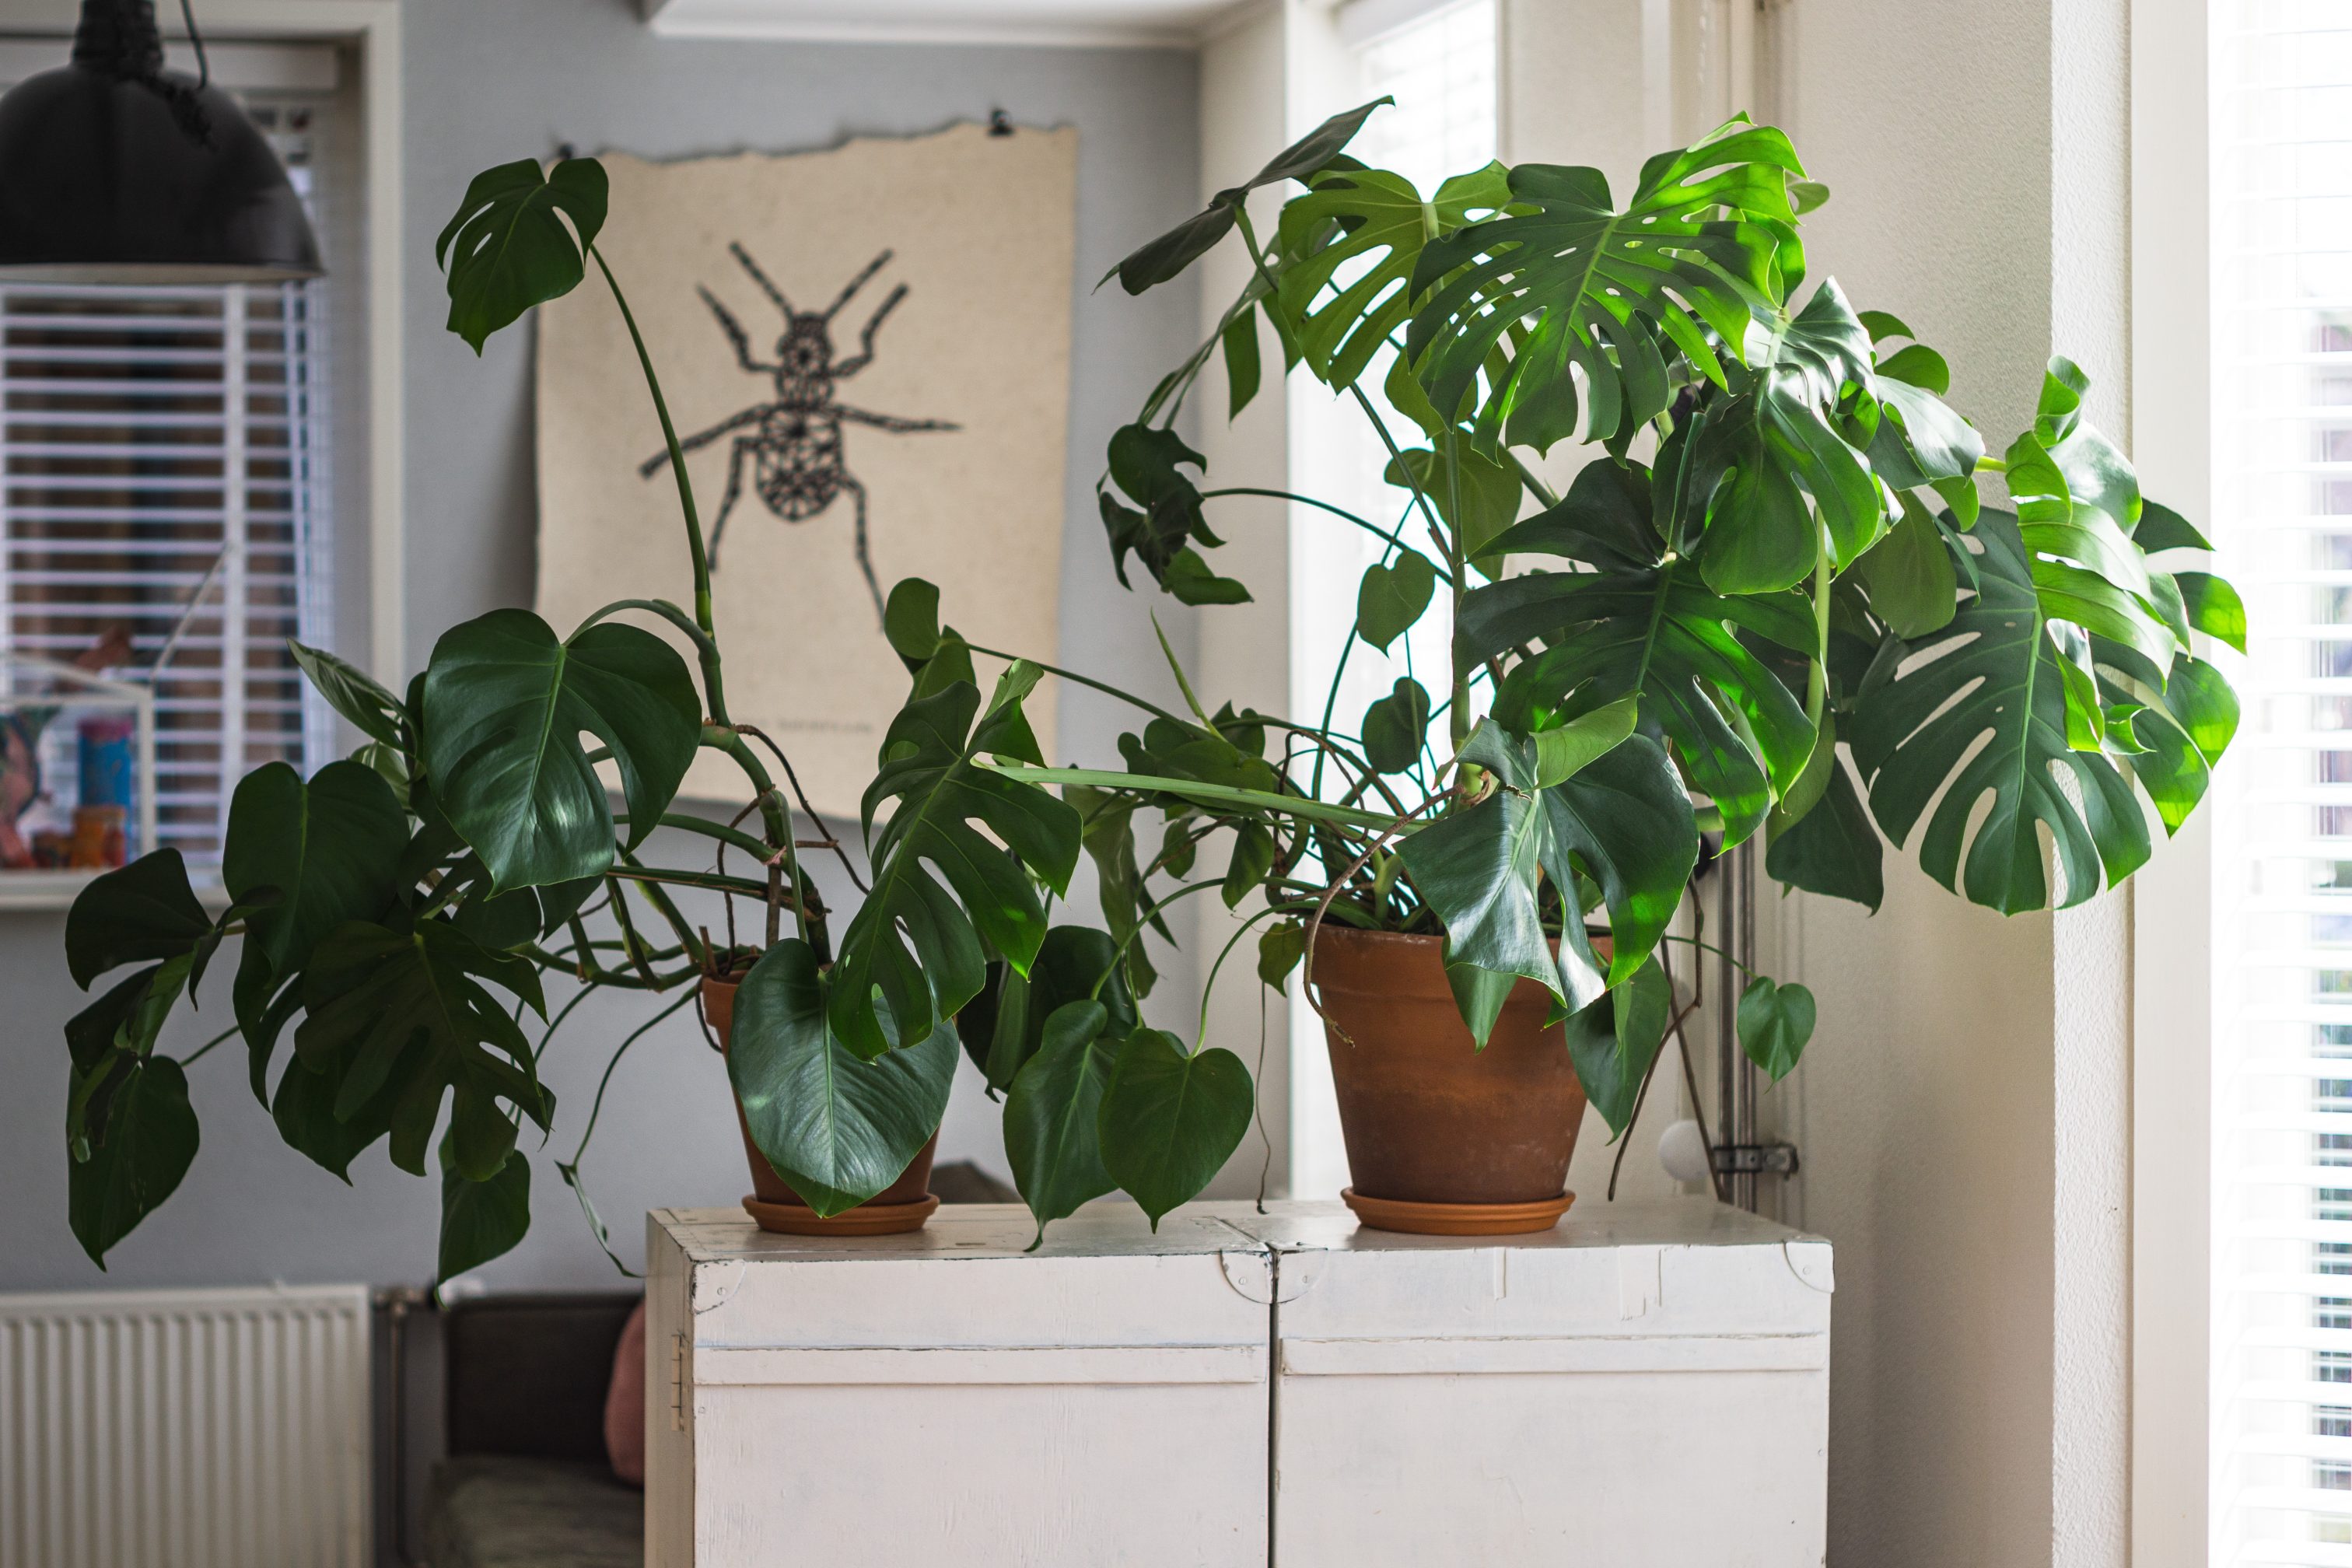
Biophilic Design: Nature-Infused Living Spaces for Enhanced Wellbeing

Biophilic design is a transformative approach that integrates the presence of nature into our living and working environments. It not only adds aesthetic value but also significantly benefits individuals in various ways:

1. Health and Wellness Benefits of Biophilic Elements

Stress Reduction and Enhanced Creativity: Biophilia’s design philosophy is structured around the relationship between nature, human biology, and the built environment. It reduces stress, boosts creativity and clarity of thought, improves overall well-being, and expedites healing processes.

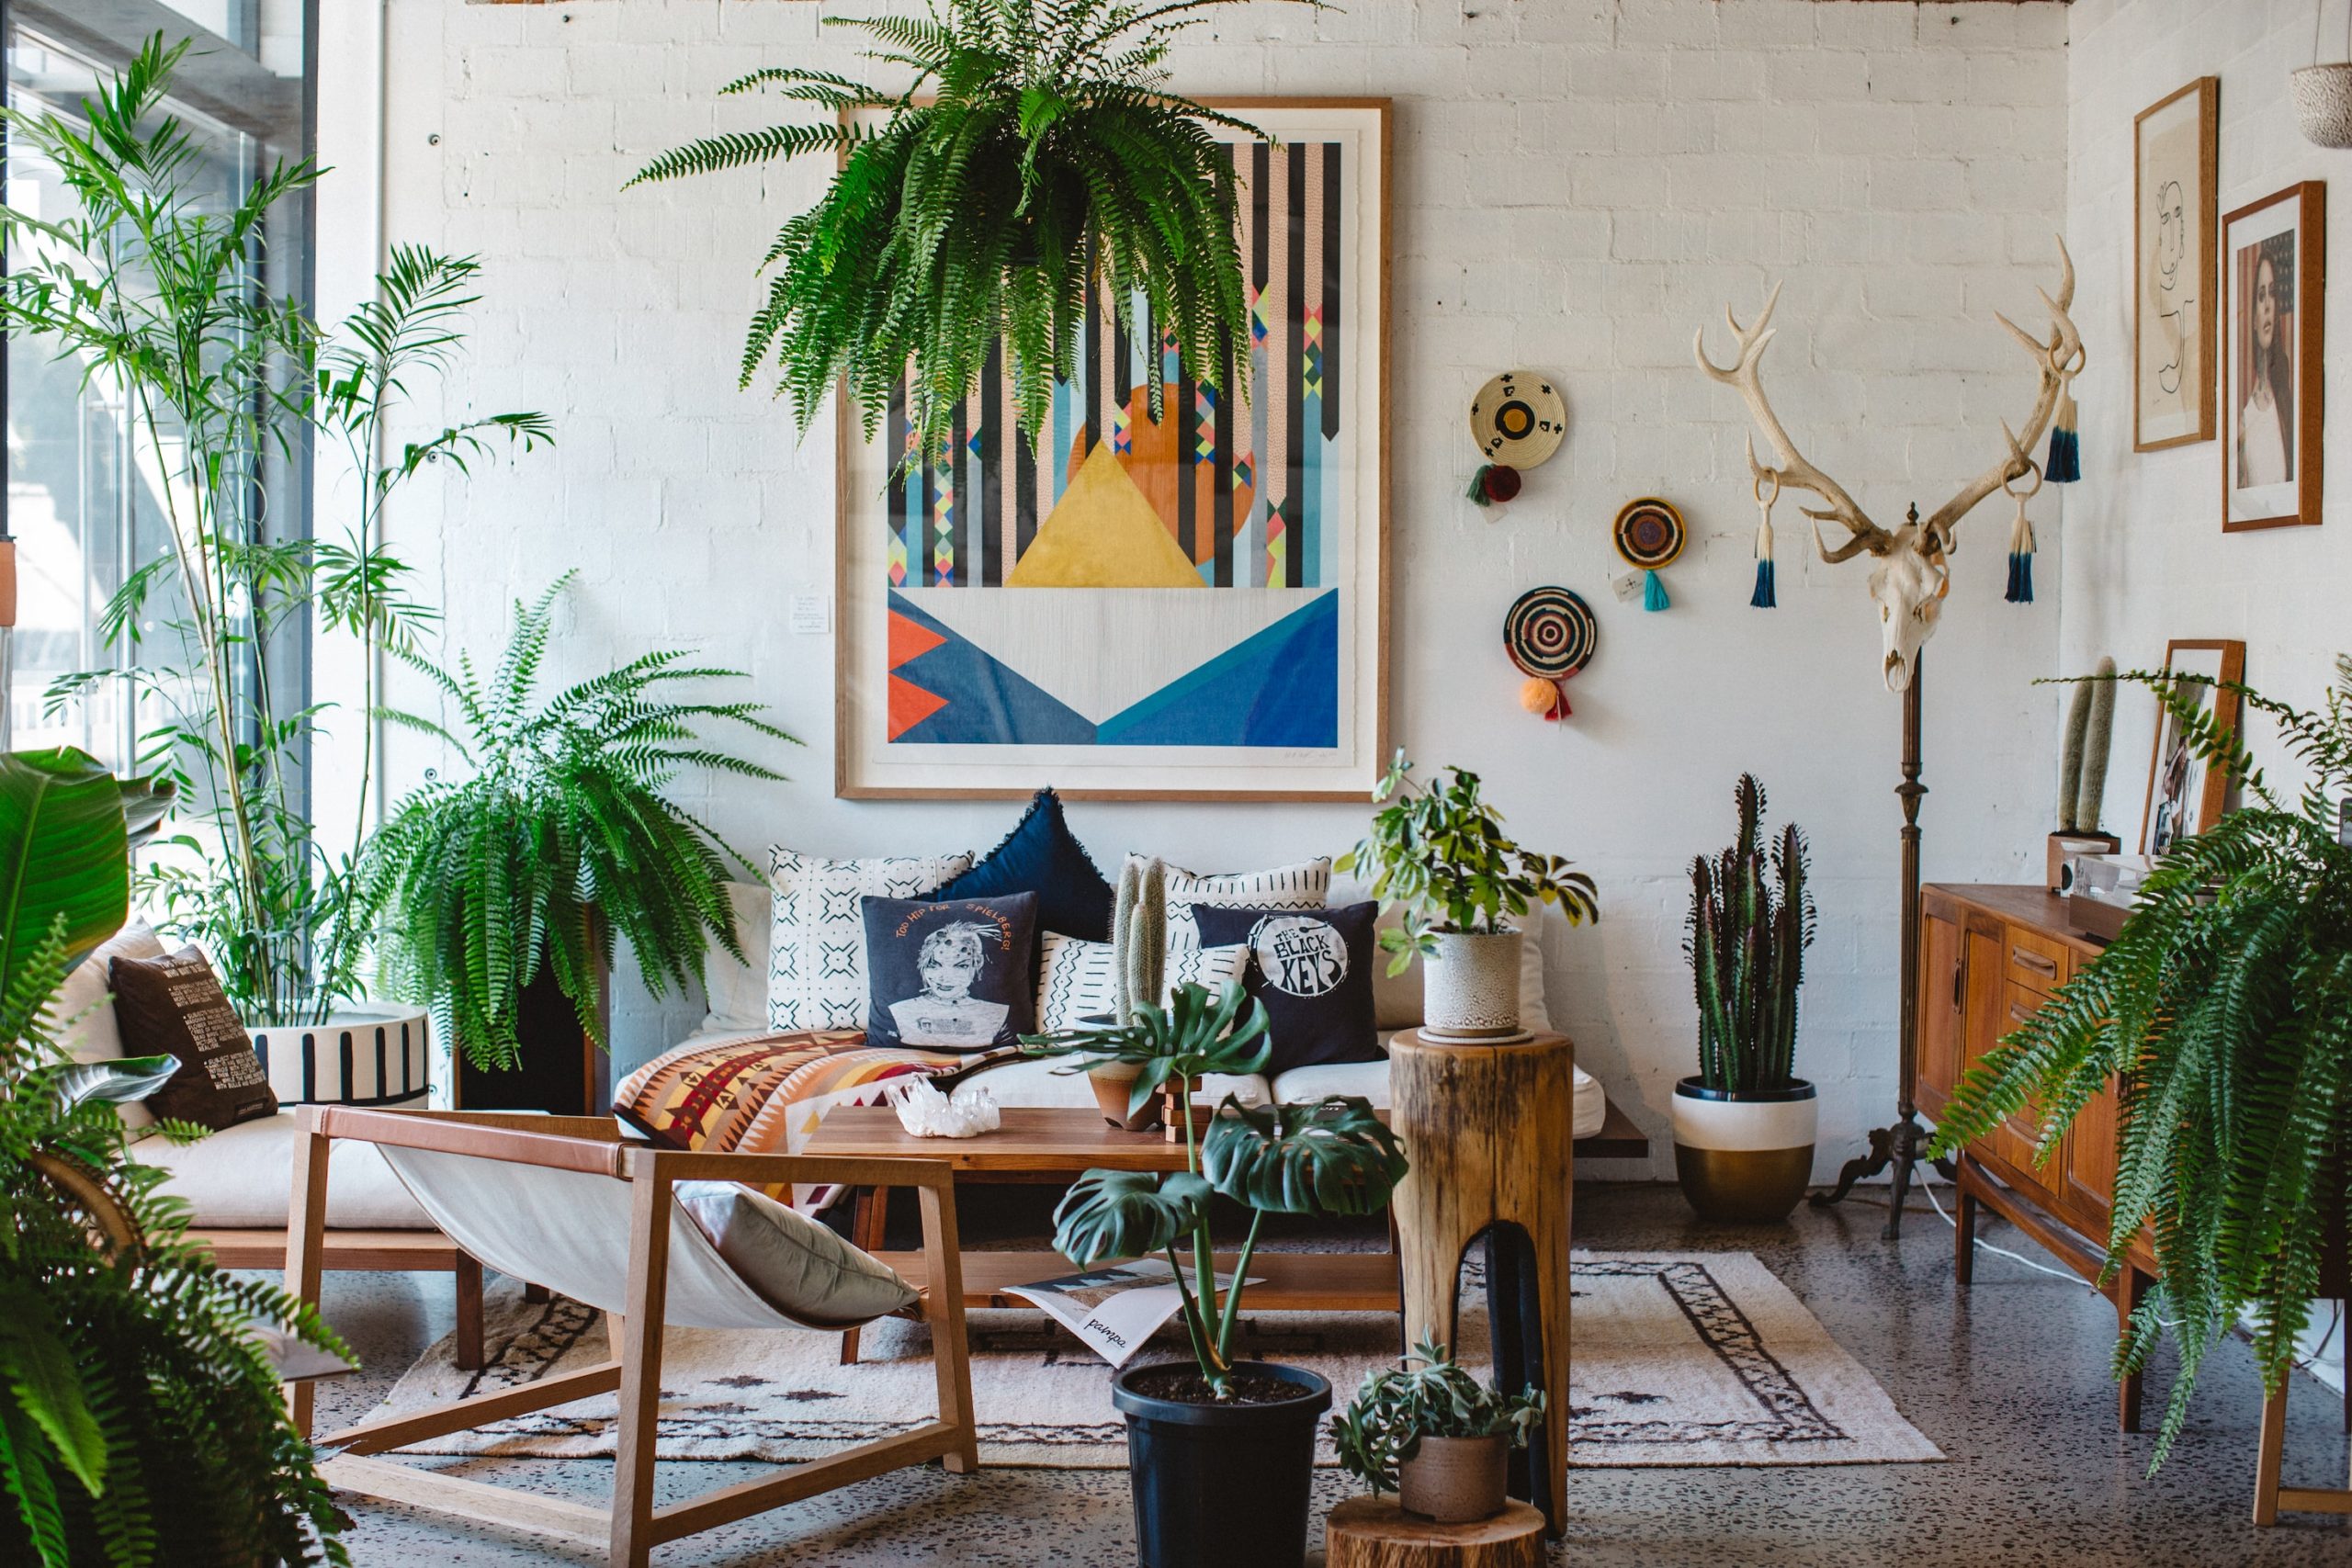
Physical, Emotional, and Intellectual Well-being: Implementing biophilic design in built environments can enhance physical, emotional, and intellectual well-being. Including elements like pictures of plants, mountains, and outdoor landscapes in interior spaces has been found to have the same mental health benefits as being in real natural environments.

2. Addressing Modern Urban Challenges Through Nature

Response to Urbanisation: As urban spaces increasingly become concrete landscapes, biophilic design offers a way to reconnect with nature. This design trend responds to the human need for the calming influence of natural elements, countering the detrimental effects of urbanisation, such as stress and disconnection from nature.

Emotional Well-Being in Workplaces: A study focusing on healthcare providers during the COVID-19 pandemic found that workplace biophilic design features significantly improved emotional well-being. This improvement was linked to greater satisfaction with green features and natural decor, enhancing attachment to the workplace.

Biophilic design is more than an aesthetic choice; it strategically integrates nature into our daily environments. It offers substantial mental and emotional health benefits, fosters a more profound connection with the natural world, and enhances the quality of life in increasingly urbanised settings.

Conclusion: Harmonising Human Creativity with Natural Elements

In our fast-paced world, the infusion of nature-inspired art and biophilic design provides a vital connection to the natural world. The growing appreciation for eco-art and biophilic design reflects our collective yearning to reconnect with nature amid increasing urbanisation.

These artistic expressions and design approaches do more than beautify spaces—they promote environmental consciousness, enhance well-being, and foster a deeper appreciation for our natural environment. We create harmonious environments that balance human innovation with nature by embracing these elements in our homes, workplaces, and public spaces.

As we move forward, integrating nature into our creative endeavours and living spaces will continue to play a crucial role in building sustainable communities and nurturing our inherent connection to the natural world. Whether through the intricate strokes of a painting, the intentional use of sustainable materials, or the inclusion of greenery in architectural spaces, these creative expressions bridge human experiences and the environment, guiding us toward a more balanced and environmentally conscious future.

Antique Picture Framing: FAQs

Art inspired by nature refers to creative works that draw ideas, materials, or themes from the natural world. It can include eco-art, land art, biophilic design elements, and any artwork that reflects the beauty, forms, or processes found in nature.

Eco-art goes beyond aesthetics by integrating sustainable practices and environmental consciousness into the creative process. It often uses natural or recycled materials, site-specific installations, and aims to raise awareness about ecological issues.

Notable eco-artists include Andy Goldsworthy, known for his temporary land art made with natural materials, and Nils-Udo, who creates large-scale installations that highlight our relationship with nature.

Biophilic design connects people with nature through elements like indoor plants, natural light, organic materials, and nature-inspired artwork. Research shows it can reduce stress, boost creativity, and improve mental and emotional health.

Absolutely! You can add nature-inspired paintings, sculptures made from natural materials, indoor gardens, or furniture and decor that mimic organic forms to create a calming, nature-infused living space.

Many nature-inspired artists and designers prioritise sustainability by using eco-friendly materials, renewable resources, or by creating works that encourage environmental stewardship and a deeper connection with the earth.

Restoration art is a branch of eco-art where artists actively contribute to healing damaged ecosystems. This can involve creating habitats for wildlife, improving soil or water quality, and collaborating with environmental scientists to integrate art with ecological restoration.

Contemporary artists use digital tools like augmented reality and virtual ecosystems to simulate nature in urban spaces, making nature-inspired art accessible even in places where real green spaces are limited.

How to Network as an Artist: Building Authentic Connections

In today’s interconnected world, networking is not just a nice-to-have but a vital tool for survival and growth in the art world. The LinkedIn Creative Industry Report indicates that 85% of all jobs are filled by word of mouth within networked relationships. Therefore, artists must master the art of networking to build meaningful connections while navigating the ever-evolving digital landscape.

The Modern Networking Landscape

Networking in the digital age has transformed how artists connect with clients, collaborators, and fans. While traditional avenues like gallery openings, art fairs, and word-of-mouth remain valuable, digital platforms have significantly expanded reach, providing new opportunities to network as an artist and build relationships on a global scale.

Social media platforms, particularly Instagram, are powerful tools to showcase your work, engage with your audience, and build meaningful connections. Studies show that artists who maintain an active online presence are three times more likely to receive direct inquiries about their work. Sharing consistently and interacting with your community, allows you to network as an artist and attract commissions, collaborations, and partnerships.

The shift to online networking boosts your visibility and creates direct, meaningful engagement, making it an essential component of your artistic practice. From digital portfolios to online exhibitions, you now have unprecedented tools to amplify your reach and grow your career, enabling you to network as an artist globally.

Beyond social media, virtual art communities are vital in helping artists connect, share, and refine their work. Platforms like DeviantArt, with over 65 million registered members, provide spaces where artists can engage in creative exchanges, receive constructive feedback, and build relationships with other professionals. This sense of community is invaluable in an industry where collaboration and continuous learning are key.

Additionally, the rise of digital art fairs and online exhibitions has opened new doors for artists to showcase their work globally. Virtual events are seeing a surge in participation, allowing artists to reach a wider audience and connect directly with potential collectors and art buyers. These platforms break the constraints of physical locations, providing enhanced opportunities that help you network as an artist, build relationships, and expand your reach in ways that were previously limited.

Modern technology offers numerous tools to enhance networking efforts. Leveraging digital tools to expand your reach and boost engagement makes networking effectively as an artist more manageable and impactful.

Essential Strategies to Network as an Artist

1. Leverage Online Communities

Tip: Actively participate in online platforms where other creatives gather, such as social media groups, art forums, and virtual communities like DeviantArt or Behance.

  • How to do it:
    • Regularly comment on others’ posts and offer meaningful, constructive feedback.
    • Engage with fellow artists by sharing resources, tips, and industry news.
    • Join discussions and create posts that spark conversation and encourage interaction.
    • Reach out to artists or professionals whose work you admire with thoughtful messages, expressing your appreciation and interest in their journey.
    • Connect directly with potential clients or collaborators who resonate with your style and vision. By engaging with those who express genuine interest in your art, you can foster valuable relationships that may lead to commissions, collaborations, or other opportunities.

  • Advantages:
    • Building strong professional relationships through constructive feedback leads to trust and reciprocity. This can result in collaborations, referrals, and new opportunities that may have been missed.
    • Engaging in these communities helps you stay connected with trends, learn new techniques, and enhance visibility.

2. Host Workshops or Skill-Sharing Sessions

Tip: Establish yourself as an authority by sharing your expertise with others.

  • How to do it:
    • Organise live virtual workshops or create tutorial videos on your creative process.
    • Offer free or paid online sessions that teach specific skills or techniques related to your art.
    • Share these sessions through your website, social media, and art platforms.
    • Look for online art fairs, webinars, workshops, or virtual conferences. Platforms like Eventbrite, MeetUp, or Facebook groups dedicated to the art industry often list virtual events that cater to artists.
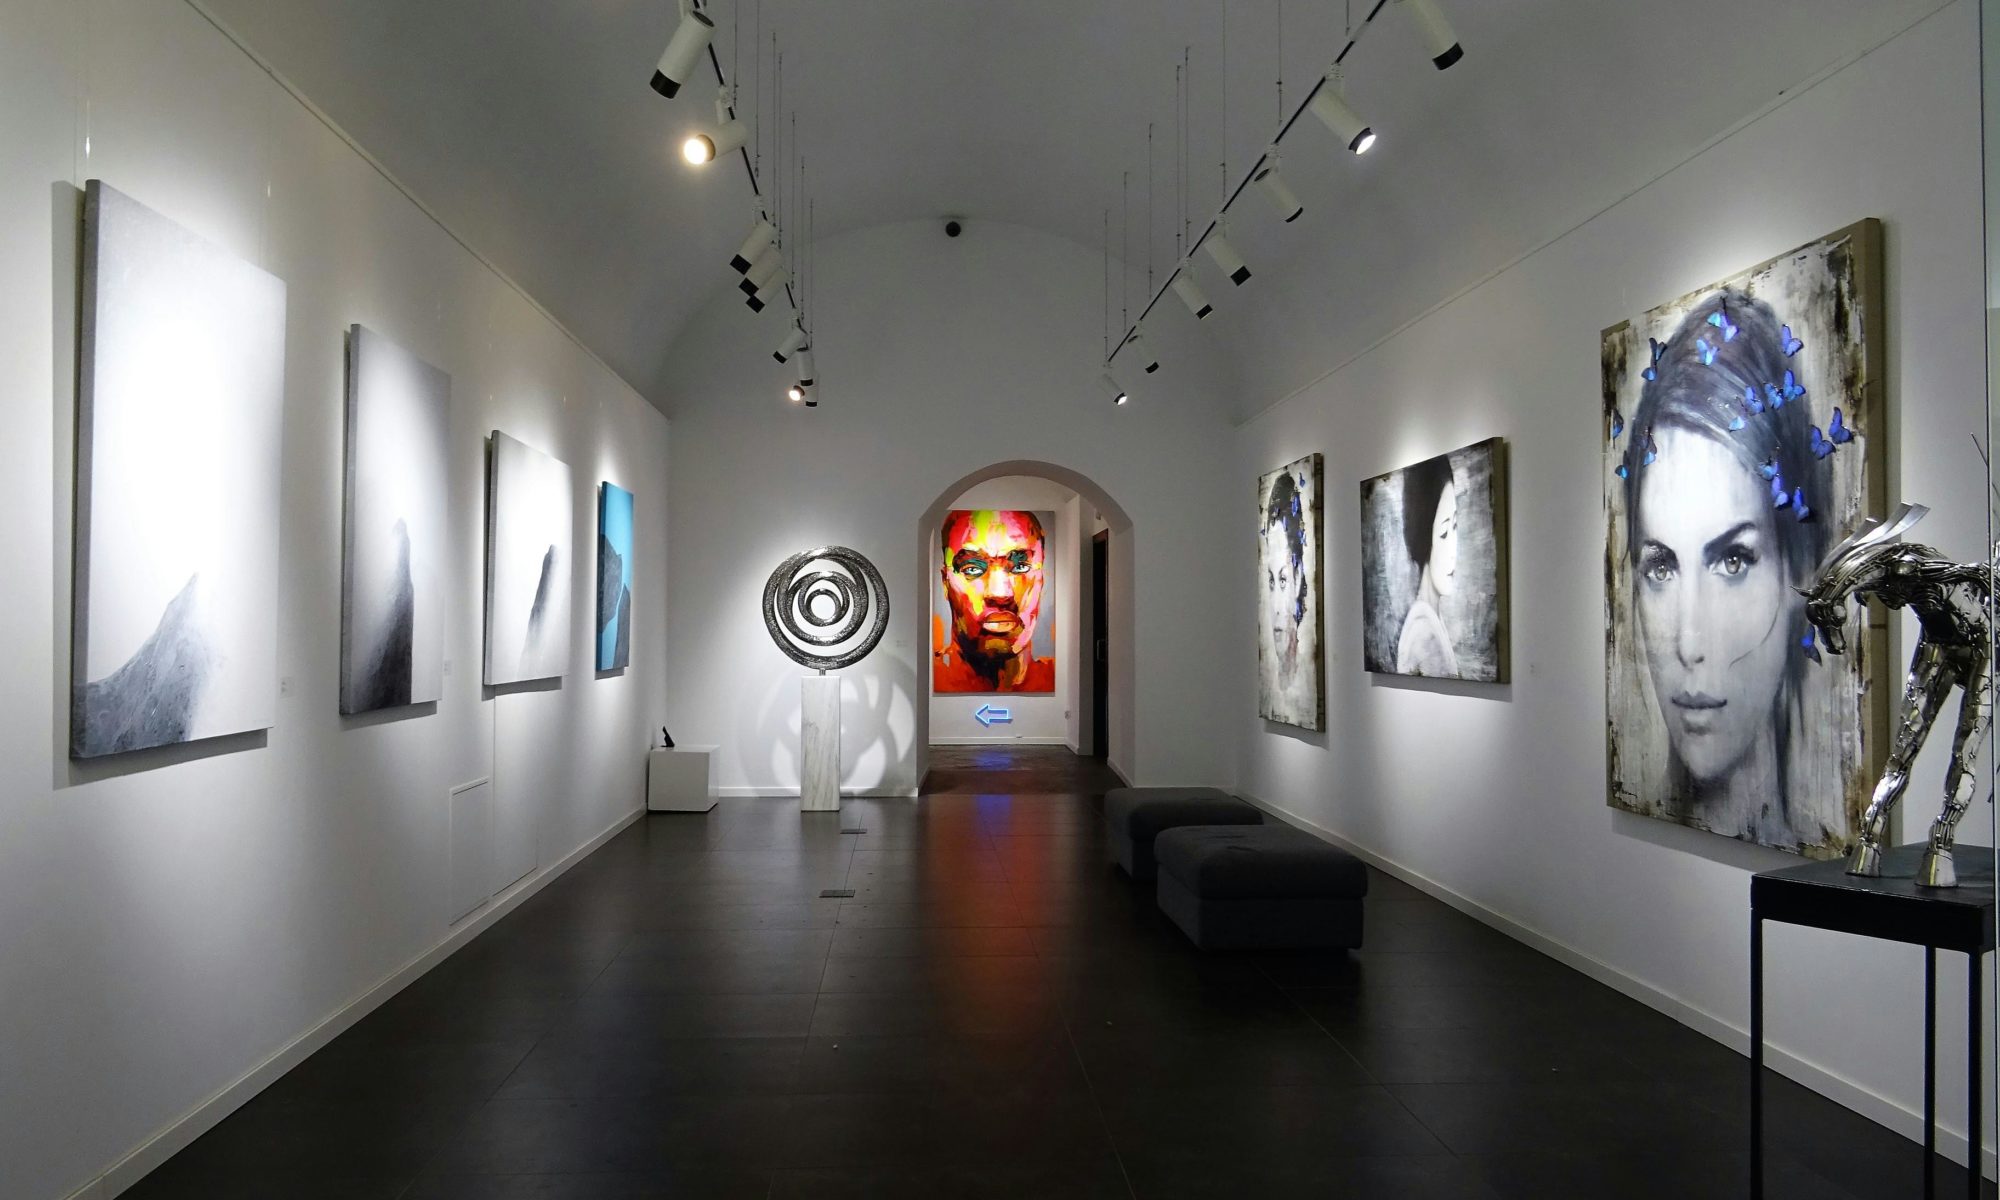
  • Participate in chat discussions, ask questions, and connect with other attendees during virtual events. Don’t just be a passive participant—engage meaningfully with others, share your insights, and offer support.
  • Follow up with people you’ve met after attending an event. Send a personalised message through social media or email, mentioning something specific from your conversation. This helps to keep the connection alive and lays the foundation for future collaborations or opportunities.
  • Many virtual events have break-out sessions or create dedicated groups for attendees. These smaller groups allow for more focused networking and help you form deeper connections with potential collaborators or industry professionals worldwide.
  • Advantages:
    • Hosting workshops or sharing knowledge showcases your expertise, attracts followers, and creates valuable networking opportunities. 
    • These events can connect you with other artists, collectors, and potential collaborators who share your interests. 
    • Engaging with participants during workshops creates opportunities to connect with like-minded individuals, opening doors to potential collaborations, commissioned work, and an expanded professional circle. By actively participating and sharing insights, artists can lay the groundwork for meaningful relationships that may develop over time. 
    • Additionally, these interactions help establish your reputation as a thought leader, making you a go-to person in your niche.

3. Attend Art Events and Exhibitions (Digital and Physical)

Tip: Combine online and in-person networking for maximum exposure and relationship-building.

  • How to do it:
    • Digital Networking: Participate in online art communities, attend virtual art fairs, and engage in live-streamed workshops.
    • Physical Networking: Attend gallery openings, art fairs, and artist meetups. Local art exhibitions can also serve as excellent platforms for connecting.
    • Actively approach people at these events, exchange contact information, and follow up with personalised messages.

  • Advantages:
    • Digital networking allows you to tap into global opportunities, gain recognition, and collaborate with international artists.
    • Physical events build more profound, authentic relationships that may be hard to establish digitally.
    • Americans for the Arts found that attending industry events regularly increases the likelihood of getting commissioned work by 3.5 times.
    • Participating in both events increases your chances of building trust and gaining visibility among collectors, gallery owners, and fellow artists.
4. Build a Strong Online Presence

Tip: Develop and maintain a professional online portfolio and presence across multiple platforms.

  • How to do it:
    • Create a dedicated website with a portfolio that includes your work, a biography, and contact details.
    • To showcase your creative journey, regularly update your portfolio with new projects, behind-the-scenes content, and works in progress.
    • Engage actively on social media platforms like Instagram, Facebook, and LinkedIn to share your latest work, upcoming shows, and personal stories.
    • Use tools like Buffer, Hootsuite, or Later to schedule your social media posts in advance. This ensures consistent posting and helps you stay on top of mind with your audience without constantly being online.
    • Scheduling tools often provide insights into when your audience is most active. By posting at these optimal times, you increase your chances of engagement and make it easier to connect with potential clients and collaborators.
    • Keep your portfolio up-to-date with high-quality images and detailed project descriptions to attract potential clients’ attention.

  • Advantages:
    • A professional website is a dynamic platform to showcase your portfolio, share your story, and establish your brand. It simplifies the process for potential clients, collaborators, and collectors to explore your work, contact you directly, and stay updated on your latest projects. Centralising your online presence boosts visibility, builds trust, and fosters meaningful connections. 
    • Regularly updating your online portfolio boosts engagement and sparks conversations within your professional network, opening doors to meaningful opportunities. 
    • A strong online presence demonstrates your commitment as an artist and facilitates establishing long-term relationships that grow through ongoing networking efforts.

For more tips on expanding your online reach, check out our blog, The Artist’s Guide to Social Media.

By following these strategies, artists can enhance their networking efforts and build deeper relationships, which can lead to career growth and creative opportunities.

5. Develop a Personal Brand for Effective Networking

Tip: Build a personal brand that reflects your unique artistic identity and resonates with your audience.

How to do it:

  • Share your creative process by posting behind-the-scenes content, sketches, and updates on your artistic journey.
  • Maintain a consistent visual identity across your work and online presence to enhance recognition and memorability.
  • Engage authentically with your audience by showcasing your personality, values, and the story behind your art.
  • Ensure your digital portfolio is searchable by using relevant keywords in your bio, project descriptions, and tags. This will increase your chances of being discovered by people actively looking for an artist with your skills and style.

Advantages:

  • A strong personal brand helps you stand out in the competitive art world, making it easier for industry professionals and fellow artists to connect with you.
  • Sharing your creative journey and engaging in genuine conversations fosters trust and encourages meaningful interactions, leading to more networking opportunities.
  • A cohesive visual identity ensures you’re memorable, which is crucial for attracting potential collaborators, clients, and art collectors.

For more insights on building a strong personal brand, check out our blog, 10 Branding Tips for Artists.
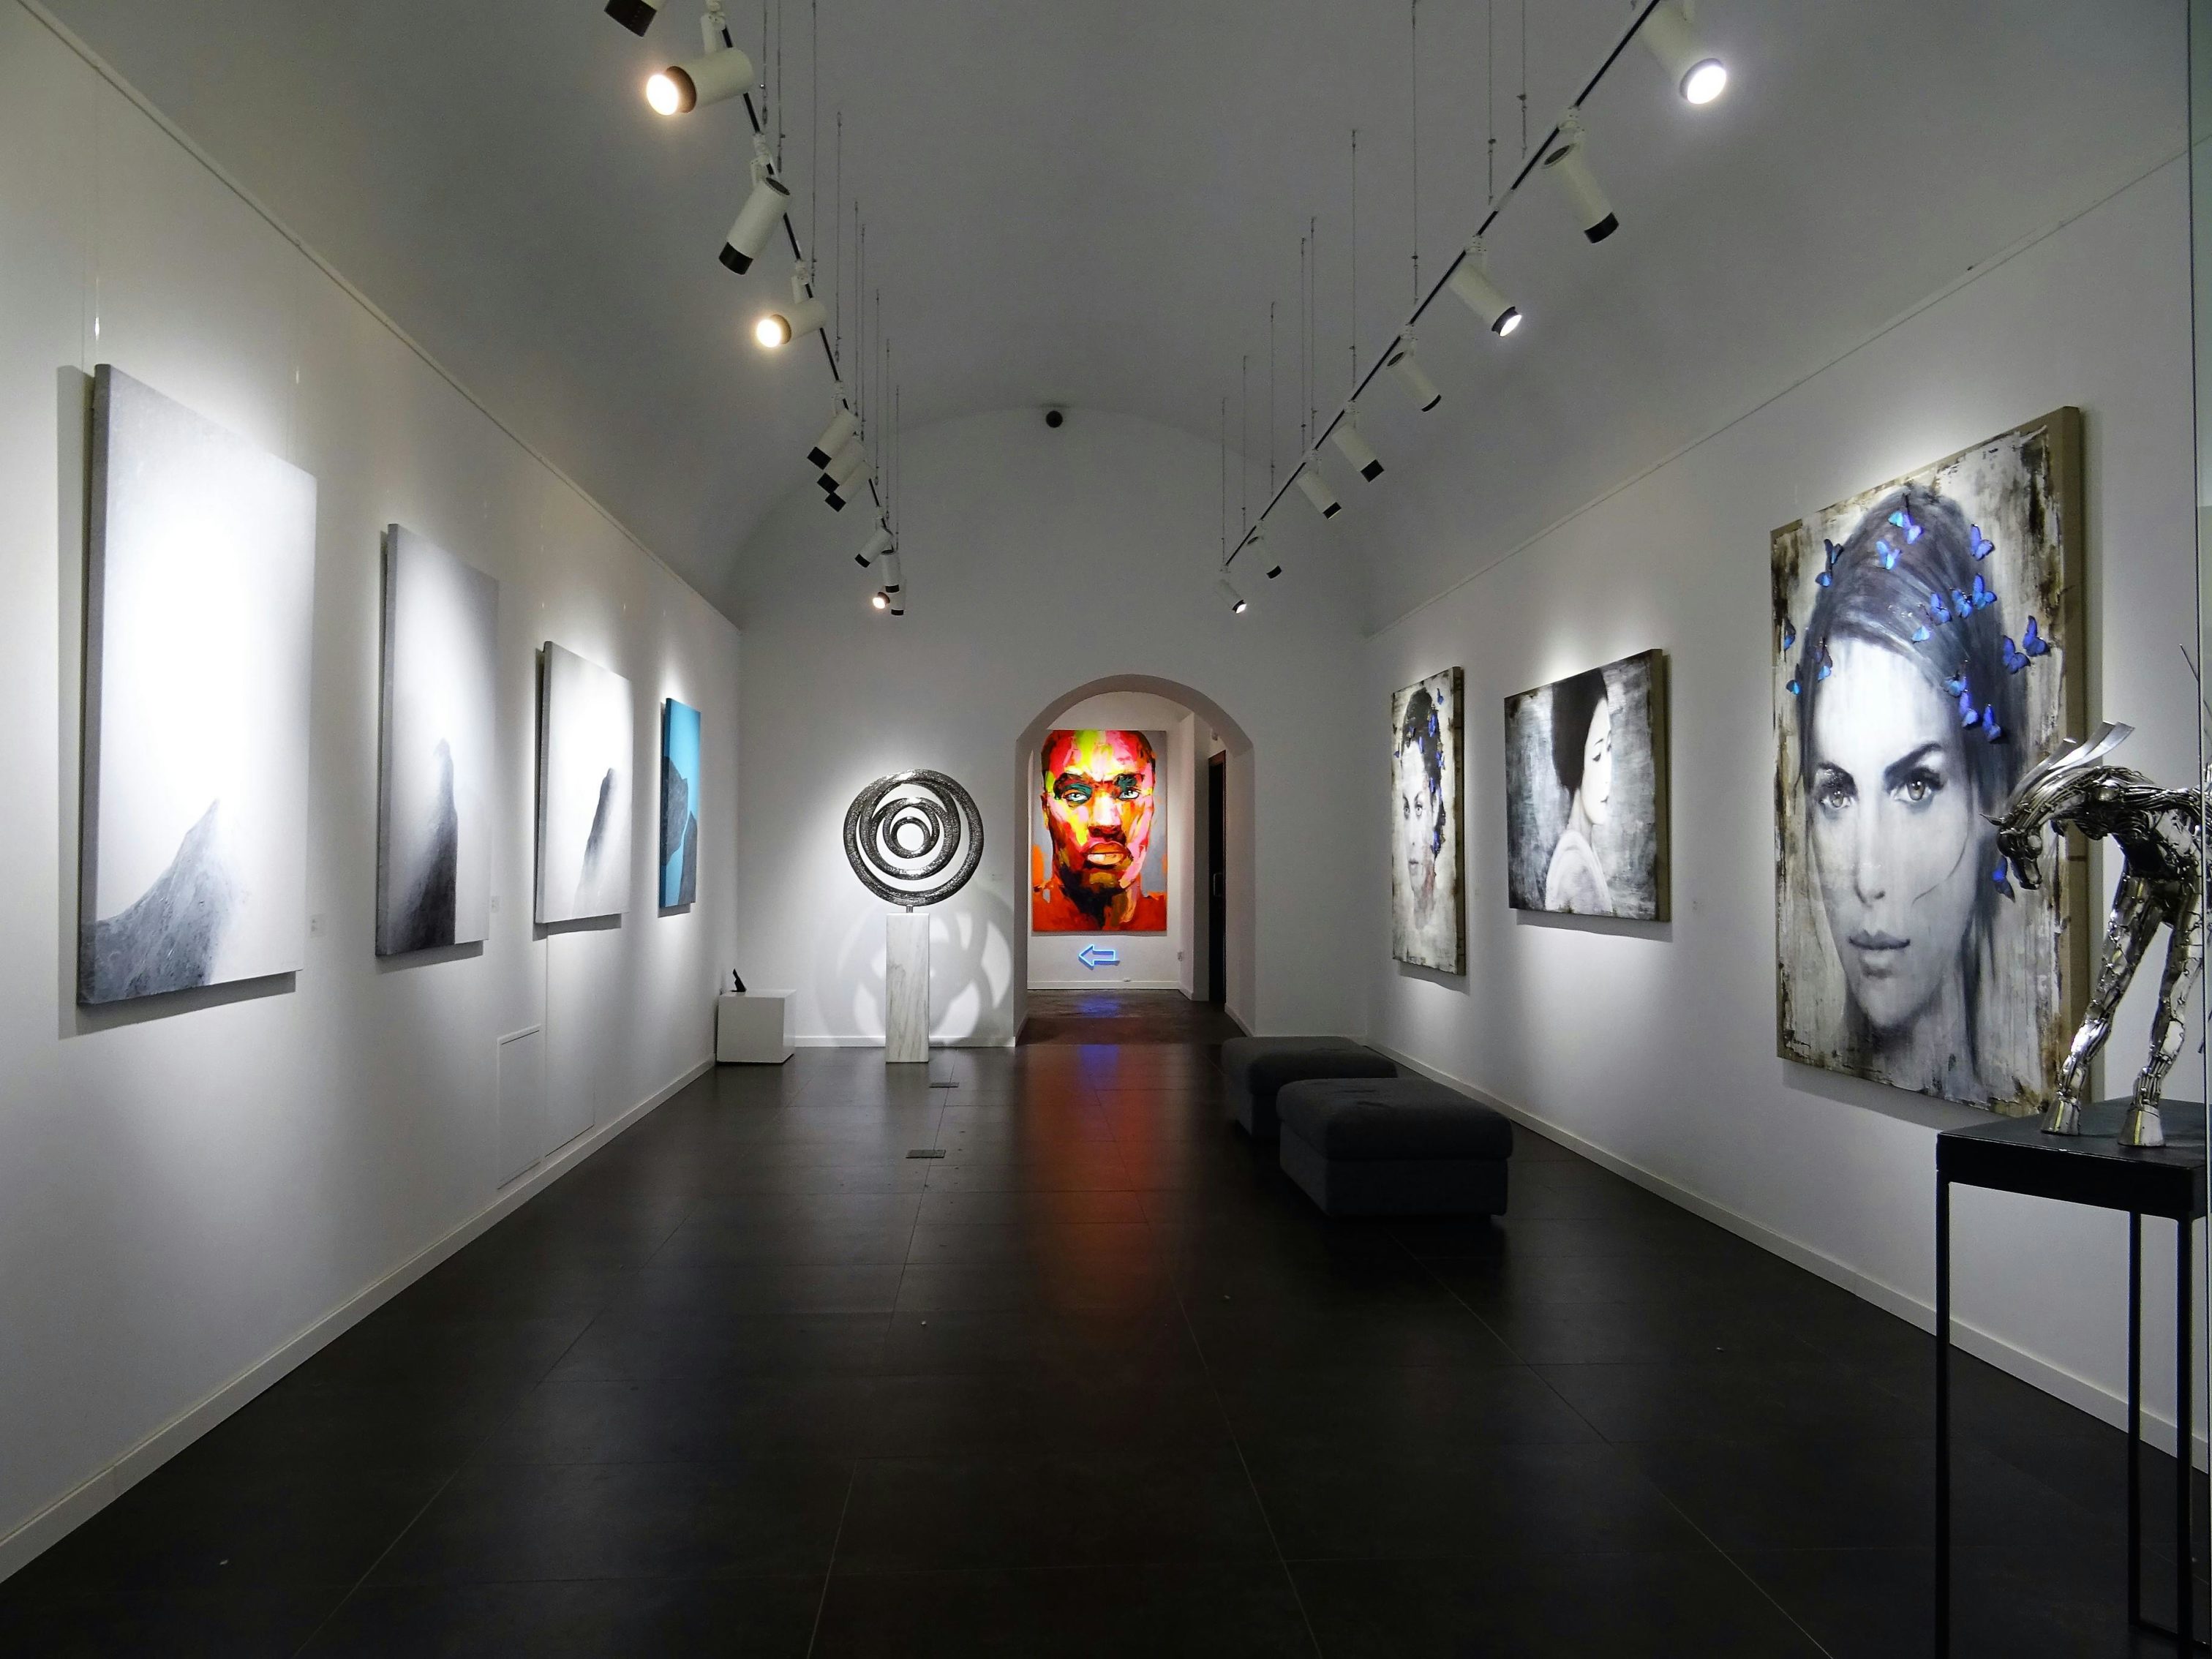
By building a personal brand, artists can take a more targeted and practical approach to networking, which can lead to long-lasting connections and new opportunities.

6. Utilise Professional Platforms

Tip: Use professional platforms like LinkedIn and specialised art communities to showcase your work, connect with industry professionals, and increase visibility. For instance, sharing your latest project on LinkedIn can attract potential clients, while participating in Behance challenges can help you gain recognition within the creative community.

How to do it:

  • Create and optimise your LinkedIn profile to highlight your artistic accomplishments, exhibitions, and collaborations.
  • Join dedicated art communities like ArtStation to showcase your work and interact with other artists and professionals.
  • Regularly contribute to relevant discussions, share insights, and actively connect with gallery owners, curators, and industry leaders.
  • Scheduling tools also help you stay organised by letting you plan a content calendar. This way, you can align your posts with upcoming events, exhibitions, or new work releases, ensuring you’re always prepared to share relevant updates.

Advantages:

  • Professional networks expand your reach by connecting you with a broader audience, including potential buyers, collaborators, and influencers within the art world.
  • Consistent engagement in these networks enhances your credibility by showcasing your expertise and reinforcing your commitment to your craft.
  • These platforms offer access to exclusive opportunities, such as job listings, exhibition calls, and collaboration offers, facilitating career growth and networking with decision-makers.

Artists with active profiles on platforms like Behance and ArtStation are more visible to art directors and potential clients. This visibility increases the likelihood of direct interactions, opening doors for networking opportunities, collaborations, and new projects.

By consistently following up with contacts and actively engaging in industry discussions, you can build stronger relationships that lead to more referrals, recommendations, and potential opportunities. These actions make you visible and present in the community, fostering trust and opening doors for you to network as an artist.

By attending virtual studio tours, talks, and networking events, you can significantly expand your network as an artist, connect with professionals worldwide, and build long-term relationships. These activities boost your visibility, make you more approachable, and open doors for collaboration—key elements in today’s interconnected art world.

Measuring Networking Success

To ensure you’re networking effectively as an artist, tracking your progress and adjusting your strategy regularly is essential. Here’s how to implement both practices:

1. Track Your Progress

To effectively network and gauge your success, tracking your efforts and measuring how well your strategies work is essential. Here’s how to do it:

  • Set Clear Networking Goals: Define your goals for your networking efforts. Are you trying to gain followers, secure collaborations, or connect with gallery owners? Setting specific goals will help you stay focused and know exactly what to measure.
  • Use Analytics Tools: Platforms like Instagram, LinkedIn, and Facebook offer insights into engagement rates, follower growth, and post reach. By regularly reviewing these analytics, artists can identify which types of content generate the most interaction, allowing them to tailor their networking efforts. Understanding what resonates with their audience helps artists refine their approach to building connections, ensuring they focus on meaningful interactions that could lead to valuable collaborations, opportunities, and a stronger professional network.
  • Track Networking Contacts: Keep a spreadsheet or use a CRM tool (like Airtable or HubSpot) to track the artists, professionals, or clients you’ve connected with. Note how and when you interacted with them and any follow-up actions. This will help you stay organised and follow through on your connections.
  • Review Your Success Regularly: Dedicate monthly or quarterly time to assess your networking progress. This will help you understand which tactics have worked and which haven’t, allowing you to refine your approach moving forward.

By tracking your progress, you understand what networking strategies are paying off and which areas need more focus.

2. Adjust Your Strategy

Networking is an evolving process. The art world—and how professionals connect—changes frequently, so adjusting your networking strategy as needed is crucial. Here’s how to improve your networking efforts:

  • Solicit Feedback: Ask for feedback from people in your network. Whether it’s about your social media content, how you engage with others, or how your professional interactions come across, honest feedback can provide valuable insights into areas of improvement.
  • Stay Flexible and Experiment. Don’t be afraid to try new methods of networking. Try different types of posts, other times to post, or new virtual networking events. You’ll discover what works best for you and your audience by experimenting.
  • Adapt to Industry Changes: The digital landscape and the art industry are constantly changing. Keep up with new platforms, trends, or tools that could help you expand your reach. Attend webinars or follow industry leaders to stay informed about the latest networking techniques.
  • Refine Your Pitch and Approach: Networking isn’t just about connecting—it’s also about how you present yourself. Adjust your elevator pitch, how you approach people in online spaces, and how you engage with potential collaborators. Ensure that your brand messaging and visual identity remain consistent across all channels.

Consistently refining and adjusting your strategy ensures continued growth and relevance in the fast-moving art world. By tracking your progress, you can optimise your efforts to network as an artist, build meaningful connections, and expand your reach, bringing you closer to achieving your professional goals.

Conclusion

Learning to network as an artist requires patience, strategy, and authenticity. By combining traditional networking modes with modern digital tools, you can connect meaningfully with your audience and support your creative career. As you refine your strategy. prioritise adding value to others while staying authentic to your artistic vision.

Additional Resources for Artists Looking to Network

  • Americans for the Arts offers artists a wide range of resources and guidelines for expanding their professional networks through traditional and digital means.
  • Creative Capital provides training programmes and networking opportunities to help artists build sustainable careers in the creative industry.
  • The Art Career Project maintains an up-to-date database of networking events, opportunities, and resources to help visual artists expand their professional reach.
  • Working Artist Magazine periodically publishes in-depth articles and case studies on successful networking strategies that have helped artists advance their careers significantly.

These resources can guide you further as you network as an artist and build your creative career. Remember that networking is an ongoing process, and the relationships you make today can lead to opportunities for years to come.

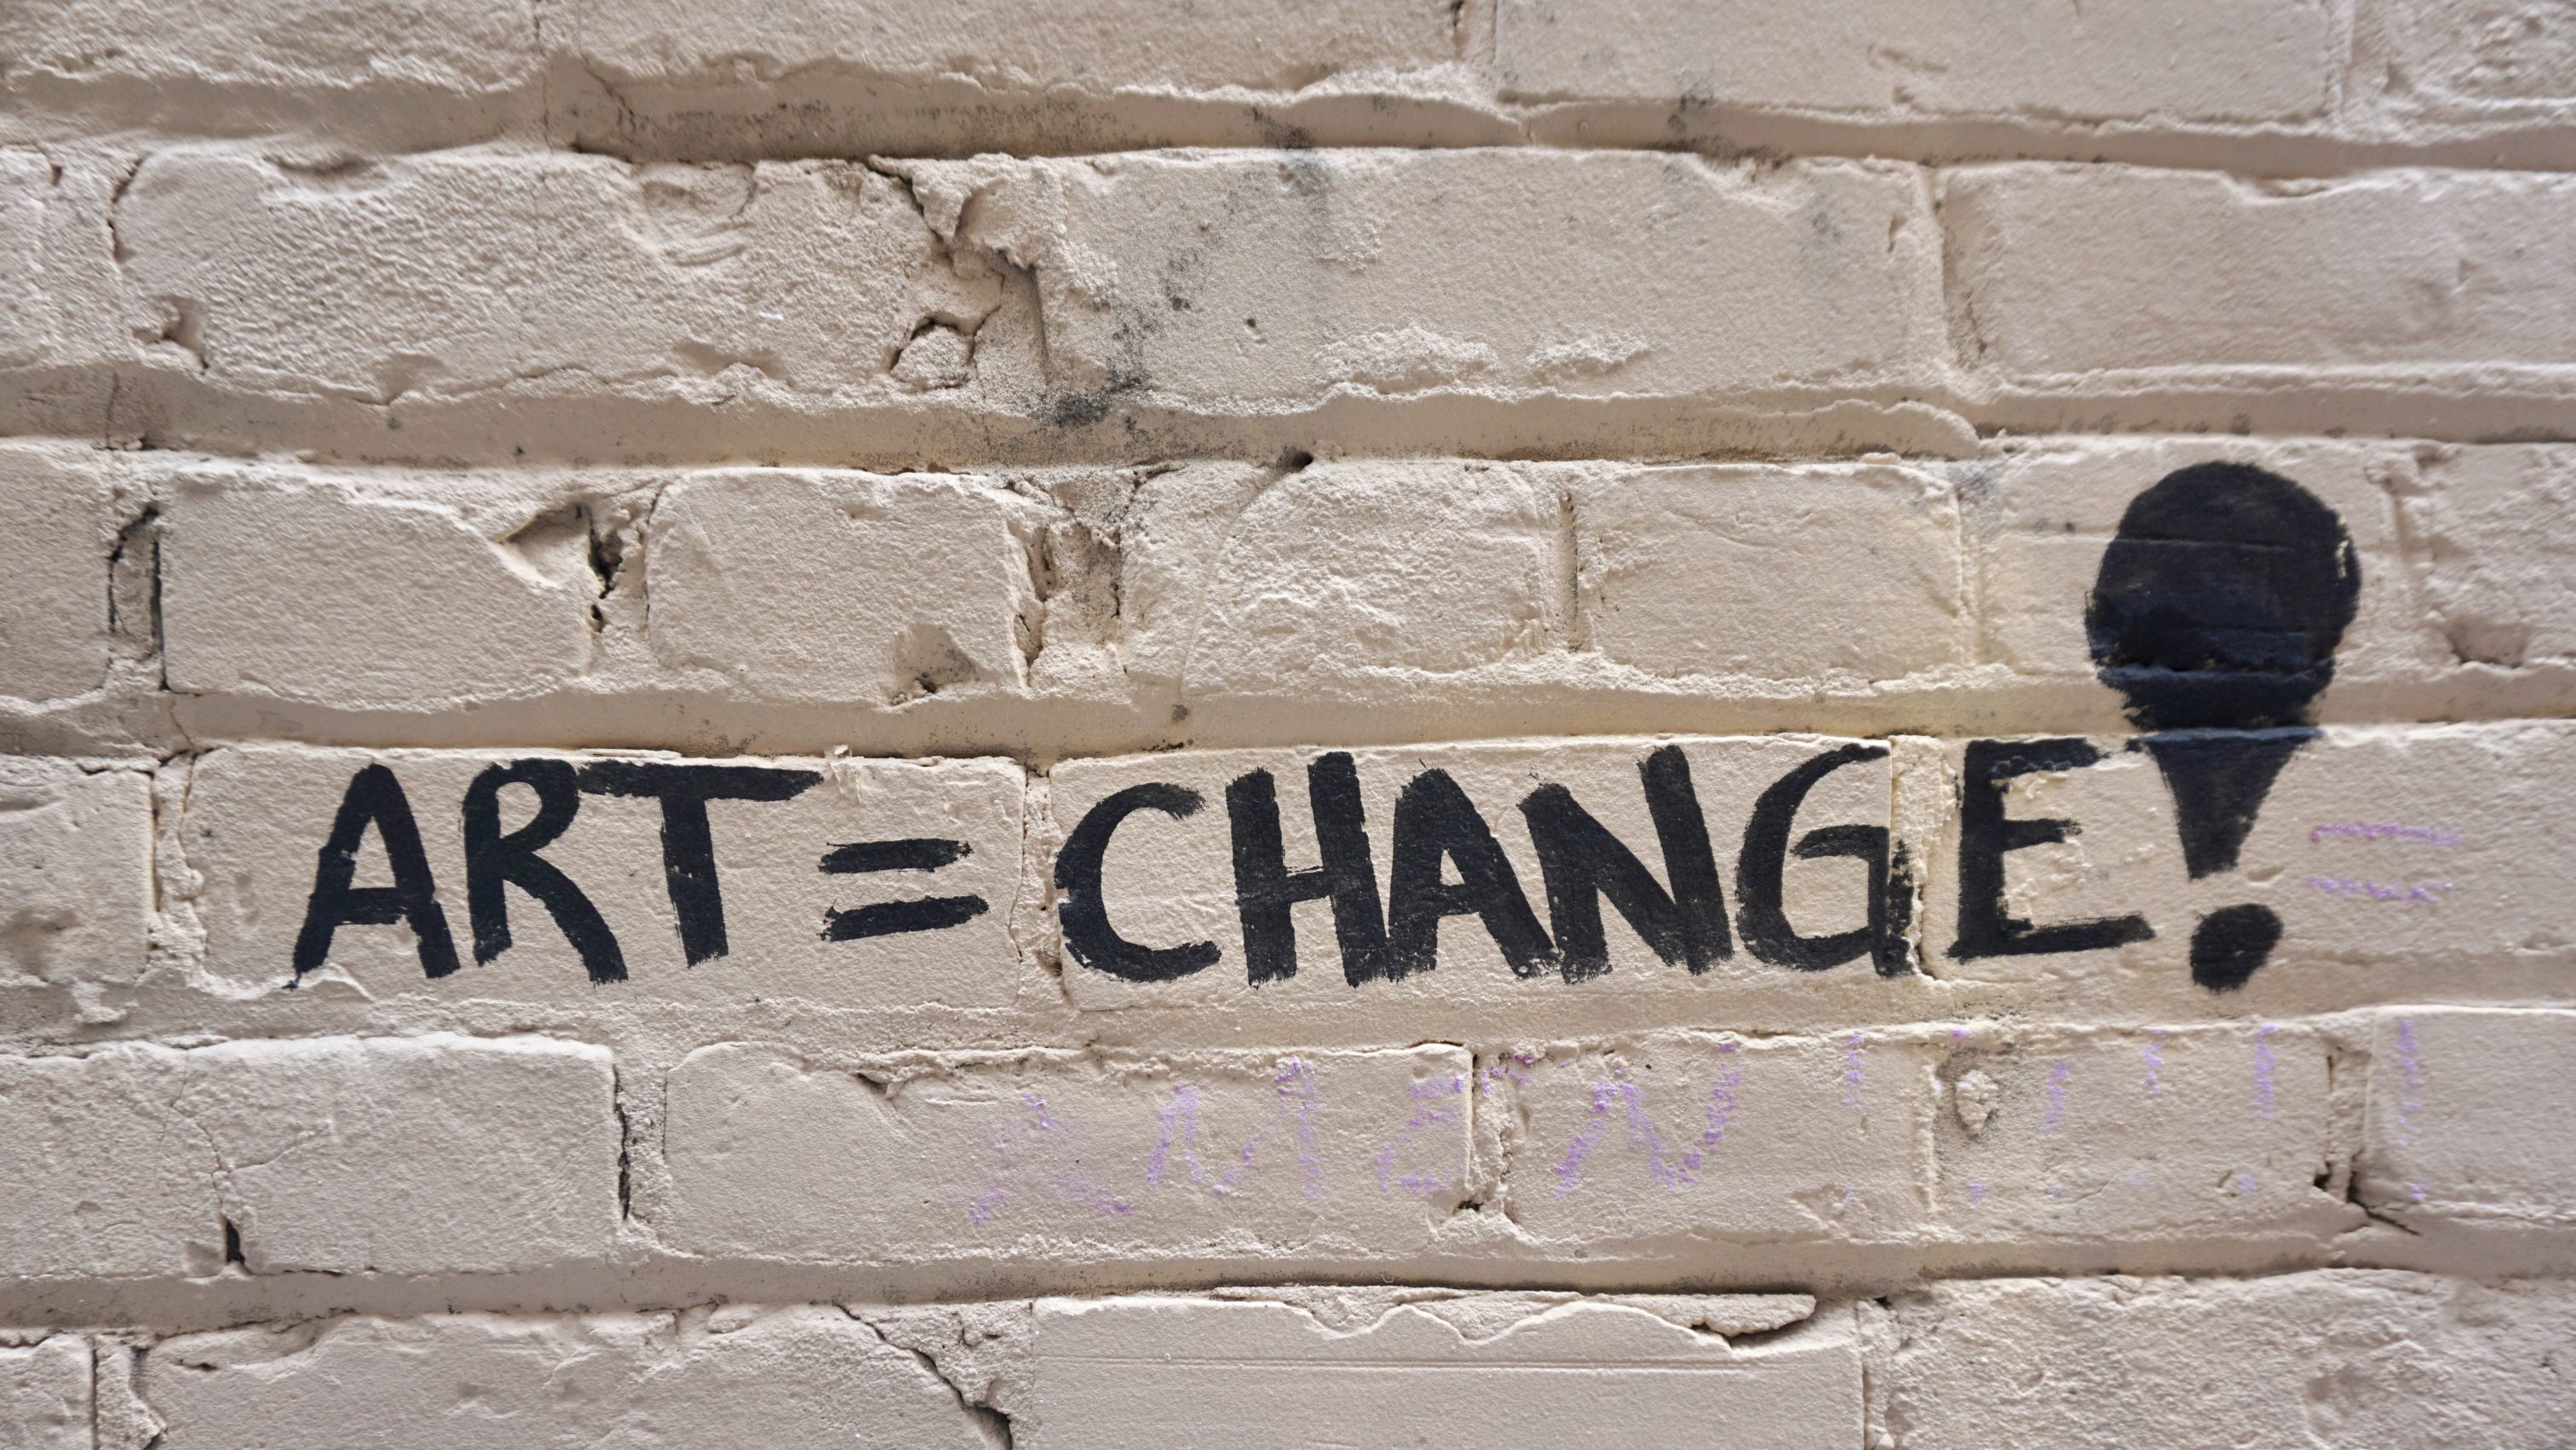
The Influence of the Street Art Movement: From Graffiti to Galleries

Street Art Movement

Over the past several decades, the street art movement has undergone a dramatic transformation. Once dismissed as mere vandalism, it has evolved into a globally recognised and celebrated form of artistic expression. Today, the street art movement challenges conventional norms, redefines cultural landscapes, and bridges the gap between rebellious urban expression and prestigious art institutions. This blog explores the fascinating journey of the street art movement, from its humble beginnings on the gritty walls of cities to its influential presence in galleries and museums worldwide.

The Birth of the Street Art Movement: From the 1960s to Today

The roots of the ​​street art movement are deeply embedded in the social and cultural revolutions of the 1960s and 1970s. Originating in cities like New York, Los Angeles, and Philadelphia, early forms of graffiti emerged as a means for marginalised communities to express their frustrations, hopes, and dreams. These early pioneers used spray paint and markers to claim their space on urban walls—an act that was as much about survival and identity as it was about art.

In the urban jungles of 1970s New York, graffiti was more than an aesthetic choice—it was social commentary. For many young people, particularly those from disenfranchised communities, tagging walls was a way to be seen and heard. Their art was a silent rebellion against societal neglect, a cry for recognition in a rapidly changing urban landscape. This raw, unfiltered expression laid the foundation for what we now call the street art movement.

Initially, these artistic expressions were often met with harsh criticism and legal repercussions. However, as the cultural landscape shifted, so did perceptions of graffiti. Influential figures like Jean-Michel Basquiat and Keith Haring began to gain recognition not just on the streets but also in the mainstream art world. Their ability to infuse raw urban energy with sophisticated artistic techniques helped shift the narrative—what was once considered vandalism started being seen as a legitimate and innovative art form.

Today, the journey from graffiti to gallery is a powerful testament to the transformative power of art. The early days of clandestine tagging have given way to internationally acclaimed exhibitions, proving that the street art movement has evolved into a vibrant and respected part of the global art scene.

The Many Styles of the Street Art Movement

One of the street art movement’s defining features is its diversity. It encompasses various styles and techniques, each contributing uniquely to the urban landscape. In this section, we explore some of the most popular forms within the street art movement and what makes them so impactful.

1. Graffiti: The Raw Power of Expression

Graffiti is often the first image people think of when they think of the street art movement. Characterised by bold lines, vibrant colours, and dynamic compositions, graffiti is a direct, unfiltered expression of urban life. It often conveys powerful messages about social issues, identity, and rebellion. The sheer energy and spontaneity of graffiti capture the essence of the street art movement—it’s raw, unedited, and deeply personal.

2. Stencils: Precision and Repetition

Stencils offer a level of precision that is often absent in freehand graffiti. By cutting out intricate designs and patterns, artists can reproduce consistent imagery that resonates with viewers. Stencil art has been embraced by many famous artists within the street art movement, including Banksy, who uses the technique to deliver sharp, satirical commentary. The repetitive nature of stencils allows for a strong, unified visual message, making it one of the most recognisable forms in the street art movement.

3. Murals: Storytelling on a Grand Scale

Murals transform entire walls into canvases that tell expansive stories. These large-scale works are often commissioned by communities, local governments, or private collectors, and they serve to celebrate cultural heritage, historical events, or social movements. Murals can be visually stunning and emotionally powerful, inviting viewers to engage with the narrative and immerse themselves in the story. Their scale and permanence have made murals a defining element of the modern street art movement.

4. Wheatpaste: Ephemeral and Impactful

Wheatpaste, a mixture of flour and water, allows artists to quickly adhere paper posters to urban surfaces. This method creates temporary installations that capture the fleeting nature of urban life. Wheatpaste art is inherently ephemeral—its impermanence adds to its allure, as each piece is a snapshot of a moment. Despite its temporary nature, wheatpaste remains a vital part of the street art movement, symbolising the transient beauty of urban expression.

5. 3D Street Art: Blurring the Lines Between Reality and Illusion

Breaking free from flat surfaces, 3D street art uses optical illusions and clever shading techniques to create images that appear to leap off the wall. These interactive pieces invite viewers to engage with the art on a new level as they challenge perceptions and create immersive experiences. The innovative use of space in 3D creations has redefined the boundaries of the street art movement, transforming ordinary surfaces into dynamic, multi-dimensional displays.

Each style contributes to the rich tapestry of the street art movement, showcasing the versatility and innovation that define the genre. They serve as powerful reminders that art is not confined to traditional mediums but is an ever-evolving expression that reflects modern society’s complexities.

Notable Artists: Shaping the Street Art Movement

The influence of the street art movement can best be understood by examining the journeys of its most celebrated practitioners. These artists have redefined what it means to create art outside the traditional studio and paved the way for future urban creatives.

1. Banksy: The Enigmatic Rebel

Banksy, the most renowned urban artist, has become a defining figure in the street art movement. His politically charged and often humorous pieces challenge societal norms and provoke thoughtful discussion. Banksy’s work blurs the line between art and activism, and his anonymity only adds to the mystique and allure of his creations. From stencilled images on brick walls to large-scale installations, Banksy has redefined what it means to create art that is both accessible and deeply provocative within the street art movement.

2. Shepard Fairey: The Voice of Social Change

Shepard Fairey, another towering figure in the world of the street art movement, is best known for his “Obey” campaign and the iconic “Hope” poster that symbolised political change during Obama’s presidential campaign. Fairey’s work is marked by bold imagery and striking iconography, using art to inspire and mobilise communities. His transition from street installations to international exhibitions illustrates the street art movement’s growing acceptance and influence in the broader art world. You can explore more of his work through Shepard Fairey’s Obey Giant Project, which showcases his evolution from street installations to international exhibitions.

3. Swoon: The Master of Intricate Paper Cutouts

Swoon, one of the most prominent female artists in the street art movement, is known for her intricate paper-cut portraits that explore themes of social justice, community, and resilience. Her work, often found on abandoned buildings and unexpected urban spaces, bridges the gap between fine art and the street art movement, bringing deeply personal narratives to public view.

Beyond the Icons: Emerging Voices

A new generation of artists is reshaping urban landscapes with fresh perspectives and innovative techniques. They are pushing the boundaries of traditional graffiti by incorporating digital media, mixed media, and even augmented reality into their work. Their creations reflect contemporary issues, cultural heritage, and personal narratives, ensuring that the street art movement continues to evolve and resonate with modern audiences.

1. INTI: Latin American Heritage in Murals

Hailing from Chile, INTI infuses his large-scale murals with elements of Latin American culture, folklore, and surrealism. His signature style features sun-kissed figures adorned with symbolic motifs, creating thought-provoking pieces that explore themes of identity, spirituality, and societal transformation. INTI’s work can be found in cities worldwide, from Paris to Miami, demonstrating the global reach of emerging artists within the street art movement.

2. FAITH47: A Voice for the Marginalised

South African artist FAITH47 is known for her profoundly emotive and poetic murals highlighting social justice, urban decay, and transformation themes. Her work blends realism with abstract elements, creating hauntingly beautiful pieces that challenge perceptions and provoke introspection. Whether transforming expansive walls or crafting intimate indoor pieces, FAITH47’s work powerfully reflects the resilience and human struggle central to the street art movement.

3. JR: Street Art Meets Social Commentary

French artist JR combines photography and street art to tell powerful human stories. His large-scale black-and-white portraits are often pasted on urban surfaces, bridges, and entire buildings, turning city streets into open-air galleries. Through projects like Inside Out and Women Are Heroes, JR uses his art to amplify the voices of marginalised communities, bridging the gap between art and activism within the street art movement.

These artists—and many others—are redefining the global street art movement, ensuring it remains a dynamic and ever-evolving form of creative expression. With social media and global street art festivals providing unprecedented exposure, emerging voices are gaining international recognition, proving that the street art movement’s future is as bold and impactful as its past.

Global Street Art Festivals: Celebrating Urban Creativity

Street art festivals have become a cornerstone of the global art scene. These events bring together artists from around the world to celebrate the diversity and dynamism of the street art movement. Festivals like POW! WOW! In Hawaii, the Nuart Festival in Norway, and the Meeting of Styles in Germany have transformed urban spaces into open-air galleries where creativity knows no bounds.

1. The Role of Festivals in the Evolution of the Street Art Movement

Street art festivals are more than exhibitions; they are vibrant celebrations of cultural exchange and creative innovation. They allow artists to collaborate, share techniques, and push the limits of their creative expression. These festivals foster an environment where traditional boundaries dissolve, and artists can experiment freely, often resulting in groundbreaking work that challenges conventional artistic norms within the street art movement.

2. Cultural Convergence on a Global Scale

One of the most exciting aspects of these festivals is their ability to bring together diverse cultures and unique artistic styles. Each festival is a melting pot where ideas are exchanged, and new artistic movements are born. The convergence of international talent enriches the festival experience and contributes to the global dialogue on the street art movement. This international exposure has significantly elevated the street art movement from a local urban phenomenon to a respected global art form.

3. Virtual Festivals: Expanding Accessibility

Many street art festivals have embraced virtual platforms in response to global events and the increasing need for digital connectivity. Online exhibitions, interactive workshops, and digital galleries have allowed enthusiasts worldwide to experience the vibrancy of the street art movement without leaving their homes. Explore virtual street art with Google Arts & Culture to see how technology is bringing murals, graffiti, and installations from around the globe to your This digital evolution has broadened the audience and opened new avenues for creative expression and collaboration within the street art movement.

These festivals underscore the transformative power of the street art movement, a unifying force that transcends geographical and cultural barriers and catalyses innovation and dialogue in the art world.

Street Art Movement in Galleries: Challenging Traditional Boundaries

Over the past few decades, the migration of the street art movement from urban walls to the refined spaces of galleries and museums has marked a significant cultural shift. This transition validates the street art movement as a serious art form and challenges the established norms of what constitutes fine art.

1. Breaking Down Barriers

Including the street art movement in galleries has fundamentally altered the art world’s perception of urban creativity. Works once considered acts of defiance are now exhibited alongside classical paintings and sculptures. This integration has sparked debates about the nature of art, the role of the artist, and the importance of context in shaping our understanding of creative expression.

2. Landmark Exhibitions

Exhibitions such as “Beyond the Streets” in Los Angeles have been instrumental in bringing the street art movement to a broader audience. These shows feature a diverse array of works—from gritty graffiti to polished installations—demonstrating the depth and complexity of the genre. Such exhibitions not only celebrate the history and evolution of the street art movement but also highlight its relevance in today’s art world.

3. Commercial Success and Critical Acclaim

The commercial success of artists from the street art movement in the gallery circuit has been nothing short of remarkable. Works by artists like Banksy and Shepard Fairey have fetched record prices at auction, reflecting a growing appreciation for the street art movement’s cultural and monetary value. This commercial recognition has paved the way for more urban artists to gain entry into the mainstream art market, blurring the lines between public art and fine art.

Respect for the Art Form

The street art movement’s raw, unpolished aesthetic is increasingly valued despite its vulnerability to weather and urban change. Its fleeting nature adds to its allure, creating a sense of impermanence that captivates admirers. As recognition grows, so does appreciation for its transient beauty, marking a shift in the art world’s perspective on the street art movement.

Conclusion

The street art movement is more than a style — it’s a powerful movement that turns public spaces into canvases for expression and change. Blending traditional and urban art, it uses bold imagery to challenge perspectives, ignite conversations, and reshape how we see the world. The street art movement plays a pivotal role in promoting diversity and inclusivity within the art world, giving voice to underrepresented communities and perspectives. By transforming cityscapes, the street art movement leaves a lasting imprint on culture, society, and how we experience our surroundings.

FAQs

The street art movement is a visual art form created in public spaces. It encompasses techniques like murals, stencils, wheatpaste, installations, and graffiti. Graffiti is one of the street art movement’s original and most influential styles, often focused on stylised lettering and tags. While the street art movement now includes a broader range of materials and messages, graffiti remains its cultural and creative foundation.

The street art movement began as a form of rebellious urban expression, often viewed as vandalism. Over time, prominent artists like Banksy and Jean-Michel Basquiat helped elevate its status by blending raw street visuals with powerful social commentary. Today, the street art movement is showcased in galleries and museums, recognised for its cultural impact and artistic innovation.

Notable artists in the street art movement include:

  • Banksy – known for satirical and political stencil work
  • Shepard Fairey – creator of the “Obey” campaign and Obama’s “Hope” poster
  • Jean-Michel Basquiat, who transitioned from graffiti to fine art

    Emerging artists worldwide continue to shape the street art movement using digital tools, mixed media, and AR.

Popular forms within the street art movement include:

  • Graffiti – expressive, letter-based art
  • Stencils – repeatable, detailed images
  • Murals – large-scale storytelling on walls
  • Wheatpaste – poster art that’s fast and ephemeral
  • 3D Street Art – illusion-based designs that engage viewers interactively. Each style adds to the street art movement’s diversity and innovation.

Street art festivals provide platforms for global artists to collaborate, showcase work, and exchange ideas. Events like POW! WOW! Nuart and Meeting of Styles transform cities into open-air galleries. Many have also embraced virtual formats, increasing accessibility and global reach for the street art movement.

The street art movement reflects social issues, challenges norms, and reclaims public space as a canvas for dialogue. It connects communities, makes art accessible, and brings attention to inequality, climate change, and identity. Its power lies in being both disruptive and unifying.

While some pieces from the street art movement are preserved or recreated, much of it is inherently ephemeral. Weather, city development, and its public nature mean it often fades or is removed. This impermanence adds value, capturing a moment and highlighting art’s fleeting beauty within the street art movement.

Overcoming Creative Blocks: Techniques for Artists

overcoming creative blocks

You stare at the blank canvas. Nothing comes to mind. The pressure mounts and frustration builds. We’ve all been there—creative blocks can feel overwhelming. But they don’t have to last forever. In today’s fast-paced, digital world, learning to break through creative stagnation is essential for every artist.

This guide explores practical techniques and strategies—from neuroscience and psychology to digital tools and environmental adjustments—to help you overcome creative blocks and keep your artistic momentum flowing. Whether you’re a seasoned professional or just starting out, these tips will help you regain your creative flow.

The Nature of Creative Blocks

Psychological Factors

  • Stress and Anxiety: High-stress levels and self-imposed pressure can choke off creative energy. Anxiety often leads to self-doubt, making it challenging to generate new ideas.
  • Perfectionism: The desire for flawless work can cause you to overanalyse your ideas and slow the creative process.
  • Fear of Failure: Worrying about judgment or criticism can stifle experimentation and innovation.

Imposter Syndrome: Creative momentum can halt when one feels undeserving of success or talent. Research shows that nearly 75% of creative professionals struggle with this feeling.

Environmental Factors

  • Physical Exhaustion: Long hours without rest can drain your mental resources, leading to extended periods of low creativity.
  • Overwhelming Digital Demands: Social media and algorithm-driven platforms require constant content creation, adding pressure to perform consistently.
  • Suboptimal Workspaces: A cluttered or poorly lit workspace can negatively impact your mood and creative energy.

Quick Self-Reflection Exercise:
Ask Yourself: Think back to the last time you felt stuck. What factors—internal or external—contributed most to your creative block?

How Neuroscience Explains Creative Blocks

Recent advances in neuroscience shed light on what happens in the brain during creative blocks and why they occur.

1. Overactivation of the Prefrontal Cortex

Neuroimaging studies reveal that during creative blocks, the prefrontal cortex—the region involved in critical thinking and self-evaluation—often shows heightened activity.

What this means: Instead of allowing ideas to flow freely, the brain becomes preoccupied with perfectionism, doubt, and over-analysis, which can inhibit spontaneous creativity.

2. Disruption of the Default Mode Network (DMN)

The default mode network, typically active when the mind is at rest or wandering, plays a key role in creativity. However, stress and mental overload can suppress its activity.

What this means: When you’re too focused or stressed, the brain loses its ability to connect distant ideas or access subconscious insights—hallmarks of the creative process.

3. Weakened Neural Pathways for Creativity

Like muscles, neural circuits associated with creativity can atrophy with disuse.

What this means: Inconsistent creative engagement can weaken the brain’s ability to generate original ideas, making it more vulnerable to blocks over time.

For further reading on the neuroscience of creativity, check out the Harvard Business Review’s article on The Science of Creativity.

Checklist: Neuroscience Takeaways

  • Recognise overthinking as a creative block.
  • Allow time for unstructured thought or daydreaming.
  • Engage in regular creative exercises to build resilience.

Psychological Strategies for Getting Past Creative Stagnation

A deep dive into psychology offers several practical methods for managing and overcoming creative blocks.

Tackle Perfectionism and Imposter Syndrome

  • Embrace Imperfection: Shift your focus from perfect outcomes to progress. Use techniques like rapid prototyping or timeboxing. Set a timer and force yourself to create without overanalysing.
  • Cognitive Reframing: Instead of viewing setbacks as failures, see them as learning opportunities. This mindset shift can lower anxiety and boost your willingness to experiment.
  • Seek Mentorship and Community Support: Connecting with other artists can help counteract feelings of isolation. Consider joining a creative community where feedback and shared experiences foster growth.

Read Psychology Today’s guide on overcoming perfectionism for more information.

Quick Checklist: Psychological Boosts

  • Practice rapid prototyping—don’t wait for perfection.
  • Reframe setbacks as learning opportunities.
  • Connect with peers or mentors for feedback.

Managing Mental Fatigue and Burnout

  • Schedule Regular Breaks: Build short breaks into your work schedule. Techniques such as the Pomodoro Technique (25 minutes of work followed by a 5-minute break) can help maintain mental clarity.
  • Mindfulness and Meditation: Regular mindfulness exercises reduce stress and improve focus. Even a few minutes of meditation daily can work wonders.

Set Realistic Goals: Break down larger projects into manageable tasks. This approach can prevent overwhelm and maintain steady progress.

Interactive Challenge:
Creative Challenge: Set a 10-minute timer and sketch or write without judgment. Focus on the process, not the result.

Checklist: Beat Burnout

  • Use the Pomodoro Technique or similar time-management methods.
  • Integrate mindfulness or meditation into your routine.
  • Break large projects into smaller, achievable tasks.

Advanced Techniques to Regain Creative Flow

As you become familiar with the basics, try incorporating advanced strategies to push past creative stagnation even more effectively.

Structured Creative Exercises

  • Timed Challenges: Limit yourself to a short period (e.g., 10–15 minutes) to work on a project. The time pressure can help in overcoming creative blocks and spark fresh ideas.
  • Creative Prompts: Use random prompts (e.g., a word, image, or sound) to inspire a new piece of art. These prompts can force you to think outside your usual patterns.
  • Constraint-Based Work: Set specific limits (e.g., only using two colours, a single medium, or a predefined theme). Constraints can lead to innovative solutions and unexpected creativity.

Experiment with New Disciplines

Sometimes, stepping out of your comfort zone is the best way to reignite your creativity.

  • Cross-Disciplinary Exploration: If you’re primarily a painter, try digital art or sculpting. Engaging with different media can offer fresh perspectives.
  • Join Workshops or Classes: Structured learning environments can expose you to new techniques and ideas. Look for local or online courses that encourage creative experimentation.
  • Collaborative Projects: Working with other artists can introduce diverse viewpoints and spark ideas you might not have discovered.

For insights on integrating digital tools with creativity, explore OpenAI’s Guide to AI and Creativity.

Checklist: Advanced Techniques

  • Experiment with time-limited creative challenges.
  • Use random creative prompts to inspire new ideas.
  • Try new artistic disciplines or join workshops.

Optimising Your Environment for Creative Recovery

Your surroundings can powerfully affect your creative output. A well-organised and inspiring workspace can help you in regaining focus and overcoming creative blocks.

Create a Conducive Workspace

  • Maximise Natural Light: Natural light boosts mood and concentration. Position your workspace near windows or invest in good-quality lighting.
  • Organise and Declutter: A tidy, organised workspace minimises distractions. Keep only essential items at your desk to foster a clear mind.
  • Incorporate Biophilic Design: Add elements of nature, such as indoor plants, natural textures, and colours inspired by the outdoors. These elements have been shown to reduce stress and improve cognitive function.

Use Environmental Cues to Boost Creativity

  • Change Your Scenery: Work in different locations. A change of scenery can refresh your perspective.
  • Personalise Your Space: Surround yourself with inspirational objects, artworks, or mementoes to stimulate creative thinking.

Interactive Exercise:
Self-Reflection: Walk around your workspace and note one thing that inspires you and one thing that distracts you. Adjust your space accordingly.

Checklist: Workspace Optimisation

  • Ensure your workspace has ample natural light.
  • Keep your area organised and clutter-free.
  • Incorporate natural elements and personal touches.

Colour Psychology in Interior Design for Personal Spaces

Personal spaces, such as bedrooms and home offices, require careful consideration of colour psychology in interior design. The colours we choose for our living spaces can significantly impact our daily lives, influencing our mental state and activities. Opting for soft, muted tones in bedrooms can be particularly beneficial, as these colours foster a peaceful, relaxing environment conducive to improved sleep quality. The calming effect of these hues helps in winding down after a long day, encouraging a restful night’s sleep, which is crucial for overall health and well-being.

On the other hand, home offices require a different approach. Here, more vibrant colours can boost mental energy and enhance productivity. Green, for example, is an excellent choice for such spaces. Known for its relaxing properties, green can help reduce anxiety, thereby creating a more focused and efficient work environment. It promotes concentration and can contribute to a more productive work session, making it an ideal colour for areas dedicated to study or work. The strategic use of colour in interior design can thus transform not only the aesthetic of a space but also its functionality, directly affecting our daily routines and state of mind.

The Role of Social Support and Collaboration

Artists don’t have to face creative blocks alone. Social support and collaboration can significantly help them in overcoming creative blocks.

Engage in Peer Review and Feedback

  • Regular Critique Sessions: Organise sessions with fellow artists to share work and receive constructive feedback. External perspectives can reveal new ideas and approaches.
  • Collaborative Brainstorming: Working with peers can stimulate ideas and help overcoming creative blocks. Even a brief discussion about a project can provide the spark needed to start.
  • Join a Creative Community: Joining a group—online or in person—offers emotional support and shared resources. The camaraderie and collective wisdom can be invaluable during creative slumps.

Checklist: Social & Collaborative Strategies

  • Schedule regular peer review sessions.
  • Engage in collaborative brainstorming with fellow creatives.
  • Join a creative community or network.

The Impact of Physical Health on Creativity

Never underestimate the connection between your physical well-being and your creative output. A healthy body supports a healthy mind, and vice versa.

Exercise and Movement

  • Regular Physical Activity: Incorporating exercise into your daily routine—a brisk walk, yoga, or dancing—can boost blood flow and clear your mind, allowing you to generate fresh ideas.

Movement Breaks: Even short breaks for stretching or a quick walk can reset your brain during long creative sessions.

Sleep, Nutrition, and Hydration

  • Prioritise Sleep: Adequate rest is critical for cognitive function. Aim for 7–9 hours of quality sleep per night.
  • Eat Nutritious Foods: A balanced diet supports brain health and energy levels. Incorporate foods rich in omega-3 fatty acids, antioxidants, and vitamins.
  • Stay Hydrated: Dehydration can lead to mental fog and decreased concentration. Keep a water bottle at your desk and sip throughout the day.

Checklist: Physical Health Reminders

  • Integrate daily exercise or movement breaks.
  • Ensure you get 7–9 hours of sleep.
  • Maintain a balanced diet and stay hydrated.

Professional Development to Sustain Creativity

Learning and growing as an artist is key to preventing creative stagnation. Ongoing professional development refines one’s skills and introduces fresh perspectives.

Skill Development Workshops and Courses

  • Attend Workshops: Look for workshops or online classes that offer new techniques and creative methods.

Mentorship and Continuous Learning

  • Find a Mentor: A mentor can provide guidance, constructive criticism, and emotional support during creative lows.
  • Engage in Peer Learning: Share your experiences and learn from others in your creative community. Structured discussions and collaborative projects often lead to innovative solutions.
  • Experiment with New Tools: Embrace digital tools and platforms to boost creativity. AI-powered brainstorming tools, for instance, can offer unexpected ideas and solutions.

Checklist: Professional Development

  • Enrol in workshops or online courses regularly.
  • Experiment with new digital tools or techniques.
  • Seek mentorship and participate in peer learning groups.

Digital Tools and Technology: Enhancing Your Creative Process

Various tools can help you get past creative stagnation in our digital age. These solutions are designed to streamline your workflow and generate new ideas, helping you regain creative flow faster.

AI-powered brainstorming and Project Management

  • Idea Generators: AI tools like ChatGPT or Jasper can provide a steady stream of fresh ideas. Input your project details and let the tool offer creative prompts.
  • Project Management Software: Tools such as Notion or Trello can help organise your ideas and tasks, reducing the stress of managing multiple projects.
  • Virtual Reality Environments: Some innovative platforms allow you to immerse
    yourself in a digital creative space, perfect for stimulating your imagination and experimenting with new concepts.

Read OpenAI’s Guide to AI and Creativity to explore further how AI can boost creativity.

Checklist: Digital Tools

  • Use AI-powered brainstorming tools to spark ideas.
  • Organise projects with dedicated management software.
  • Experiment with virtual creative environments.

Alternative Methods and Experimental Techniques

Alternative methods for managing creative blocks show great promise:

  • Mindfulness-based interventions have successfully reduced creative blocks and their duration among professional artists.
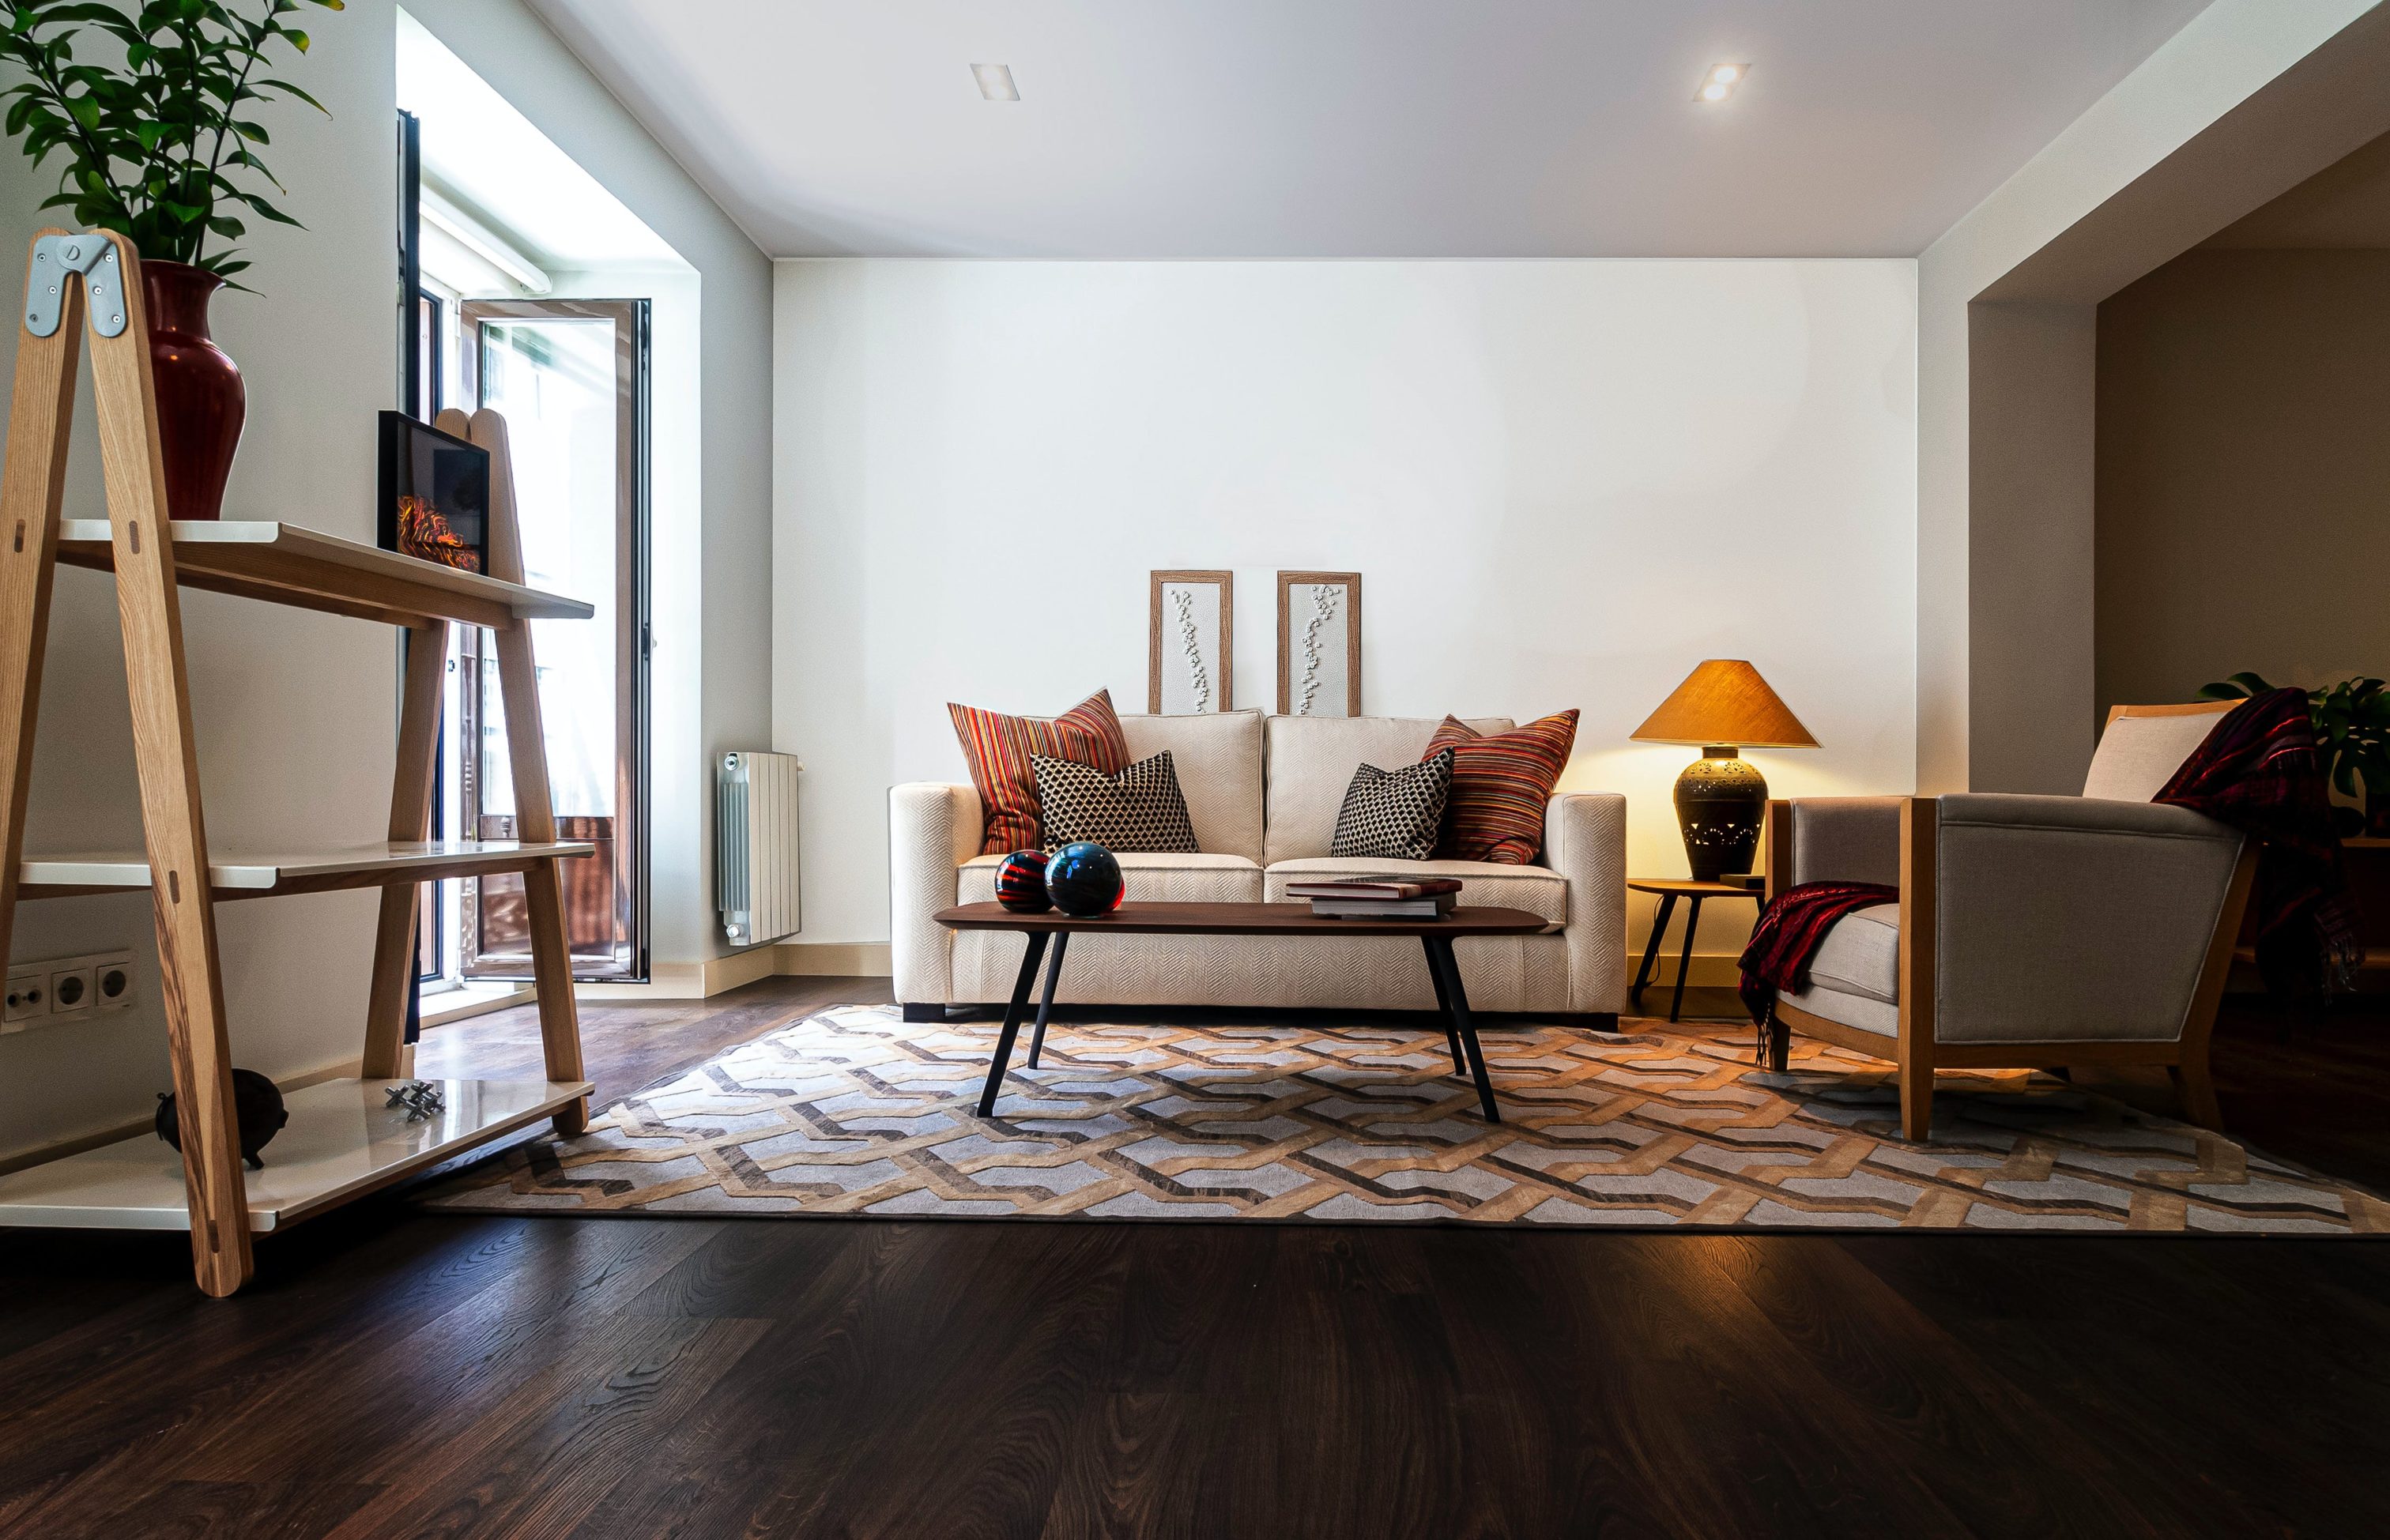
  • Incorporating movement therapy and somatic practices, such as body-based exercises, dance, or mindful movement, helps artists release tension and promote mental clarity. This approach allows creative energy to flow more freely and effectively combats creative blocks by connecting the body and mind in the creative process.
  • New techniques that blend traditional creative methods—like sketching or journaling—with modern technology—such as digital tools, virtual reality, or AI-driven brainstorming—offer fresh solutions. These combinations help artists access new ways of thinking, making it easier to break through blocks and stay productive.

Future Trends in Managing Creative Stagnation

The landscape of creativity is continuously evolving. Here are some emerging trends that promise to reshape how artists manage creative blocks:

Advanced Neurofeedback and Personalised Strategies

Advanced Neurofeedback and Personalised Strategies

  • Neurofeedback Technologies: Early trials using neurofeedback devices help artists recognise the onset of creative blocks and intervene before they become paralysing.
  • Personalised Creative Routines: By tracking creative habits, new apps are beginning to offer personalised suggestions for breaking through stagnation.

Integration of AI and Creativity

  • AI as a Collaborative Partner: Future tools may generate ideas and collaborate with you to refine your creative process in real-time.
  • Data-Driven Insights: Emerging platforms that analyse your creative output can offer tailored strategies to steady your creative flow.

Checklist: Future Trends

  • Stay updated on neurofeedback technology and personalised creativity apps.
  • Experiment with AI tools designed to complement your creative process.
  • Monitor your creative routines for patterns that signal stagnation.

Conclusion

Creative blocks are an inevitable part of the artistic process, but need not be permanent. With the right mix of neuroscience, psychological strategies, environmental tweaks, and modern digital tools, you can learn about overcoming creative blocks and reclaim your creative flow. By adopting a proactive and multifaceted approach, you’re not only addressing the immediate block—you’re setting up a sustainable creative practice that can weather the challenges of today’s dynamic art landscape.

Remember, every artist encounters moments of doubt. The key is to recognise these moments as opportunities for growth rather than insurmountable obstacles. With persistence, experimentation, and the proper support, you can transform creative blocks into stepping stones toward innovation and success.

Happy creating—and may your next burst of inspiration be just around the corner!

FAQs

Creative blocks can result from stress, perfectionism, fear of failure, burnout, and external pressures like deadlines or social media expectations.

They can range from a few hours to several months. Structured techniques and proactive strategies can help reduce their duration.

  • Take a short break and switch to a different activity.
  • Use brainstorming techniques like mind mapping or a timed challenge.
  • Seek feedback from peers or mentors for fresh perspectives.
  • Maintain a consistent creative routine.
  • Avoid perfectionism by focusing on progress over flawless results.
  • Balance work with rest and regular breaks.
  • Experiment with new styles and techniques frequently.

Yes! AI-powered brainstorming tools like ChatGPT, Jasper, and others can generate new ideas and help you in overcoming creative blocks.

Who Was Cosimo de Medici?

Cosimo de Medici

Cosimo de Medici (1389–1464) was a pioneering Florentine leader whose life story embodies the very spirit of the Renaissance. Born into the powerful Medici family, he evolved from a shrewd businessman into an influential patron of the arts, leaving an indelible mark on his time’s financial and cultural landscapes. Often referred to as a “Cosimo de Medici Renaissance patron,” his achievements built the Medici banking empire and laid the foundation for Florence’s transformation into a cultural capital.

Cosimo de Medici’s journey was defined by his ability to merge wealth with wisdom. His story is a testament to how economic power can ignite cultural revolutions when wielded with vision and compassion. His contemporaries admired him for his courage, generosity, and relentless passion for the arts, which helped him overcome adversities and solidify his position as a beloved leader.

Early Life and Family Origins

Cosimo de Medici was born on April 10, 1389, alongside his twin brother, Damiano. Their parents, Giovanni and Piccarda, named them after Saints Cosma and Damiano—figures celebrated for offering free medical services to those in need. Cosimo de Medici later redefined his “official” birthday to September 27, the Holy Day honouring these saints. This shift was symbolic, reflecting his lifelong commitment to values that went beyond mere personal ambition.

Growing up in a family that valued commerce and service, Cosimo de Medici was groomed from an early age to manage the family business and contribute to the welfare of his community. His formative years were marked by exposure to the practicalities of banking and the idealism that would later fuel his patronage of the arts.

The House of Medici: A Dynasty of Power and Influence

The House of Medici stands as one of the most powerful and influential families in European history, with Cosimo de Medici serving as its most transformative patriarch. The Medici dynasty originated in the 13th century as a merchant family in Florence, but it was under Cosimo de Medici’s leadership that they rose to unprecedented heights of wealth and cultural significance.

1. Origins and Rise to Prominence

The Medici family’s ascent began with Cosimo de Medici’s father, Giovanni di Bicci de’ Medici, who established the foundation of the banking empire. However, it was Cosimo de Medici who transformed this modest beginning into a financial powerhouse that would dominate European banking for centuries. The family’s coat of arms, featuring six red balls (palle) on a golden field, became synonymous with financial reliability and cultural patronage throughout Renaissance Europe.

2. Political Influence and Papal Connections

Under Cosimo de Medici’s guidance, the House of Medici became the de facto rulers of Florence, wielding political power that extended far beyond their commercial interests. The family’s relationship with the Catholic Church was particularly significant, as Cosimo de Medici established the Medici Bank as the papal bank, managing the Church’s finances across Europe. This connection not only provided immense wealth but also granted the family political protection and influence that would benefit future generations.
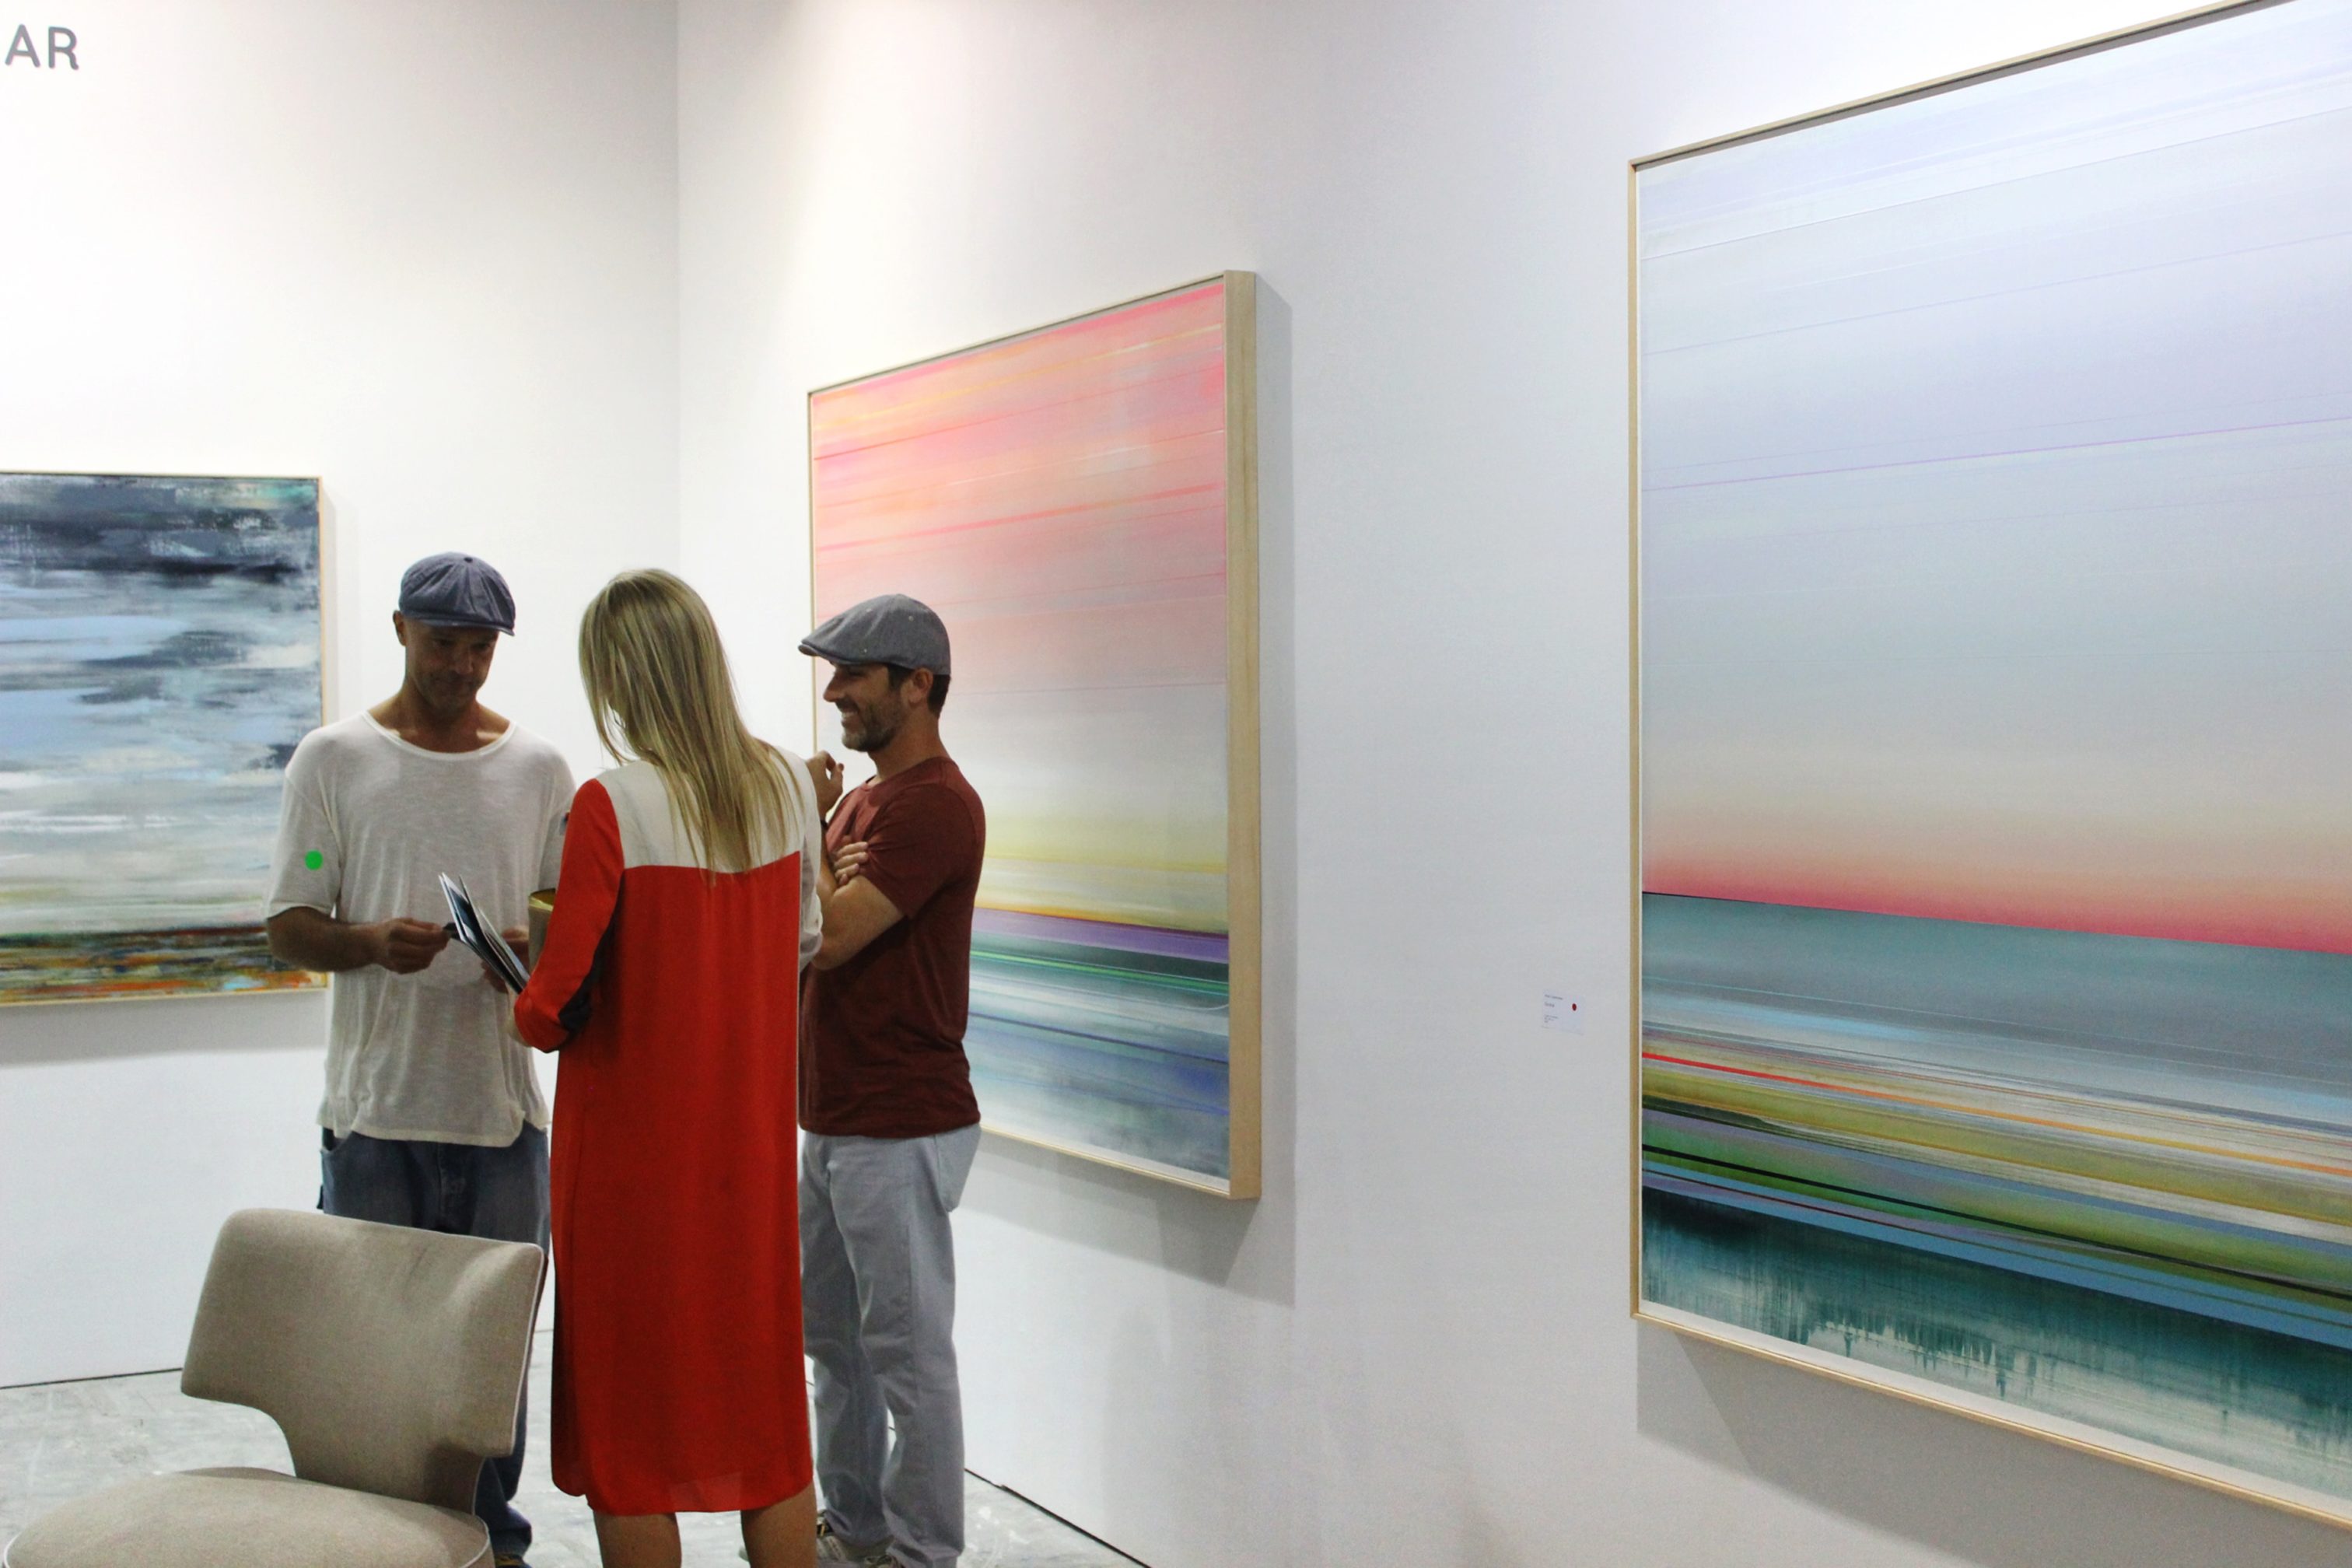
3. Legacy Through Generations

The foundation laid by Cosimo de Medici enabled future generations of the Medici family to produce four Popes, numerous cardinals, and even royalty. His great-grandson Lorenzo the Magnificent would continue the family’s tradition of art patronage, while later descendants would marry into European royal families, including the French monarchy. The House of Medici’s influence on European politics, finance, and culture can be directly traced back to the visionary leadership of Cosimo de Medici.

How Did Cosimo de Medici Build His Wealth?

Although Cosimo de Medici inherited his father’s bank, his path to success was fraught with challenges. Unlike many Florentine bankers of his era, who frequently succumbed to financial mismanagement and insolvency, Cosimo de Medici’s astute business acumen ensured the survival—and eventual dominance—of the Medici Bank.

1. The Medici Banking Empire

Cosimo de Medici’s sharp instincts saved the bank from collapse multiple times, transforming it into one of Europe’s most powerful financial institutions. He expanded the bank’s operations beyond Florence by establishing branches in strategic locations such as London and Cairo. This international reach diversified the bank’s income streams and established it as a trusted partner for influential clients, including the Roman Catholic Church.

As the de facto financial backbone of the papacy, the Medici Bank wielded unprecedented power. Its role as the papal bank underpinned Cosimo de Medici’s reputation as the Medici family’s banking legacy architect. This legacy would have a lasting impact on European commerce and finance.

2. Strategic Decision-Making and Financial Resilience

Cosimo de Medici’s financial success was not accidental. His proactive approach, characterised by timely investments and strategic risk management, allowed him to navigate economic downturns that claimed the fortunes of his competitors. Cosimo de Medici ensured that the Medici Bank could thrive even in turbulent times by maintaining a keen focus on local and international markets.

His financial strategies were revolutionary for his era, combining traditional commerce with innovative practices that would later influence modern banking. Cosimo de Medici’s ability to keep the bank solvent during crises cemented his reputation as a visionary leader who understood that true power lay not only in wealth accumulation but in sustaining that wealth for the common good.

How Cosimo de Medici Shaped Florentine Politics and Renaissance Democracy

Cosimo de Medici’s influence extended far beyond finance. As a prominent figure in Florentine politics, he played a critical role in shaping the democratic ideals of his city.

1. Leadership in the Signoria

Cosimo de Medici was an active member of the Signoria, Florence’s elected governing body. Through his service, he championed policies that promoted civic unity and democratic governance. His belief in public service and transparency made him a respected figure among the citizens, who saw him as a leader who balanced power with a genuine concern for the welfare of his community.

2. Overcoming Political Adversity

Cosimo de Medici’s political journey was not without obstacles. In 1433, a rival faction led by Rinaldo Degli Albizi forced him into exile. However, Cosimo de Medici maintained vital connections during his time in Venice and continued to influence Florentine affairs from afar. His strategic alliances and unwavering popularity paved the way for a triumphant return to Florence, where he was welcomed by cheering crowds. Cosimo de Medici navigated political upheaval with unmatched resilience, proving his leadership was as enduring as visionary.
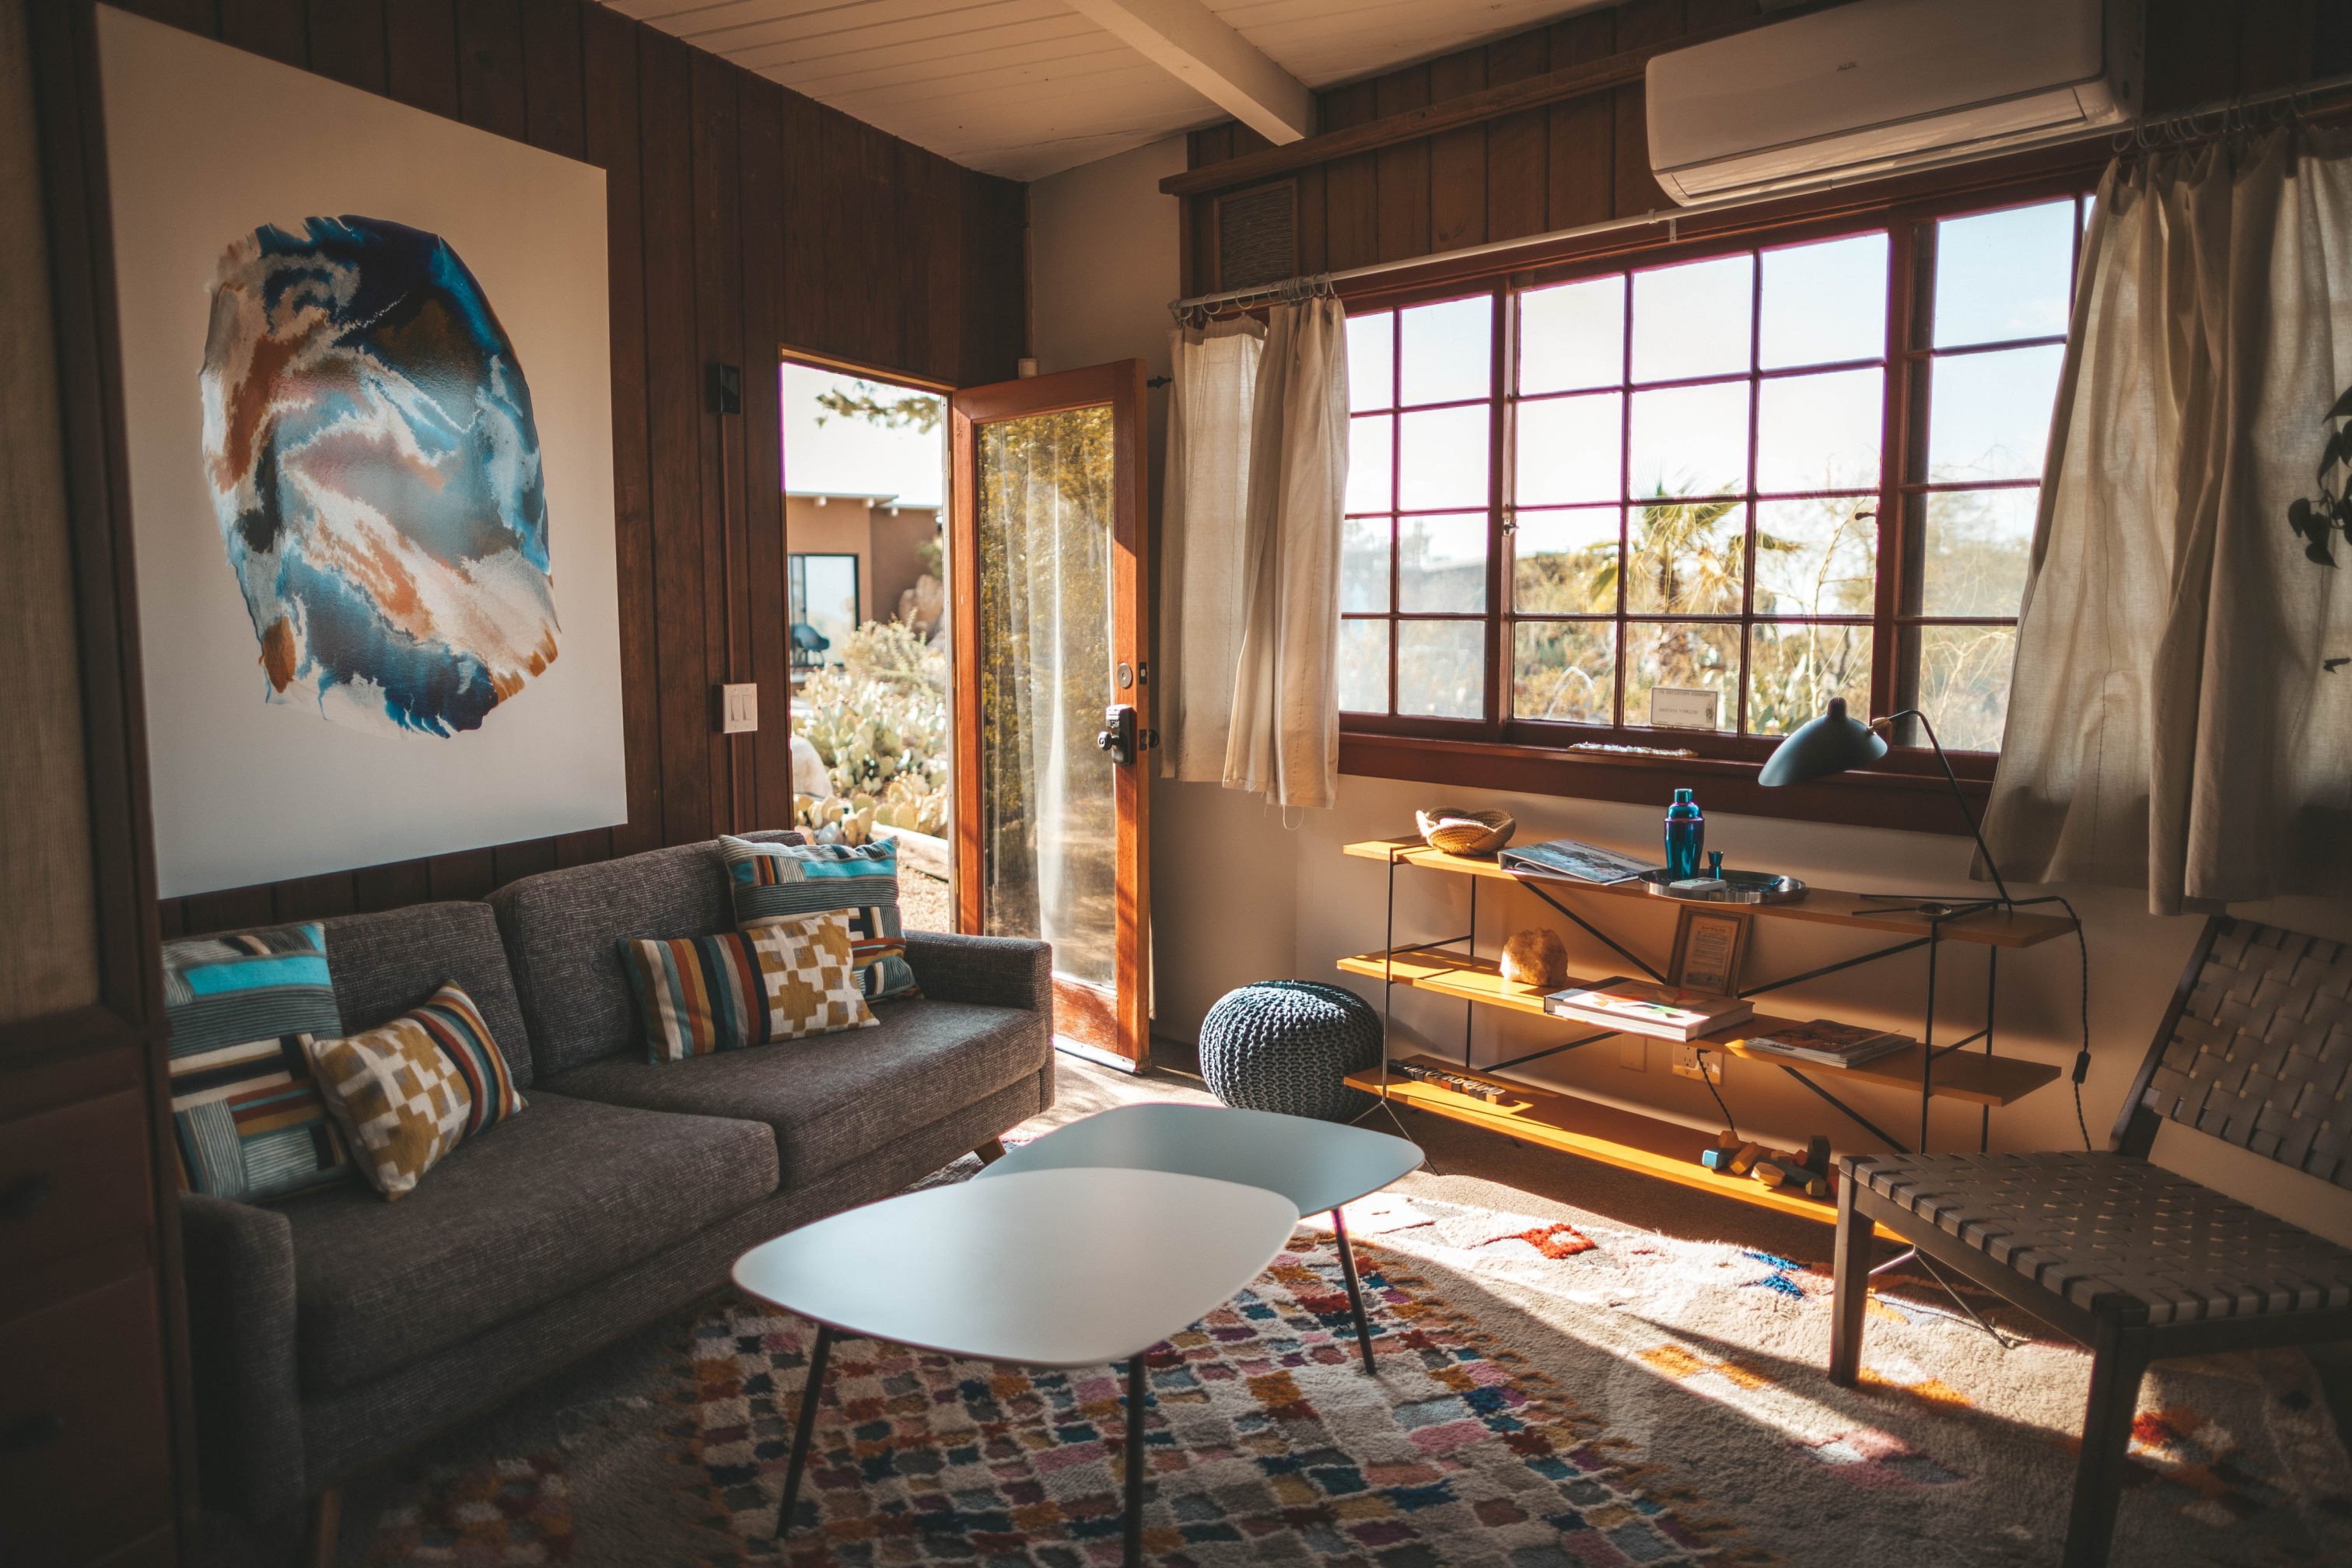
3. Championing Democratic Reforms

Cosimo de Medici’s political influence extended to promoting democratic reforms that strengthened civic life in Florence. He believed in a balanced system where power was shared among the citizens, and his efforts helped foster a spirit of collaboration and public participation. This commitment to democracy stabilised Florence during times of crisis and laid the groundwork for the political innovations that would later characterise the Renaissance.

By merging financial prowess with political acumen, Cosimo de Medici set a powerful example of how leadership can be exercised responsibly for the collective benefit of society. His enduring influence on Florentine politics underscores his dual legacy as both a shaper of economic destiny and a champion of democratic values.

Cosimo de Medici’s Art Patronage: Fueling the Renaissance in Florence

While Cosimo de Medici’s banking and political achievements are well documented, his impact on the arts is equally profound. His patronage of art and architecture transformed Florence into a living gallery that continues to inspire today’s world.

1. A Passion That Transcended Wealth

Cosimo de Medici’s love for art went beyond personal admiration—it became a driving force for cultural transformation. Unlike many of his contemporaries who collected art for personal pleasure, Cosimo de Medici invested his wealth in projects that would elevate the city. By funding the works of renowned artists and architects, he ensured that art became an integral part of Florence’s identity.

2. Transformative Projects and Enduring Works

Cosimo de Medici’s most notable contribution was his support for Donatello, the sculptor. By commissioning works such as the celebrated statues of David and Judith Slaying Holofernes, Cosimo de Medici enhanced Florence’s artistic repertoire and set new standards for creativity and craftsmanship.

3. The Cultural Ripple Effect

Cosimo de Medici’s investment in the arts had far-reaching consequences. His patronage enriched Florence’s cultural life and influenced generations of artists across Europe. By establishing Florence as a centre of artistic innovation, Cosimo de Medici’s legacy inspires modern-day creators and art enthusiasts.

Learn more about Florence’s architectural wonders at The Metropolitan Museum of Art’s Renaissance Collections.

Cosimo de Medici’s Influence on Renaissance Architecture and Urban Transformation

Cosimo de Medici’s legacy is perhaps most visible in Florence’s physical transformation. His support for groundbreaking architectural projects reshaped the city’s skyline and left an indelible mark on its cultural heritage.

1. Redefining the Urban Landscape

Cosimo de Medici’s most enduring contribution was his role in constructing Filippo Brunelleschi’s dome for the Florence Cathedral. This engineering marvel solved a critical architectural challenge and symbolised the Renaissance’s ingenuity and ambition. Cosimo de Medici’s support of Brunelleschi’s vision was a bold statement—he believed that art and architecture had the power to uplift society and transform urban spaces.

His influence extended to numerous other projects, including libraries, public buildings, and churches, all of which contributed to Florence’s reputation as a city of innovation and beauty. By merging financial resources with visionary ideas, Cosimo de Medici created an environment where art and architecture could flourish.

2. A Lasting Architectural Legacy

The architectural projects funded by Cosimo de Medici have had a lasting impact on the cultural identity of Florence. Today, visitors from around the world marvel at the intricate details of the Duomo, stroll through historic piazzas, and admire the elegant design of public buildings that still echo his vision. His contributions to urban transformation have cemented his status as one of history’s most influential leaders in both the financial and cultural realms.

Today, his influence can be seen in every corner of the city—from the timeless masterpieces displayed in its museums to the architectural marvels that define its skyline. His support for art set in motion a cultural revolution that has earned him the enduring title of the “Godfather of the Renaissance.”

Explore the transformative impact of Cosimo’s patronage at the UNESCO World Heritage: Historic Centre of Florence.

Cosimo de Medici’s Character: A Complex Figure of Power and Principle

While Cosimo de Medici is celebrated for his tangible achievements, his character has been debated among historians and scholars. Some describe him as a shrewd manipulator who amassed power by any means necessary, while others remember him as a compassionate leader devoted to the welfare of his fellow citizens.

A Man of Paradox

Cosimo de Medici’s writings and recorded quotes provide a glimpse into his inner thoughts. He warned of the destructive power of envy, stating:

“There is a plant which one ought to leave dry, although most people water it. It is the weed called envy.”

He also commented on the nature of forgiveness, noting that true discernment is needed when deciding whom to forgive. These reflections reveal a man who was deeply aware of human nature and balanced a pragmatic approach to power with high moral ideals.

His complex character—combining a ruthless drive for success with an unwavering commitment to civic duty—has contributed significantly to his enduring legacy. Cosimo de Medici understood that authentic leadership involved accumulating wealth and power and using them to foster the greater good.

Cosimo de Medici’s Enduring Legacy in Modern Times

Empowering Modern-Day Artists

Cosimo de Medici once said that supporting artists brought him the most satisfaction from all his achievements. We share that belief, and our mission is to help today’s artists experience the same joy that art brought to Cosimo de Medici.

At Cosimo, every artist can connect with their audience and sell their work directly. Inspired by Cosimo de Medici’s love for art and his patronage of artists, our platform empowers emerging talents to build their brand, connect with collectors, and sell their art securely.

Join us in building a modern-day Renaissance—become part of the Cosimo community today!

Join the Renaissance

Support Art. Support Artists. Sign Up for Free on Cosimo

Whether you’re an experienced artist or just starting, Cosimo allows you to sell your art online for free. Our platform will enable you to set your prices, manage your sales, and ship your artwork quickly, giving you more time to focus on your craft.

FAQs

Cosimo de Medici (1389–1464) was a Florentine banker, politician, and art patron renowned for establishing the Medici banking empire and fueling the Renaissance. His innovative leadership and philanthropic support for the arts transformed Florence into a cultural hub.

Cosimo de Medici earned this title due to his transformative patronage of artists such as Donatello and Brunelleschi, whose works defined the era’s art and architecture. His support for creative endeavours reshaped the cultural landscape of Florence.

By expanding the Medici Bank across Europe—with branches in key cities like London and Cairo—Cosimo de Medici built one of the most powerful financial institutions of his time. His strategies ensured the bank thrived despite economic crises, establishing a lasting legacy in European finance.

Cosimo de Medici played a pivotal role in Florentine politics by serving in the Signoria, promoting democratic reforms, and uniting the citizens of Florence. His triumphant return and strategic governance cemented his status as a key political leader even after a forced exile.

Cosimo de Medici’s patronage funded monumental projects, such as Brunelleschi’s dome for the Florence Cathedral and numerous public buildings. His support for innovative architecture helped shape Florence’s skyline, leaving a legacy that inspires admiration worldwide.

Colour Psychology in Interior Design: Psychological and Emotional Effects of Different Painting Choices

Colour Psychology in Interior Design

Interior design is not just about aesthetics; it’s a psychological endeavour that can significantly influence our mood and mental well-being. Colour is one of the most potent tools in an interior designer’s arsenal. The psychology of colours in interior design shapes our experiences and interactions within a space. Understanding the psychological and emotional effects of different painting choices can transform a mere room into a sanctuary that reflects and enhances our emotional state.

Colour Psychology in Interior Design

Colour psychology in interior design studies how colour influences our emotions and behaviours. Room colour psychology reveals that colours profoundly affect our feelings and behaviour, with each hue capable of invoking a distinct psychological response. The serene tranquillity of blue makes it a favoured choice for relaxing spaces, such as bedrooms and bathrooms.

Its calming effect provides a serene backdrop conducive to rest and rejuvenation. Conversely, the vivacity of red and orange hues can energise a room, sparking lively conversations and stimulating appetites, making them perfect for social hubs like dining rooms. These tones infuse spaces with warmth and excitement, encouraging interaction and enjoyment.

Understanding the emotional connotations of different colours allows for strategic interior design choices that enhance the atmosphere of a space, tailoring environments to foster the desired mood and activity, whether it’s relaxation in private quarters or social engagement in communal areas.

The Emotional Impact of Colour Choices

The emotional impact of colour choices in interior design profoundly influences mood, feelings, and behaviours. Warm colours like red, orange, and yellow evoke warmth and comfort but can also stimulate and energise. For example, orange is associated with happiness, calmness, joy, passion, and desire, making it a suitable colour for bedrooms, exercise areas, and kitchens, where it can stimulate appetite.

On the other hand, cool colours such as blue, green, and purple are linked to calmness, tranquillity, and relaxation. Blue, in particular, is valued for its calming effects, promoting clarity, order, and relaxation, making it an excellent choice for rooms requiring concentration or rest. Using blue thoughtfully is essential, as darker shades can sometimes evoke sadness or coldness. Green, echoing the hues of nature, brings freshness, peace, and trust into a space, with lighter shades offering a positive effect and darker greens sometimes being associated with negative emotions, such as jealousy.

Neutral colours like white, beige, and grey tend to fade into the background and have minimal psychological impact, making them ideal for rooms used for various purposes or where simplicity is desired. However, the light or darkness of colour also matters; darker colours can make a space feel smaller or cosier, while lighter colours make a room feel more expansive and airy.

When selecting paint colours for a space, it’s essential to consider the room’s function and the mood you wish to evoke, taking into account the psychological effects of your colour choices. Combining colours thoughtfully can enhance the psychological and emotional impact, creating a balanced and harmonious environment.

How Does Lighting Affect Paint Colours?

Understanding how lighting interacts with paint colours is crucial for successful interior design implementation. The psychology of colours in interior design becomes even more complex when we consider how different lighting conditions can dramatically alter our perception of colour and its emotional impact.

Natural light reveals colours in their truest form, but it changes throughout the day. Morning light tends to be cooler and bluer, while afternoon light becomes warmer and more golden. Evening light can cast an orange or pink hue that significantly affects how paint colours appear. A serene blue that feels calming in morning light might appear cold and unwelcoming in the evening without proper artificial lighting.

Artificial lighting sources each have distinct characteristics that influence room colour psychology. Incandescent bulbs emit warm, yellowish light that enhances reds, oranges, and yellows while making blues and greens appear duller. LED lights can be adjusted for colour temperature, offering flexibility in how colours are perceived. Cool white LED lighting (4000K-5000K) brings out blues and greens effectively, making them ideal for workspaces where focus is required. Warm white LEDs (2700K-3000K) enhance warm colours and create a cosy atmosphere perfect for living areas and bedrooms.

Fluorescent lighting, common in commercial spaces, tends to cast a greenish tint that can make skin tones appear sallow and alter colour perception significantly. When planning your colour scheme, always test paint samples under different lighting conditions throughout the day and with your intended artificial lighting to ensure the desired psychological effect is maintained across all lighting scenarios.

Colour Schemes and Pairing Techniques

Effective colour schemes form the foundation of successful interior design, amplifying the psychological impact of individual colours through strategic combinations. Understanding different colour scheme types allows designers to create harmonious spaces that support desired emotional outcomes.

1. Monochromatic Colour Schemes

Monochromatic schemes use variations of a single colour, incorporating different tints, tones, and shades. This approach creates a sophisticated, cohesive look while maintaining the psychological benefits of your chosen hue. For example, a monochromatic blue scheme might include navy walls, powder blue accents, and steel blue furnishings, all contributing to a calm, focused environment ideal for bedrooms or home offices.

The psychology of colours in interior design shows that monochromatic schemes are particularly effective for creating restful environments, as they eliminate visual competition between colours and allow the eye to relax.

2. Analogous Colour Schemes

Analogous schemes combine colours that sit next to each other on the colour wheel, such as blue, purple, and green. These harmonious combinations feel natural and pleasing to the eye while maintaining distinct personalities. An analogous scheme using warm colours (red, orange, yellow) creates an energetic, welcoming atmosphere perfect for social spaces, while cool analogous combinations (blue, purple, green) promote tranquillity and focus.

3. Complementary Colour Schemes

Complementary schemes pair colours directly opposite each other on the colour wheel, creating high contrast and visual excitement. Examples include blue and orange, red and green, or purple and yellow. While these combinations can be striking, room colour psychology suggests using them carefully—the high contrast can be overstimulating if both colours are used in equal intensity. Instead, use one colour as the dominant hue and its complement as an accent to create visual interest without overwhelming the senses.

4. Triadic Colour Schemes

Triadic schemes use three colours equally spaced around the colour wheel, such as red, blue, and yellow. These combinations offer vibrant contrast while maintaining harmony. In interior design, triadic schemes work best when one colour dominates, with the other two serving as accents. This approach harnesses the psychological benefits of multiple colours while avoiding visual chaos.

5. Tips for Effective Colour Pairing

When combining 2-3 hues in interiors, follow the 60-30-10 rule: use your dominant colour for 60% of the space (walls, large furniture), a secondary colour for 30% (upholstery, curtains), and a bold accent colour for 10% (pillows, artwork, accessories). This proportion creates visual balance while allowing each colour’s psychological properties to contribute to the overall atmosphere.

Consider the psychological interaction between colours when pairing them. Warm colours paired with cool neutrals can balance energy and calm, while different intensities of the same colour family create depth without psychological conflict. Always test colour combinations in your specific lighting conditions, as the interplay between hues can change dramatically under different light sources.

Colour Psychology in Interior Design for Personal Spaces

Personal spaces, such as bedrooms and home offices, require careful consideration of colour psychology in interior design. The colours we choose for our living spaces can significantly impact our daily lives, influencing our mental state and activities. Opting for soft, muted tones in bedrooms can be particularly beneficial, as these colours foster a peaceful, relaxing environment conducive to improved sleep quality. The calming effect of these hues helps in winding down after a long day, encouraging a restful night’s sleep, which is crucial for overall health and well-being.

On the other hand, home offices require a different approach. Here, more vibrant colours can boost mental energy and enhance productivity. Green, for example, is an excellent choice for such spaces. Known for its relaxing properties, green can help reduce anxiety, thereby creating a more focused and efficient work environment. It promotes concentration and can contribute to a more productive work session, making it an ideal colour for areas dedicated to study or work. The strategic use of colour in interior design can thus transform not only the aesthetic of a space but also its functionality, directly affecting our daily routines and state of mind.

Colour Psychology in Interior Design for Shared Spaces

Shared spaces, such as living rooms and kitchens, are areas where families come together. Utilising room colour psychology can foster a welcoming atmosphere. Warm and inviting colours, such as soft yellows and earthy tones, play a crucial role in interior design, particularly in communal spaces where social interaction is paramount.

These hues are known for creating a cosy and welcoming atmosphere, encouraging guests to relax and engage with one another. Soft yellows, often associated with sunshine and happiness, can brighten a room and imbue it with energy and warmth. Earthy tones draw inspiration from nature, bringing a calming and grounded feel to a space that makes it more inviting and comfortable for social gatherings.

In contrast, the overuse of bold and intense colours in shared living areas can have the opposite effect. While such vibrant hues can energise a space and make it visually striking, they can also be overpowering if not used judiciously. Spaces dominated by intense, vivid colours might lead to feelings of restlessness or discomfort among guests, as these colours can stimulate the senses to a point where it becomes overwhelming.

It’s essential to balance colour choices to ensure communal areas remain welcoming and conducive to relaxation and conversation.

Conclusion

The psychology of colours in interior design is a powerful tool that can significantly impact the emotional and psychological well-being of occupants. By thoughtfully considering the psychological and emotional effects of various painting choices, understanding how lighting affects colour perception, and implementing effective colour schemes and pairing techniques, interior designers can create spaces that look beautiful and feel harmonious, supporting the inhabitants’ mental and emotional needs.

Room colour psychology extends beyond simple aesthetic preferences—it’s about creating environments that nurture, energise, or calm as needed. Whether designing a personal retreat or a communal gathering space, the thoughtful application of colour psychology in interior design can transform any area into a nurturing environment that resonates with the desired mood and ambience. By mastering these principles and techniques, you can harness the full potential of colour to create spaces that truly enhance daily life and well-being.

FAQs

Colour psychology examines how different hues affect our emotions, behaviour, and overall well-being within a space.

Warm tones tend to energise, stimulate conversation, and create a sense of warmth and comfort—ideal for dining rooms and social areas.

Opt for cool hues in bedrooms, home offices, or any space where relaxation, focus, or calmness is the priority.

Yes – whites, greys, and beiges act as a canvas, making a room feel spacious or highlighting accent pieces without imposing a strong emotional tone.

Pair vivid accent walls or furnishings with softer, complementary neutrals to avoid overwhelming the senses while still retaining energy.

Think about the room’s function (rest vs. work), natural light, furniture tones, and the emotional atmosphere you wish to cultivate.

Different lighting conditions can dramatically alter colour perception. Natural light changes throughout the day, while artificial lighting sources (LED, incandescent, fluorescent) each cast different tints that can enhance or diminish certain colours.

The four main colour schemes are monochromatic (variations of one colour), analogous (neighbouring colours on the wheel), complementary (opposite colours), and triadic (three equally-spaced colours).

Use your dominant colour for 60% of the space, a secondary colour for 30%, and a bold accent colour for 10% to create balanced, harmonious interiors.

Grandeur on Canvas: The Important Role of Large-Scale Paintings as Focal Points in Interior Design

In the intricate dance of interior design, there exists a transformative element capable of seizing attention, evoking emotions, and commanding the essence of an entire room— large scale paintings. These captivating works of art, with their imposing presence and intricate narratives, play a pivotal role in crafting focal points within interior spaces. In this exploration, we uncover the profound impact of large-scale paintings in defining and elevating the ambience of a room.

In the world of interior design, large paintings take centre stage. They naturally capture our attention, evoke emotions, and establish the overall ambience of a room. Think of them as storytellers who bring history, ambience, and the artist’s voice into a space. More than just an art piece,  large scale paintings serve as the centrepiece of a room. It’s that special touch that turns a regular room into something truly special.

Defining the Focal Point with Large Scale Paintings

A focal point is the visual anchor of a room. It’s like a magnet that catches your eye, acting as a central point among the room’s features. It’s where you naturally look and where the room’s design stands out the most. Large-scale paintings, with their grandeur and expressive potential, effortlessly assume this role.

How Large Scale Paintings Add Drama and Emotional Resonance

Large-scale paintings are inherently dramatic. Their sheer size commands attention and establishes a theatrical dimension within a space. Whether it’s a monumental landscape, an abstract masterpiece, or a vivid portrait, the drama they infuse can transform a mundane room into a captivating stage.

Emotional Resonance: Art has the power to evoke emotions, and when presented on a grand scale, it amplifies this effect. A sprawling canvas portraying a tranquil seascape can invoke a sense of serenity, while an abstract composition may stir curiosity and introspection. These feelings become the main vibe of the room.

Visual Balance, Harmony, and Space Management

In rooms with sprawling layouts or high ceilings, large-scale paintings provide a sense of visual balance. They fill the vertical space, creating harmony and preventing the room from feeling cavernous or empty. This is especially valuable in contemporary open-plan living areas and loft-style spaces.

Creating Identity and Making a Statement with Large Artwork

Statement and Identity: Large scale paintings are statement pieces in their own right. They reflect the homeowner’s personality, taste, and artistic preferences. They become a distinctive emblem of the room’s identity, giving guests a glimpse into the dweller’s psyche.

Versatile Ambience Shapers: Large scale paintings are versatile in their ability to influence ambience. A bright, unique painting can make a room feel lively, while a traditional artwork can give it a classic look. The choice of artwork sets the tone for the room’s mood and character.

Anchoring and Guiding: These grand artworks don’t merely capture attention; they also anchor the room’s design. Large scale paintings can guide the placement of furniture and decor elements, creating a sense of purpose and order. Ensuring large scale paintings complement your room’s colour scheme is vital, as it helps maintain harmony and balance within the space. They provide a visual roadmap for the room’s layout.

Modern Use of Large Scale Paintings in Interior Architecture

Creative Expression Through Large Scale Paintings: Artists use large canvases to express their creativity and vision on an expansive scale. These works often brim with intricate details, textures, and layers, inviting viewers to embark on a visual journey.

Transcending Boundaries: In modern interior design, large-scale paintings transcend the boundaries of traditional art. They merge with the architecture, encompassing entire walls and becoming integral elements of the room’s structure.

Timeless and Adaptive: Big paintings are more than just decorations; they’re long-term choices. They can last a long time and can be adapted to fit different room designs or even as the owner’s preferences change over time.

Conclusion: The Transformative Power of Large Scale Paintings

The beauty of large scale paintings lies in their ability to grow with you. As your tastes evolve and your space changes, these artworks continue to inspire and adapt, offering new perspectives and interpretations over time. They represent not just an investment in your home’s aesthetic, but in its emotional resonance and personal significance.

Large scale paintings are more than decor—they are anchors of emotion, balance, and personality in a space. Choosing the right piece transforms your home into a living entity that speaks volumes about who you are and what you value. Take the bold step of incorporating a large scale painting into your space, and watch as it breathes life, character, and grandeur into your home.

Antique Picture Framing: FAQs

Generally, any painting that exceeds 40 inches (about 100 cm) in either height or width is considered large scale. However, the perception of size is relative to the room dimensions. In a small room, a 36-inch canvas might appear large, while in a spacious loft with high ceilings, even a 60-inch painting might feel modest. The key is proportion—a large scale painting should command attention without overwhelming the space.

When selecting a large painting for your living room, consider:

  • The colour palette of your existing decor (either complement or purposefully contrast)
  • The ambience you want to create (serene, energetic, contemplative)
  • Your connection to the artwork (it should resonate with you)
  • The viewing distance (more detailed works need closer viewing capabilities)
  • The lighting conditions (natural light versus artificial lighting affect how the artwork is perceived.

Remember that a large painting will become a defining element of your space, so choose something that you’ll enjoy looking at daily and that aligns with your style.

Absolutely! A large strategic painting can make a small space appear larger by creating depth and drawing the eye. The key is choosing the right piece and placing it correctly. In smaller spaces:

  • Consider paintings with lighter colours or those that develop a sense of depth
  • Minimise other wall decorations to let the large piece breathe
  • Position the painting where it has room to be appreciated, such as over a sofa or bed
  • Select artwork with a visual “horizon line” positioned slightly above eye level to create the illusion of a larger space

The optimal placement depends on the room’s layout and function, but generally:

  • Living rooms: Above the sofa, fireplace, or on the main wall visible upon entering
  • Dining rooms: On the wall facing the table, where diners can enjoy it during meals
  • Bedrooms: Opposite the bed or above the headboard for visual impact
  • Hallways or entryways: They create a striking first impression

The bottom edge of the painting should typically hang 57-60 inches from the floor (gallery height), positioning the centre at average eye level. However, this can be adjusted based on the furniture arrangement and ceiling height.

While large scale paintings can enhance all interiors, they are particularly impactful in:

  • Minimalist spaces where they can serve as the primary decorative element
  • Rooms with high ceilings that need vertical balance
  • Open-plan areas that need definition and zoning
  • Monochromatic or neutral colour schemes that benefit from a bold visual element
  • Contemporary spaces that embrace artistic expression
  • Transitional areas like foyers and hallways that need character

Even traditionally styled rooms can be elevated by large scale paintings, especially when the artwork’s subject matter or framing complements the classic aesthetic.

Antique Picture Framing Dos and Don’ts

antique picture framing

Antique picture framing is not just practical but is  also an art form, preserving the essence and beauty of historical artworks for future generations. These frames, often as detailed and carefully crafted as the artworks they encase, protect and enhance our artistic heritage.

Antique picture framing is not just practical but also an art form, preserving the essence and beauty of historical artworks for future generations. These frames, often as detailed and carefully crafted as the artworks they encase, protect and enhance our artistic heritage.

Proper framing is paramount in the preservation and presentation of antique artwork. It’s not just about encasing a painting or photograph; it’s about safeguarding its integrity, ensuring its longevity, and enhancing its visual appeal. The right frame can elevate a piece from mere artwork to a cherished heirloom, while the wrong frame can detract from its beauty and even cause irreversible damage.

This article delves into the intricate world of antique picture framing, exploring the dos and don’ts that can make all the difference in preserving and enhancing these valuable pieces. Whether you’re a collector, a curator, or simply an admirer of antique art, understanding these principles is essential for preserving our cultural heritage for future generations.

Dos

1. Research and Consultation

Thorough research is essential before framing an antique picture. Understand the historical context of the artwork, its artist, and the era in which it was created. This knowledge will inform your framing decisions and help preserve the piece’s authenticity.

Consulting with experts or professionals in antique framing can provide invaluable guidance and expertise. They can offer insights into appropriate framing styles, materials, and techniques that best suit the artwork’s period and style. Consult their knowledge to ensure the framing process meets preservation standards and aesthetic considerations.

2. Use Acid-Free Materials

Using acid-free mats and backing boards is imperative for preserving the longevity of antique picture framing. Acidic materials can accelerate deterioration, causing yellowing, discolouration, and brittleness. Opt for archival-quality mats and backing boards to provide a stable environment that minimises the risk of damage.

Select framing materials that are free from acidic compounds, including adhesives and tapes. These materials should be ph-neutral and chemically stable to prevent interaction with the artwork and avoid contributing to its degradation.

3. Conservation Framing Techniques

Conservation framing techniques are crucial in protecting antique artworks from environmental hazards. Utilise UV-filtering glass or acrylic to shield the artwork from harmful light exposure, which can cause fading and deterioration of colours.

When mounting the artwork, employ reversible techniques that allow for easy removal without causing damage. This ensures that the artwork remains intact and unaltered, preserving its value and authenticity for future generations to appreciate.

4. Maintain Originality During Antique Picture Framing

Preserve the piece’s integrity by refraining from alterations or modifications during the antique picture framing process. Avoid trimming or altering the artwork’s dimensions to fit a standard frame, as this can diminish its authenticity and worth.

Select frames and mats that complement the artwork’s style and era, enhancing its visual appeal without overpowering its inherent beauty. Consider period-appropriate frames that reflect the aesthetic sensibilities of the artwork’s period, creating a cohesive presentation that honours its historical context.

5. Document and Label

Documenting the antique picture framing process and the materials used is essential for future reference and authentication. Keep a record of the framing techniques employed, including any special considerations or modifications made to accommodate the artwork.

Label the back of the frame with pertinent information such as the artist’s name, title of the artwork, date of creation, and any additional historical or provenance details. This information provides context for the piece and facilitates identification and documentation for future reference.

By adhering to these dos, you can ensure that your antique picture framing endeavours are aesthetically pleasing and respectful of the artwork’s historical significance and long-term preservation needs.

Don’ts

1. Avoid Harsh Cleaning Methods on Antique Frames 

Never use harsh cleaning or abrasive materials on antique frames. They can strip the finish or patina, diminishing the frame’s historical charm and value. Chemicals can also react with the frame’s materials, causing irreparable damage. Instead, opt for gentle cleaning methods that take into account the delicacy of antique frames. Use a soft brush or cloth to gently remove dust and dirt buildup, being careful not to apply excessive pressure that could scratch or damage the surface.

2. Steer Clear of Direct Sunlight

Avoid displaying antique pictures in areas exposed to direct sunlight or harsh artificial light. Prolonged exposure to UV rays can lead to fading, discolouration, and deterioration of the artwork’s pigments and materials. Instead, display antique pictures in areas with controlled lighting conditions or use UV-filtering glass or acrylic to protect the artwork from harmful light exposure. This helps preserve the vibrancy and integrity of the artwork over time.

3. Say No to Overhandling

Overhandling artwork during the antique picture framing process increases the risk of damage, as oils, dirt, and moisture from hands can transfer to the surface, causing staining, discolouration, or deterioration over time. When handling delicate antique pieces, use gloves to minimise the risk of damage. Gloves help prevent direct contact with the artwork, reducing the transfer of oils and contaminants while preserving its pristine condition.

4. Don’t Compromise on Quality

Avoid compromising on the quality of framing materials or techniques to save costs. Low-quality materials can lead to premature deterioration of the artwork and may necessitate costly restoration or conservation efforts in the future. Prioritise investing in high-quality framing materials and techniques to ensure the long-term preservation of your antique artwork. Quality framing enhances the visual presentation of the artwork, safeguarding its integrity and value for generations to come.

Conclusion

Proper antique picture framing requires careful attention to detail. Following the dos, such as thorough research, expert consultation, and the use of archival materials, helps preserve and enhance antique artwork. The don’ts, including avoiding harsh cleaning, direct sunlight, overhandling, and poor framing quality, prevent damage and degradation.

Using these guidelines or consulting professionals ensures that the beauty of these pieces is preserved and protected for the years to come.

Antique Picture Framing: FAQs

Antique picture framing refers to the process of framing historical artworks using materials and techniques that preserve their condition and authenticity. Proper framing protects antique pieces from environmental damage, enhances their aesthetic appeal, and ensures they can be enjoyed by future generations.

Always use acid-free, archival-quality materials for antique picture framing. Acid-free mats, backing boards, and ph-neutral adhesives prevent yellowing, discolouration, and deterioration, helping preserve both the artwork and the frame over time.

Exposure to direct sunlight or harsh artificial light can cause fading, discolouration, and structural damage to antique artworks and their frames. It is crucial to display framed antiques away from direct light or use UV-filtering glass or acrylic for protection.

No, you should never use harsh chemicals or abrasive cleaners on antique frames. Gentle dusting with a soft brush or dry cloth is recommended to maintain the frame’s finish without causing damage.

Conservation framing uses reversible techniques and protective materials to safeguard antique artworks without altering them permanently. Methods like UV-protective glazing and archival mounts help prevent environmental damage while allowing artworks to be safely removed in the future.

Keeping records of the materials and methods used during antique picture framing ensures future caretakers understand how the artwork was preserved. Labelling the back of the frame with key information also aids authentication and provenance tracking.

Avoid using non-archival materials, exposing frames to direct sunlight, overhandling the artwork without gloves, or cutting/trimming the original piece to fit a frame. These mistakes can significantly damage or devalue antique artworks.

Restoration should be minimal and handled by professionals. Preserving the original patina and craftsmanship of antique frames maintains their historical value. Over-restoration can diminish authenticity and reduce the frame’s worth.