

Cosimo de’ Medici (1389-1464) was a Florentine banker, statesman, and art patron whose financial power and cultural vision transformed Florence into the birthplace of the Renaissance. He built one of Europe’s most powerful banking empires, championed democratic reforms, funded landmark architectural projects like Brunelleschi’s famous dome, and commissioned iconic works by Donatello. Awarded the title “Father of the Fatherland” after his death, his legacy endures in every corner of Florence – and continues to inspire artists and patrons around the world today.
Table of Contents
- Who Was Cosimo de’ Medici?
- Early Life and Family Origins
- Medici Family History
- The House of Medici: A Dynasty of Power and Influence
- How Did Cosimo de’ Medici Build His Wealth?
- How Cosimo de’ Medici Shaped Florentine Politics and Renaissance Democracy
- Cosimo de’ Medici’s Art Patronage: Fuelling the Renaissance in Florence
- Cosimo de’ Medici’s Influence on Renaissance Architecture and Urban Transformation
- Interesting Facts About Cosimo de’ Medici
- Cosimo de’ Medici’s Character: A Complex Figure of Power and Principle
- Cosimo de’ Medici’s Enduring Legacy in Modern Times
- Key Takeaways
Who Was Cosimo de’ Medici?
Cosimo de’ Medici (1389-1464) wasn’t just a wealthy Florentine banker – he was a visionary whose influence helped shape the very heartbeat of the Renaissance. Born into the powerful Medici family, he transformed himself from a strategic businessman into a patron whose support of artists, thinkers, and architects redefined Florence. He is often regarded as one of the defining patrons of the Renaissance, whose support helped transform Florence into a global centre of art and innovation.
What makes Cosimo’s story truly fascinating is how effortlessly he fused wealth with wisdom. His life shows how financial power, when guided by purpose and compassion, can ignite cultural movements that last for centuries. Admired by his peers for his generosity, resilience, and unwavering love for the arts, Cosimo Medici built more than a banking empire – he built a legacy that continues to inspire leaders, artists, and dreamers today.
That same spirit of supporting artists and making art accessible to all is what drives platforms like Cosimo.art, which takes its name and inspiration directly from the man who believed that patronage of the arts was among the highest uses of wealth.
Early Life and Family Origins
Cosimo de’ Medici was born on 10 April 1389, alongside his twin brother, Damiano. Their parents, Giovanni and Piccarda, named them after Saints Cosma and Damiano – figures celebrated for offering free medical services to those in need. Cosimo de’ Medici later redefined his “official” birthday to 27 September, the Holy Day honouring these saints. This shift was symbolic, reflecting his lifelong commitment to values that went beyond mere personal ambition.
Growing up in a family that valued commerce and service, Cosimo Medici was groomed from an early age to manage the family business and contribute to the welfare of his community. His formative years were marked by exposure to the practicalities of banking and the idealism that would later fuel his patronage of the arts. His father, Giovanni di Bicci de’ Medici, had already built considerable commercial respectability in Florence, and young Cosimo absorbed both his father’s financial discipline and his quiet civic-mindedness.
Medici Family History
The Medici family’s roots stretch back to the agricultural Mugello region north of Florence, where they are first mentioned in a document of 1230. The family name itself – Medici, the plural of medico – suggests an early association with medicine, though by the time they rose to prominence, they were firmly entrenched in trade and banking.
In the early 13th century, the Medici emigrated to Florence, where they gradually built influence through the wool trade and then banking. By the 14th century, family members were serving in Florence’s governing Signoria, but they were still far less notable than rival clans like the Albizzi or the Strozzi. It was the leadership of Giovanni di Bicci de’ Medici in the late 14th and early 15th centuries that laid the true financial foundation for what was to come.
Giovanni established the Medici Bank’s Florentine branch in the 1390s and shrewdly cultivated the church as a client, eventually securing the account of the papacy. When he passed the business to his sons Cosimo and Lorenzo in 1420, the family was already among Florence’s wealthiest and most influential. What Giovanni had built in stability, Cosimo de’ Medici would transform into cultural dominance.
The full sweep of the Medici family history – spanning banking dynasties, papal connections, cultural patronage, and European royal marriages – is documented across many scholarly sources, including records held at the John Rylands Library in Manchester. The family ruled Florence for nearly three centuries before the dynasty came to an end in 1737 with the death of the last Medici Grand Duke, Gian Gastone, without a male heir.
For scholars interested in primary documents, the Medici family archives at Archives Hub (held at the John Rylands Library, Manchester) offer a remarkable window into the family’s letters, ledgers, and correspondence from 1085 to 1770.
The House of Medici: A Dynasty of Power and Influence
The House of Medici stands as one of the most powerful and influential families in European history, with Cosimo de’ Medici serving as its most transformative patriarch. The Medici dynasty originated in the 13th century as a merchant family in Florence, but it was under Cosimo de’ Medici’s leadership that they rose to unprecedented heights of wealth and cultural significance.
1. Origins and Rise to Prominence
The Medici family’s ascent began with Cosimo de’ Medici’s father, Giovanni di Bicci de’ Medici, who established the foundation of the banking empire. However, it was Cosimo de’ Medici who transformed this modest beginning into a financial powerhouse that would dominate European banking for centuries. The family’s coat of arms, featuring six red balls (palle) on a golden field, became synonymous with financial reliability and cultural patronage throughout Renaissance Europe.
2. Political Influence and Papal Connections
Under Cosimo de’ Medici’s guidance, the House of Medici became the de facto rulers of Florence, wielding political power that extended far beyond their commercial interests. The family’s relationship with the Catholic Church was particularly significant, as Cosimo de’ Medici established the Medici Bank as the papal bank, managing the Church’s finances across Europe. This connection not only provided immense wealth but also granted the family political protection and influence that would benefit future generations.
3. Legacy Through Generations
The foundation laid by Cosimo de’ Medici enabled future generations of the Medici family to produce four Popes, numerous cardinals, and even royalty. His great-grandson Lorenzo the Magnificent would continue the family’s tradition of art patronage, while later descendants would marry into European royal families, including the French monarchy. The House of Medici’s influence on European politics, finance, and culture can be directly traced back to the visionary leadership of Cosimo de’ Medici.
How Did Cosimo de’ Medici Build His Wealth?
Although Cosimo de’ Medici inherited his father’s bank, his path to success was fraught with challenges. Unlike many Florentine bankers of his era, who frequently succumbed to financial mismanagement and insolvency, Cosimo de’ Medici’s astute business acumen ensured the survival – and eventual dominance – of the Medici Bank.
1. The Medici Banking Empire
Cosimo de’ Medici’s sharp instincts saved the bank from collapse multiple times, transforming it into one of Europe’s most powerful financial institutions. He expanded the bank’s operations beyond Florence by establishing branches in strategic locations such as London and Cairo. This international reach diversified the bank’s income streams and established it as a trusted partner for influential clients, including the Roman Catholic Church.
As the de facto financial backbone of the papacy, the Medici Bank wielded unprecedented power. Its role as the papal bank underpinned Cosimo de’ Medici’s reputation as the architect of the Medici banking legacy – one with a lasting impact on European commerce and finance.
2. Strategic Decision-Making and Financial Resilience
Cosimo de’ Medici’s financial success was not accidental. His proactive approach, characterised by timely investments and strategic risk management, allowed him to navigate economic downturns that claimed the fortunes of his competitors. By maintaining a keen focus on both local and international markets, Cosimo Medici ensured the bank could thrive even in turbulent times.
His financial strategies were revolutionary for his era, combining traditional commerce with innovative practices that would later influence modern banking. Cosimo de’ Medici understood that true power lay not only in wealth accumulation but in sustaining that wealth for the common good.
How Cosimo de’ Medici Shaped Florentine Politics and Renaissance Democracy
Cosimo de’ Medici’s influence extended far beyond finance. As a prominent figure in Florentine politics, he played a critical role in shaping the democratic ideals of his city.
1. Leadership in the Signoria
Cosimo de’ Medici was an active member of the Signoria, Florence’s elected governing body. Through his service, he championed policies that promoted civic unity and democratic governance. His belief in public service and transparency made him a respected figure among the citizens, who saw him as a leader who balanced power with a genuine concern for the welfare of his community.
2. Overcoming Political Adversity
Cosimo de’ Medici’s political journey was not without obstacles. In 1433, a rival faction led by Rinaldo Degli Albizi forced him into exile. However, Cosimo de’ Medici maintained vital connections during his time in Venice and continued to influence Florentine affairs from afar. His strategic alliances and unwavering popularity paved the way for a triumphant return to Florence, where he was welcomed by cheering crowds. It was a remarkable testament to how deeply the city had come to depend on him – not just financially, but as a symbol of civic stability.
3. Championing Democratic Reforms
Cosimo de’ Medici’s political influence extended to promoting democratic reforms that strengthened civic life in Florence. He believed in a balanced system where power was shared among the citizens, and his efforts helped foster a spirit of collaboration and public participation. This commitment to democracy stabilised Florence during times of crisis and laid the groundwork for the political innovations that would later characterise the Renaissance.
Cosimo de’ Medici’s Art Patronage: Fuelling the Renaissance in Florence
While Cosimo de’ Medici’s banking and political achievements are well documented, his impact on the arts is equally profound. His patronage of art and architecture transformed Florence into a living gallery that continues to inspire today’s world.
1. A Passion That Transcended Wealth
Cosimo de’ Medici’s love for art went beyond personal admiration – it became a driving force for cultural transformation. Unlike many of his contemporaries who collected art for personal pleasure, Cosimo Medici invested his wealth in projects that would elevate the city. By funding the works of renowned artists and architects, he ensured that art became an integral part of Florence’s identity.
Artists who came under his wing – from Donatello to Fra Angelico – were able to create some of the most significant works of the early Renaissance precisely because they had the financial and social backing to do so. It’s a reminder that talent alone rarely determines what gets made; patronage shapes the cultural record. This is why artists today who wish to build their practice sustainably can benefit from discovering.
Artists who came under his wing – from Donatello to Fra Angelico – were able to create some of the most significant works of the early Renaissance precisely because they had the financial and social backing to do so. It’s a reminder that talent alone rarely determines what gets made; patronage shapes the cultural record. This is why artists today who wish to build their practice sustainably can benefit from discovering platforms that support direct sales and portfolio building, removing the barriers that once stood between artists and their audiences.
2. Transformative Projects and Enduring Works
Cosimo de’ Medici’s most notable contribution was his support for Donatello, the sculptor. By commissioning works such as the celebrated statues of David and Judith Slaying Holofernes, Cosimo de’ Medici enhanced Florence’s artistic repertoire and set new standards for creativity and craftsmanship. The bronze David – now studied by scholars worldwide – is considered the first known free-standing nude statue produced since classical antiquity, a fact that speaks to just how audacious this patronage was.
The V&A in London holds a celebrated plaster cast of Donatello’s David as well as other works tied to the Medici legacy. Their Cast Courts collection is one of the finest places in Britain to encounter the visual world that Cosimo de’ Medici helped create.
3. The Cultural Ripple Effect
Cosimo de’ Medici’s investment in the arts had far-reaching consequences. His patronage enriched Florence’s cultural life and influenced generations of artists across Europe. By establishing Florence as a centre of artistic innovation, Cosimo de’ Medici set in motion a cultural revolution that continued long after his death.
Cosimo de’ Medici’s Influence on Renaissance Architecture and Urban Transformation
Cosimo de’ Medici’s legacy is perhaps most visible in Florence’s physical transformation. His support for groundbreaking architectural projects reshaped the city’s skyline and left an indelible mark on its cultural heritage.
1. Redefining the Urban Landscape
Cosimo de’ Medici’s most enduring contribution was his role in supporting Filippo Brunelleschi’s construction of the dome for the Florence Cathedral. This engineering marvel solved a critical architectural challenge and symbolised the Renaissance’s ingenuity and ambition. Cosimo Medici’s support of Brunelleschi’s vision was a bold statement – he believed that art and architecture had the power to uplift society and transform urban spaces.
In 1444, Cosimo de’ Medici also founded the first public library in Florence at San Marco – a revolutionary idea at a time when access to books was the privilege of the very few. He also commissioned Michelozzo to design the magnificent Palazzo Medici and funded the reconstruction of the Basilica of San Lorenzo.
2. A Lasting Architectural Legacy
The architectural projects funded by Cosimo de’ Medici have had a lasting impact on the cultural identity of Florence. Today, visitors from around the world marvel at the intricate details of the Duomo, stroll through historic piazzas, and admire the elegant design of public buildings that still echo his vision.
His contributions to urban transformation have cemented his status as one of history’s most influential leaders in both the financial and cultural realms. Today, his influence can be seen in every corner of the city – from the timeless masterpieces displayed in its museums to the architectural marvels that define its skyline. His support for art earned him the enduring title of the “Godfather of the Renaissance.”
Florence’s historic centre, largely shaped by Cosimo’s patronage and civic investment, is recognised as a UNESCO World Heritage Site.
Interesting Facts About Cosimo de’ Medici
Behind the grand historical narrative are some remarkable details that make Cosimo de’ Medici a figure of enduring fascination:
- He was born a twin. Cosimo de’ Medici came into the world alongside his twin brother Damiano on 10 April 1389 – though he later adopted 27 September as his official birthday to align with the feast day of Saints Cosma and Damiano.
- He never held formal power, yet ruled Florence entirely. Cosimo de’ Medici operated as the de facto ruler of the Florentine Republic for three decades without ever holding the title of ruler. Even the Pope of the day noted that political questions were settled in Cosimo’s house.
- He built Europe’s first public library. In 1444, Cosimo de’ Medici founded the first public library in Florence at San Marco, making books and manuscripts freely accessible – a radical act in an age of widespread illiteracy.
- He commissioned the first free-standing nude statue since antiquity. Donatello’s bronze David, funded by Cosimo Medici, is widely regarded as the first nude sculpture since ancient Rome – an extraordinary artistic risk that signalled a new confidence in humanist ideals.
- He translated Plato for the world. Cosimo de’ Medici commissioned Marsilio Ficino’s complete Latin translation of Plato’s works – the first ever full translation – and in doing so helped reignite Western interest in classical philosophy.
- He was exiled but came back stronger. Forced out of Florence in 1433 by political enemies, Cosimo Medici spent time in Venice and returned the following year to a triumphal welcome. He never forgot the experience, and his grip on Florentine affairs became even more assured thereafter.
- He was posthumously honoured as Pater Patriae. After he died in 1464, the Florentine government bestowed upon Cosimo de’ Medici the title of Pater Patriae – Father of the Fatherland – a distinction borrowed from ancient Rome and a reflection of just how profoundly the city felt his loss.
- He established a Platonic Academy. In 1445, Cosimo de’ Medici founded a Platonic Academy in Florence, which became a gathering point for the greatest philosophical minds of the era and helped shape Renaissance humanism.
For those wishing to explore Medici-related artefacts held in the UK, the V&A’s Renaissance collections include medals, sculpture casts, and objects that connect directly to Cosimo’s Florence.
Cosimo de’ Medici’s Character: A Complex Figure of Power and Principle
While Cosimo de’ Medici is celebrated for his tangible achievements, his character has been debated among historians and scholars. Some describe him as a shrewd manipulator who amassed power by any means necessary, while others remember him as a compassionate leader devoted to the welfare of his fellow citizens.
A Man of Paradox
Cosimo de’ Medici’s writings and recorded quotes provide a glimpse into his inner thoughts. He warned of the destructive power of envy, stating:
“There is a plant which one ought to leave dry, although most people water it. It is the weed called envy.”
He also noted that true discernment is needed when deciding whom to forgive. These reflections reveal a man who was deeply aware of human nature and balanced a pragmatic approach to power with high moral ideals.
His complex character – combining a ruthless drive for success with an unwavering commitment to civic duty – has contributed significantly to his enduring legacy. Cosimo de’ Medici understood that authentic leadership involved not only accumulating wealth and power, but using them to foster the greater good.
Cosimo Medici also once reflected on what had given him the most satisfaction in life: all the money spent on art, architecture, and libraries had brought him greater pleasure than earning it ever had – because these things honoured God and created a living memory. It is a sentiment that speaks across the centuries to anyone who has ever believed that the best use of resources is in the service of something lasting.
If you’re inspired by that spirit and want to connect art with the people who love it, explore how Cosimo.art empowers today’s artists to build careers on their own terms.
Cosimo de’ Medici’s Enduring Legacy in Modern Times
Empowering Modern-Day Artists
Cosimo de’ Medici once said that supporting artists brought him the most satisfaction from all his achievements. That belief lives on in how we think about art patronage today – not as the exclusive privilege of the wealthy, but as something that every creative ecosystem needs to thrive.
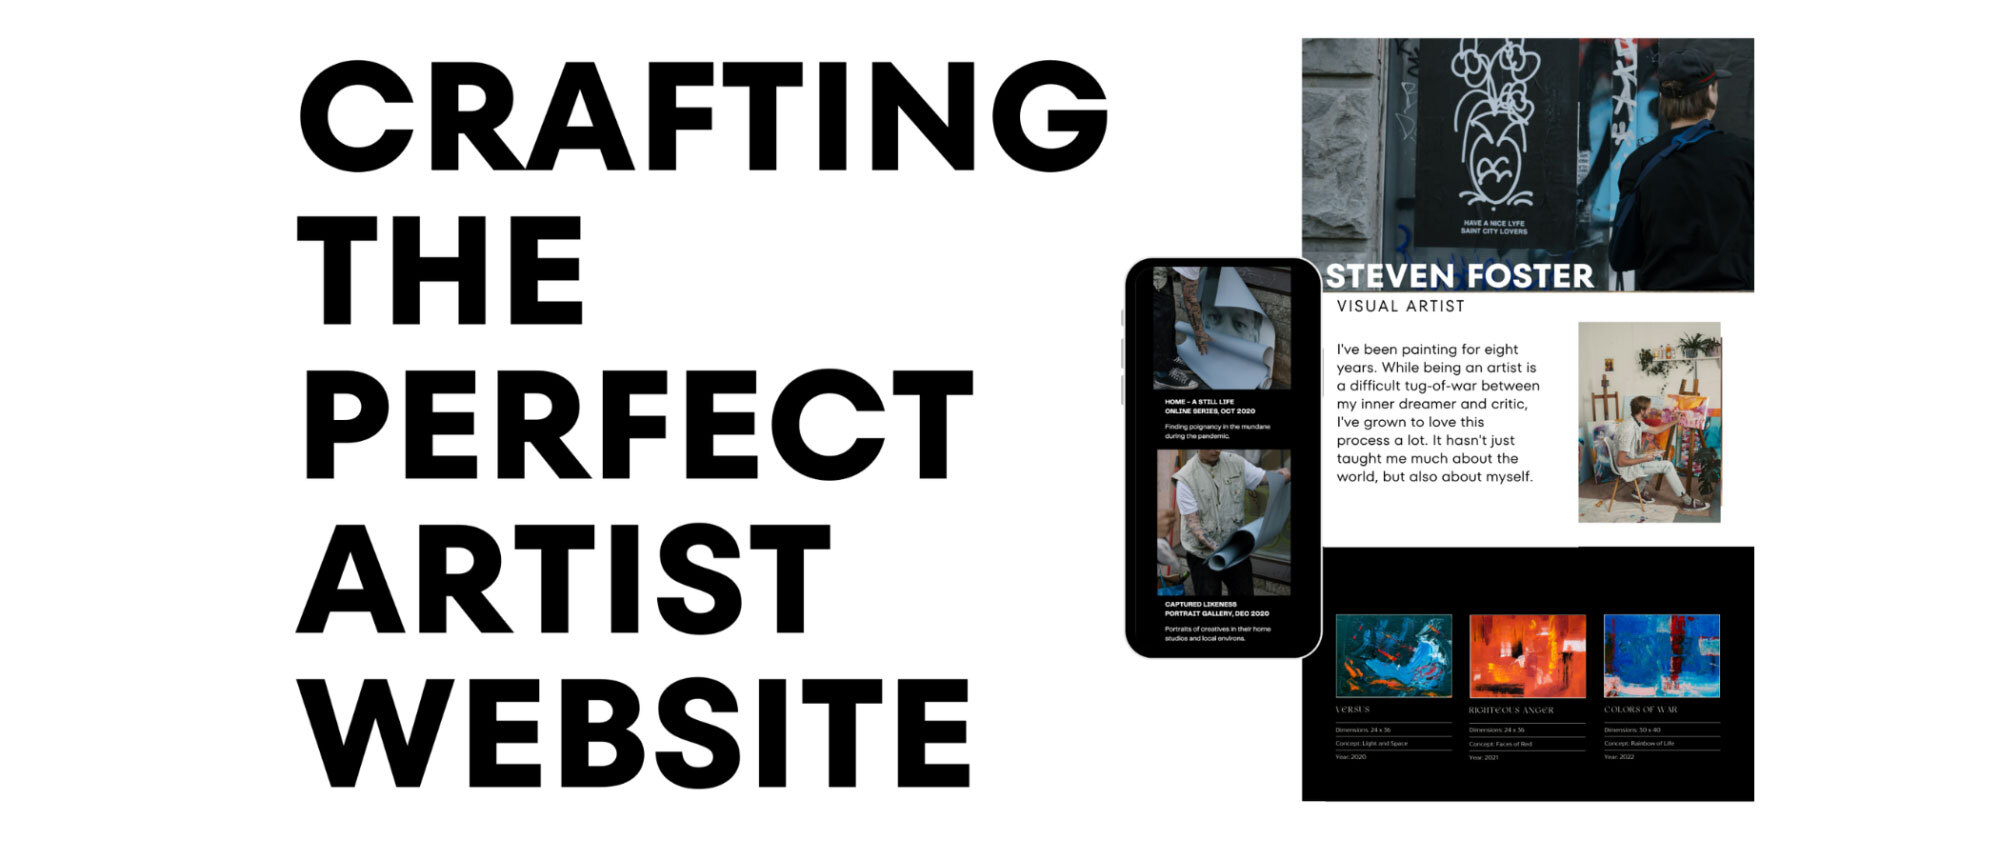
At Cosimo.art, every artist can connect with their audience and sell their work directly. Inspired by Cosimo de’ Medici’s love for art and his patronage of artists, the platform empowers emerging talents to build their brand, connect with collectors, and sell their art securely – free from commission and without barriers to entry.
Whether you’re an experienced artist or just starting, the portfolio builder at Cosimo.art allows you to create a professional online presence in minutes, set your own prices, manage sales, and focus on what matters most: your work.
Cosimo Medici’s Renaissance was fuelled by the idea that culture belongs to everyone. The artists of his era – Donatello, Brunelleschi, and Fra Angelico – were not the children of noble families. They were craftsmen, thinkers, and visionaries who needed the right environment to flourish. That same principle applies today: great art requires support, visibility, and the freedom to reach an audience. The
Great art requires support, visibility, and the freedom to reach an audience. The pricing tools and sales management features at Cosimo.art were designed with exactly that philosophy in mind.
Key Takeaways
- Cosimo de’ Medici (1389-1464) was a Florentine banker, statesman, and art patron who became the de facto ruler of Florence without ever holding official power.
- He transformed the Medici Bank into Europe’s most powerful financial institution, with branches across the continent, including London and Cairo.
- Cosimo Medici was forced into exile in 1433 but returned triumphantly in 1434, strengthening his position as Florence’s most influential citizen.
- His patronage of Donatello, Brunelleschi, Fra Angelico, and other Renaissance masters helped make Florence the cultural capital of Europe.
- He founded Europe’s first public library at San Marco in 1444, and a Platonic Academy in 1445 – both revolutionary acts of civic generosity.
- He was posthumously awarded the title of Pater Patriae – Father of the Fatherland – by the Florentine government.
- The Medici family history spans over 500 years, producing four Popes, two Queens of France, and countless influential figures in European history.
- His legacy continues in the name and ethos of Cosimo.art, a platform dedicated to empowering artists the same way Cosimo de’ Medici empowered the artists of the Renaissance.
About the Author
John Sewell is the founder of Cosimo and holds a Master’s Degree in History of Art from the University of Birmingham. He built Cosimo to give emerging artists fair, transparent ways to reach collectors directly. He was also shortlisted for the Great British Entrepreneur Awards. His background in art, creative entrepreneurship and digital marketplaces informs his writing on artist development, accessible art, and the future of online art sales.
FAQs
Cosimo de Medici (1389–1464) was a Florentine banker, politician, and art patron renowned for establishing the Medici banking empire and fueling the Renaissance. His innovative leadership and philanthropic support for the arts transformed Florence into a cultural hub.
Cosimo de Medici earned this title due to his transformative patronage of artists such as Donatello and Brunelleschi, whose works defined the era’s art and architecture. His support for creative endeavours reshaped the cultural landscape of Florence.
By expanding the Medici Bank across Europe—with branches in key cities like London and Cairo—Cosimo de Medici built one of the most powerful financial institutions of his time. His strategies ensured the bank thrived despite economic crises, establishing a lasting legacy in European finance.
Cosimo de Medici played a pivotal role in Florentine politics by serving in the Signoria, promoting democratic reforms, and uniting the citizens of Florence. His triumphant return and strategic governance cemented his status as a key political leader even after a forced exile.
Cosimo de Medici’s patronage funded monumental projects, such as Brunelleschi’s dome for the Florence Cathedral and numerous public buildings. His support for innovative architecture helped shape Florence’s skyline, leaving a legacy that inspires admiration worldwide.


")